I feel like I'm always saying this, but it's been a while since I posted anything here. If you follow me on Instagram you will have seen what I've been up to in the past month or so, including attending another wonderful weekend away at a Local is Lovely Workshop.
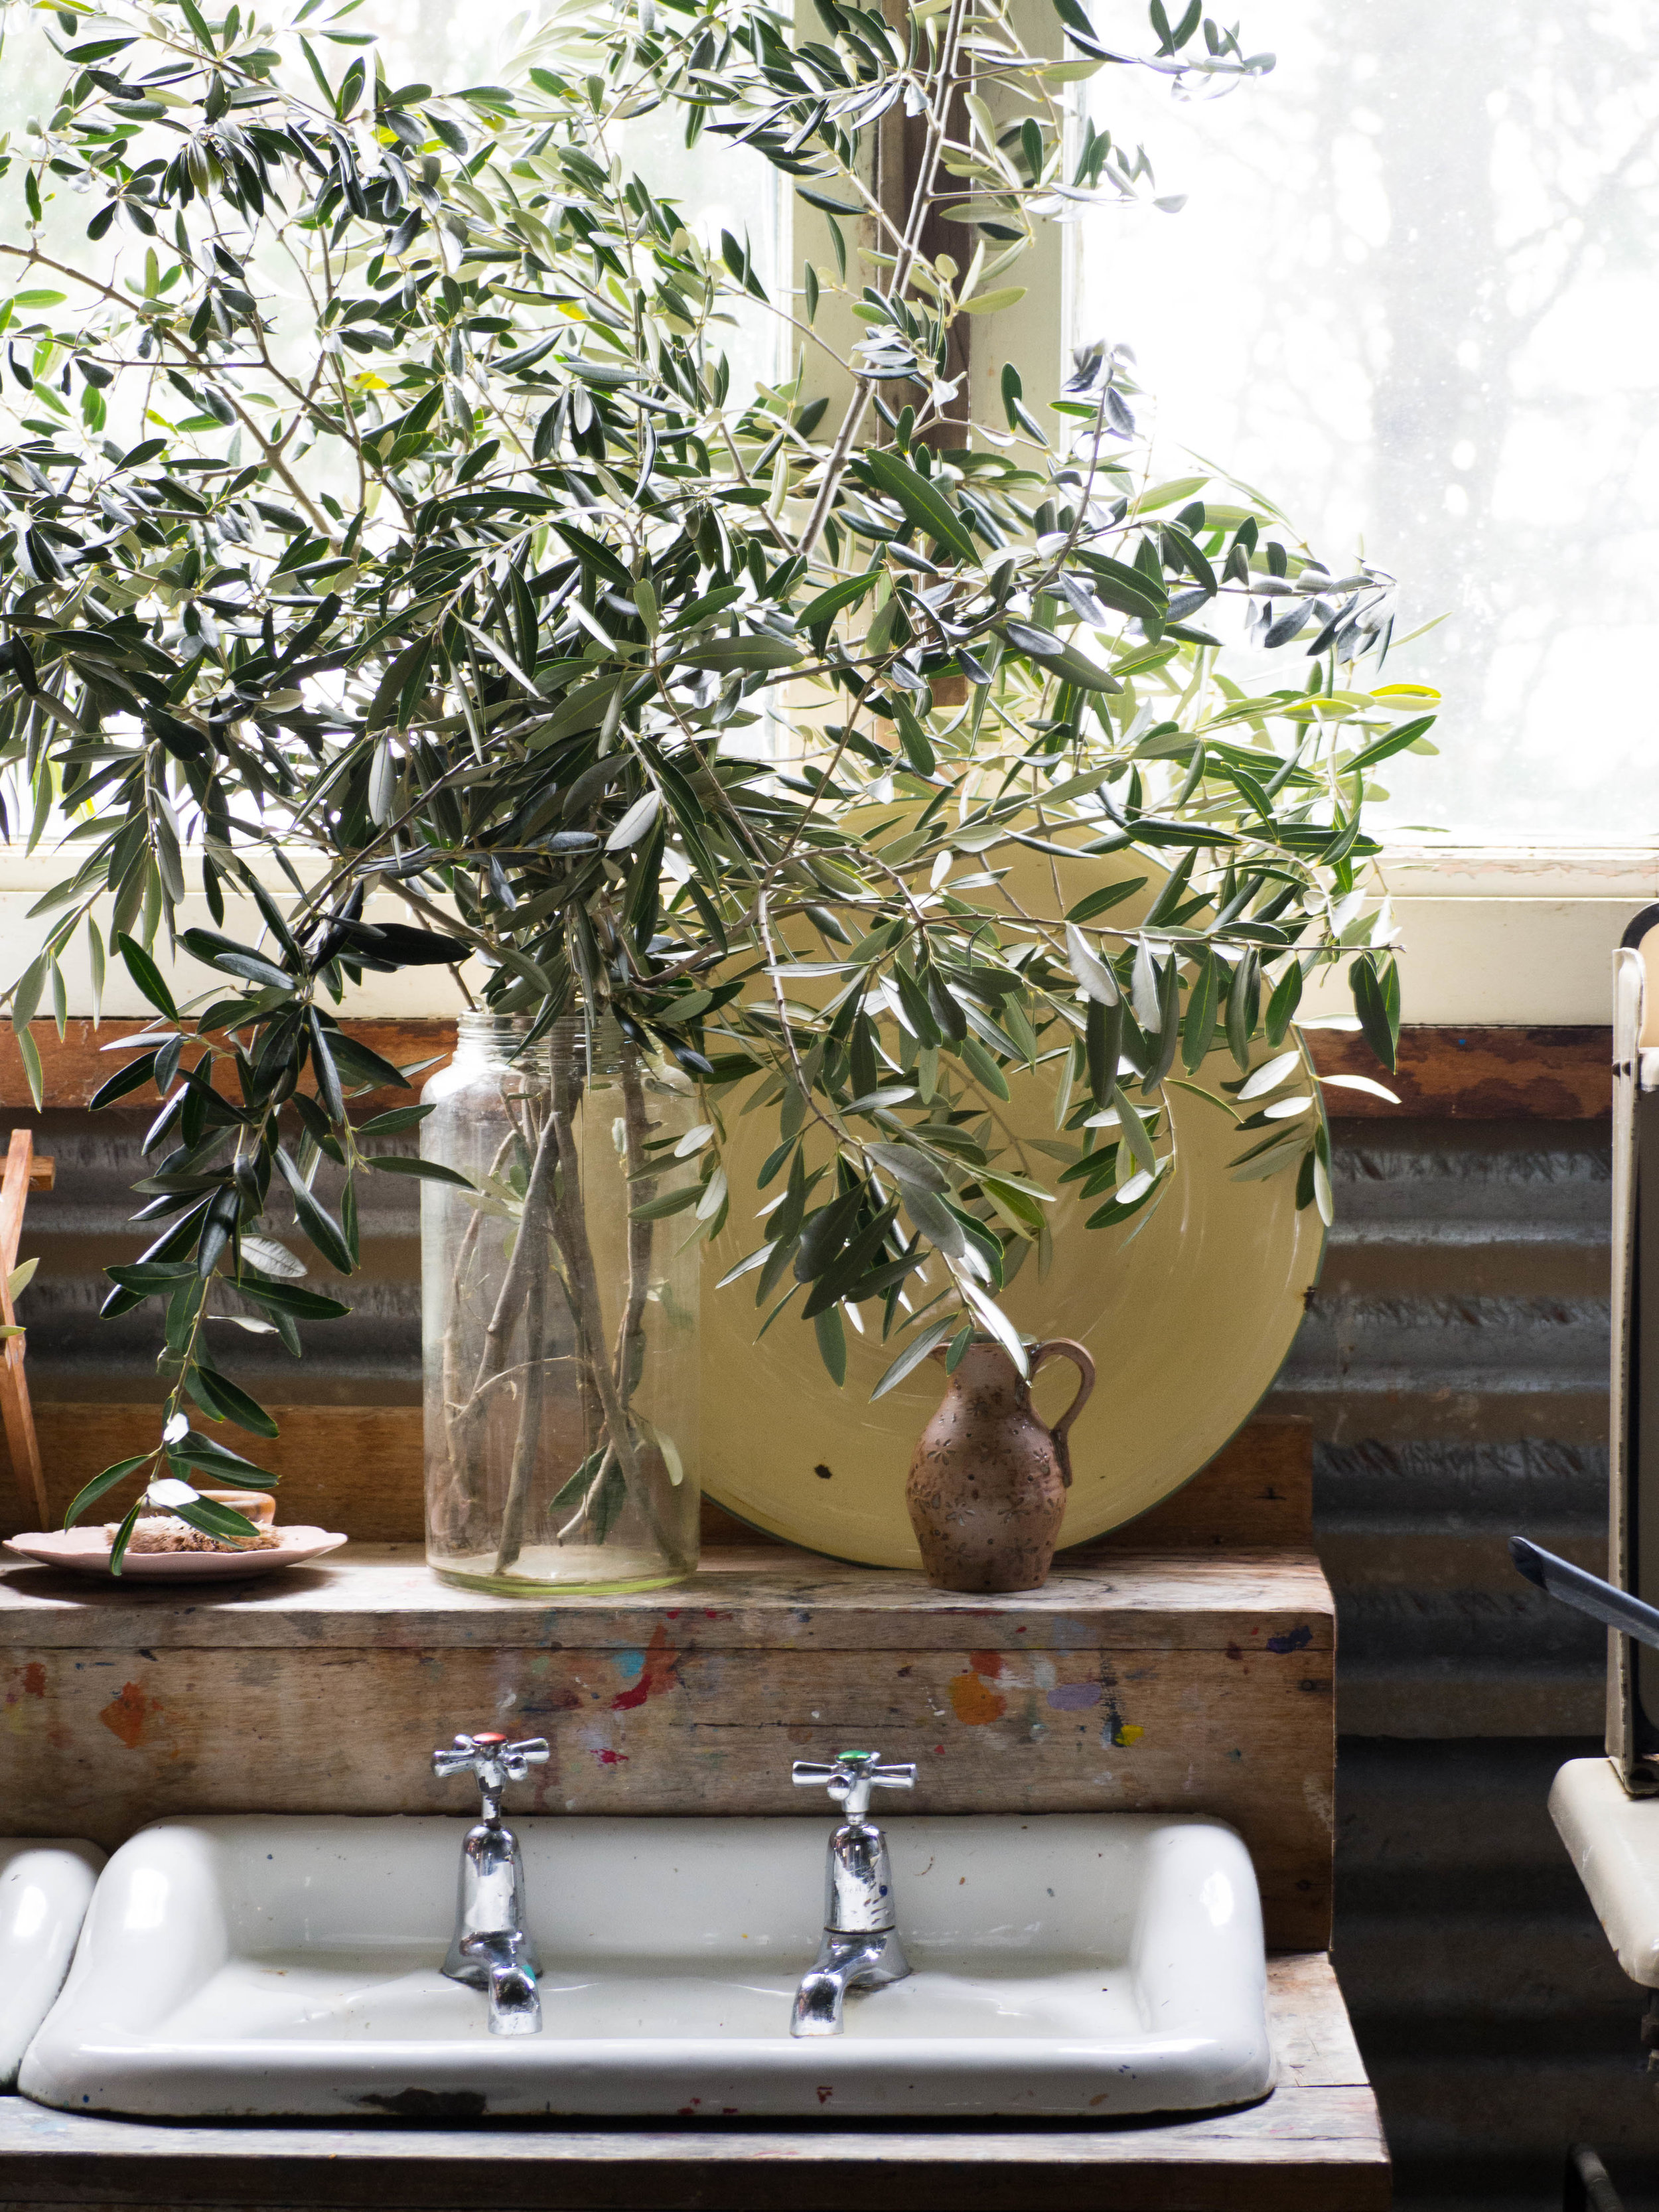
I was lucky enough to attend the first ever Local is Lovely Workshop back in November 2014 (posts here and here), and always knew I wanted to go back. When I saw Sophie (Local is Lovely) and Luisa would be teaming up with Molly Yeh (My Name is Yeh), I knew this was a best opportunity to go back to Kimbri Farm. Meeting Molly, and all the other workshop participants was just super lovely. I never tire of meeting new like minded people and listening to how food and photography intertwines their lives. I also never tire of Sophie's amazing food, and the wonderful opportunity of being in the country and having an amazing setting to relax in and shoot great photos (almost no styling needed!).
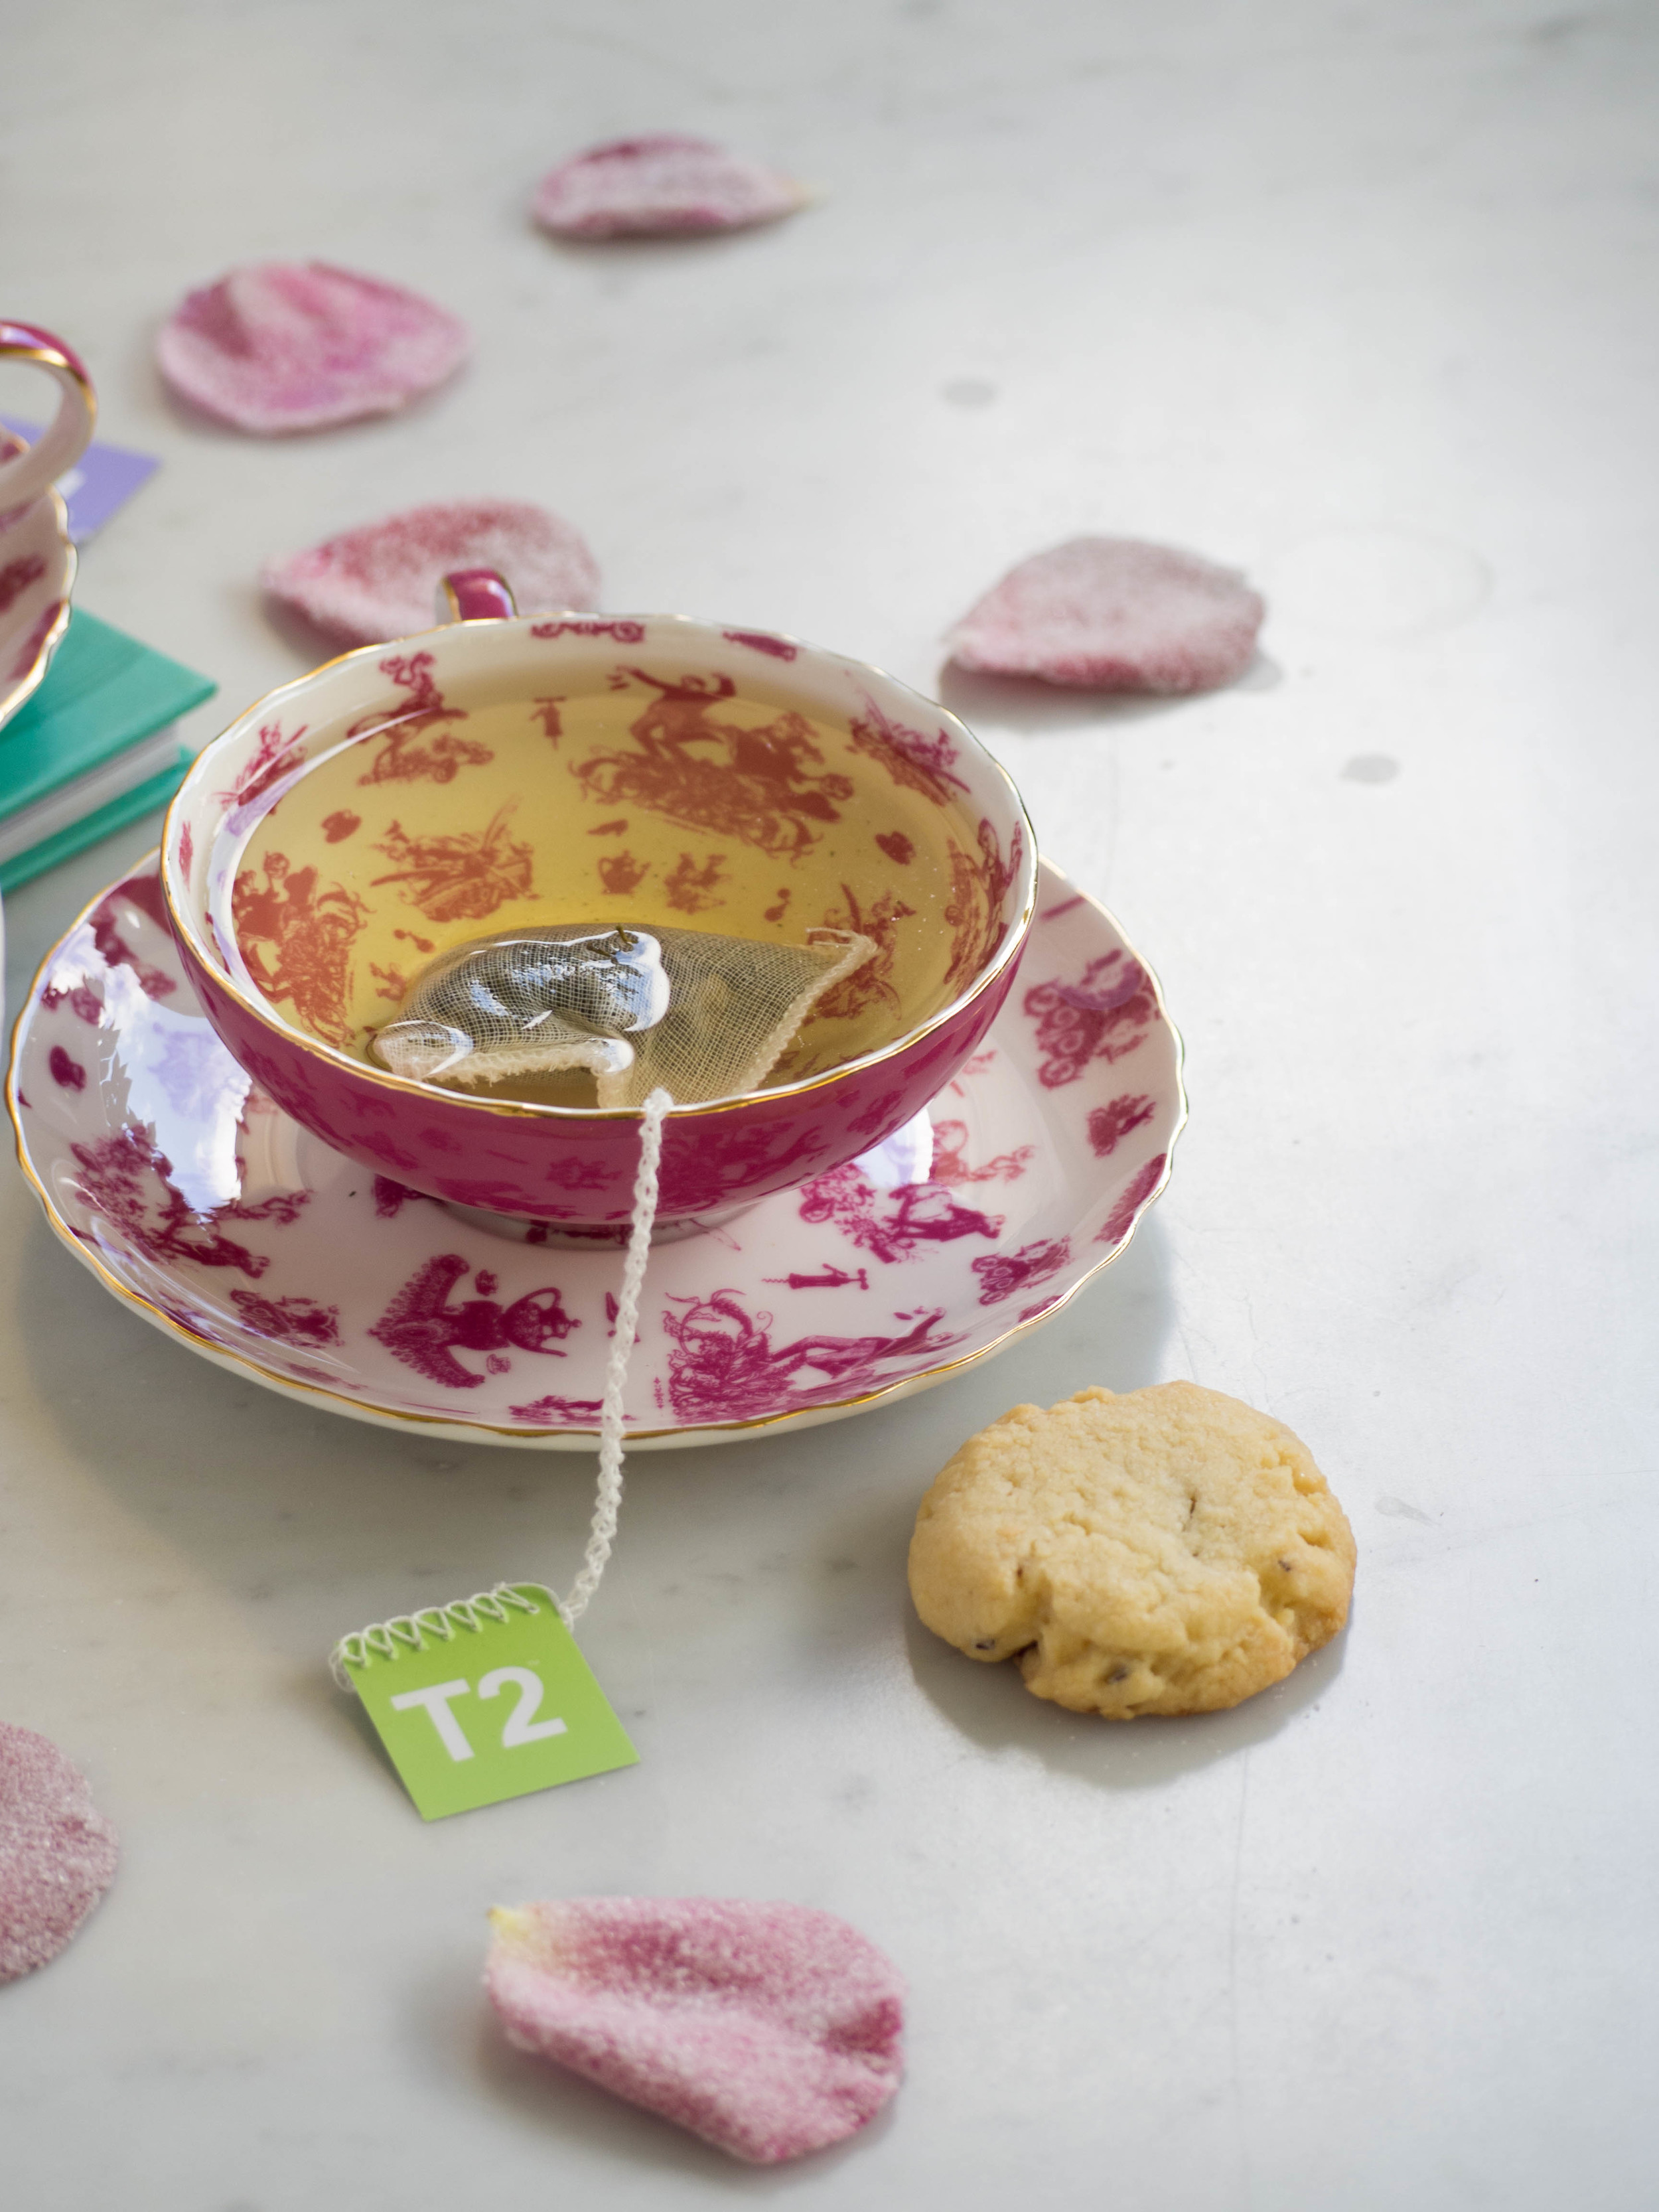
I have included a few of my favourite photos from the weekend, and yes, those blood orange challah doughnuts were as good as they looked (Molly has the recipe on her blog just FYI!)!
I would also like to recommend a really great podcast called My Open Kitchen, put together by Sophie Hansen and Skye Manson, which has just released it's first episode. During the first episode Molly is interviewed (which was recorded during the time she was here for the workshop), and its a really great interview. The whole podcast is great to listen to and I for one loved listening to it on the train home from work - a much more enjoyable ride than normal!
Apart from spending time at amazing workshops, I have been working and trying to enjoy baking in our new kitchen as much as possible. I have been in the kitchen so much that I have hardly been on the computer (to edit photos and write blog posts!), in a few weeks! I do have recipes in the works and things ready to post here, I just can't stand spending the whole weekend on the computer and not in the kitchen! Especially as I have four months of not cooking to make up for!
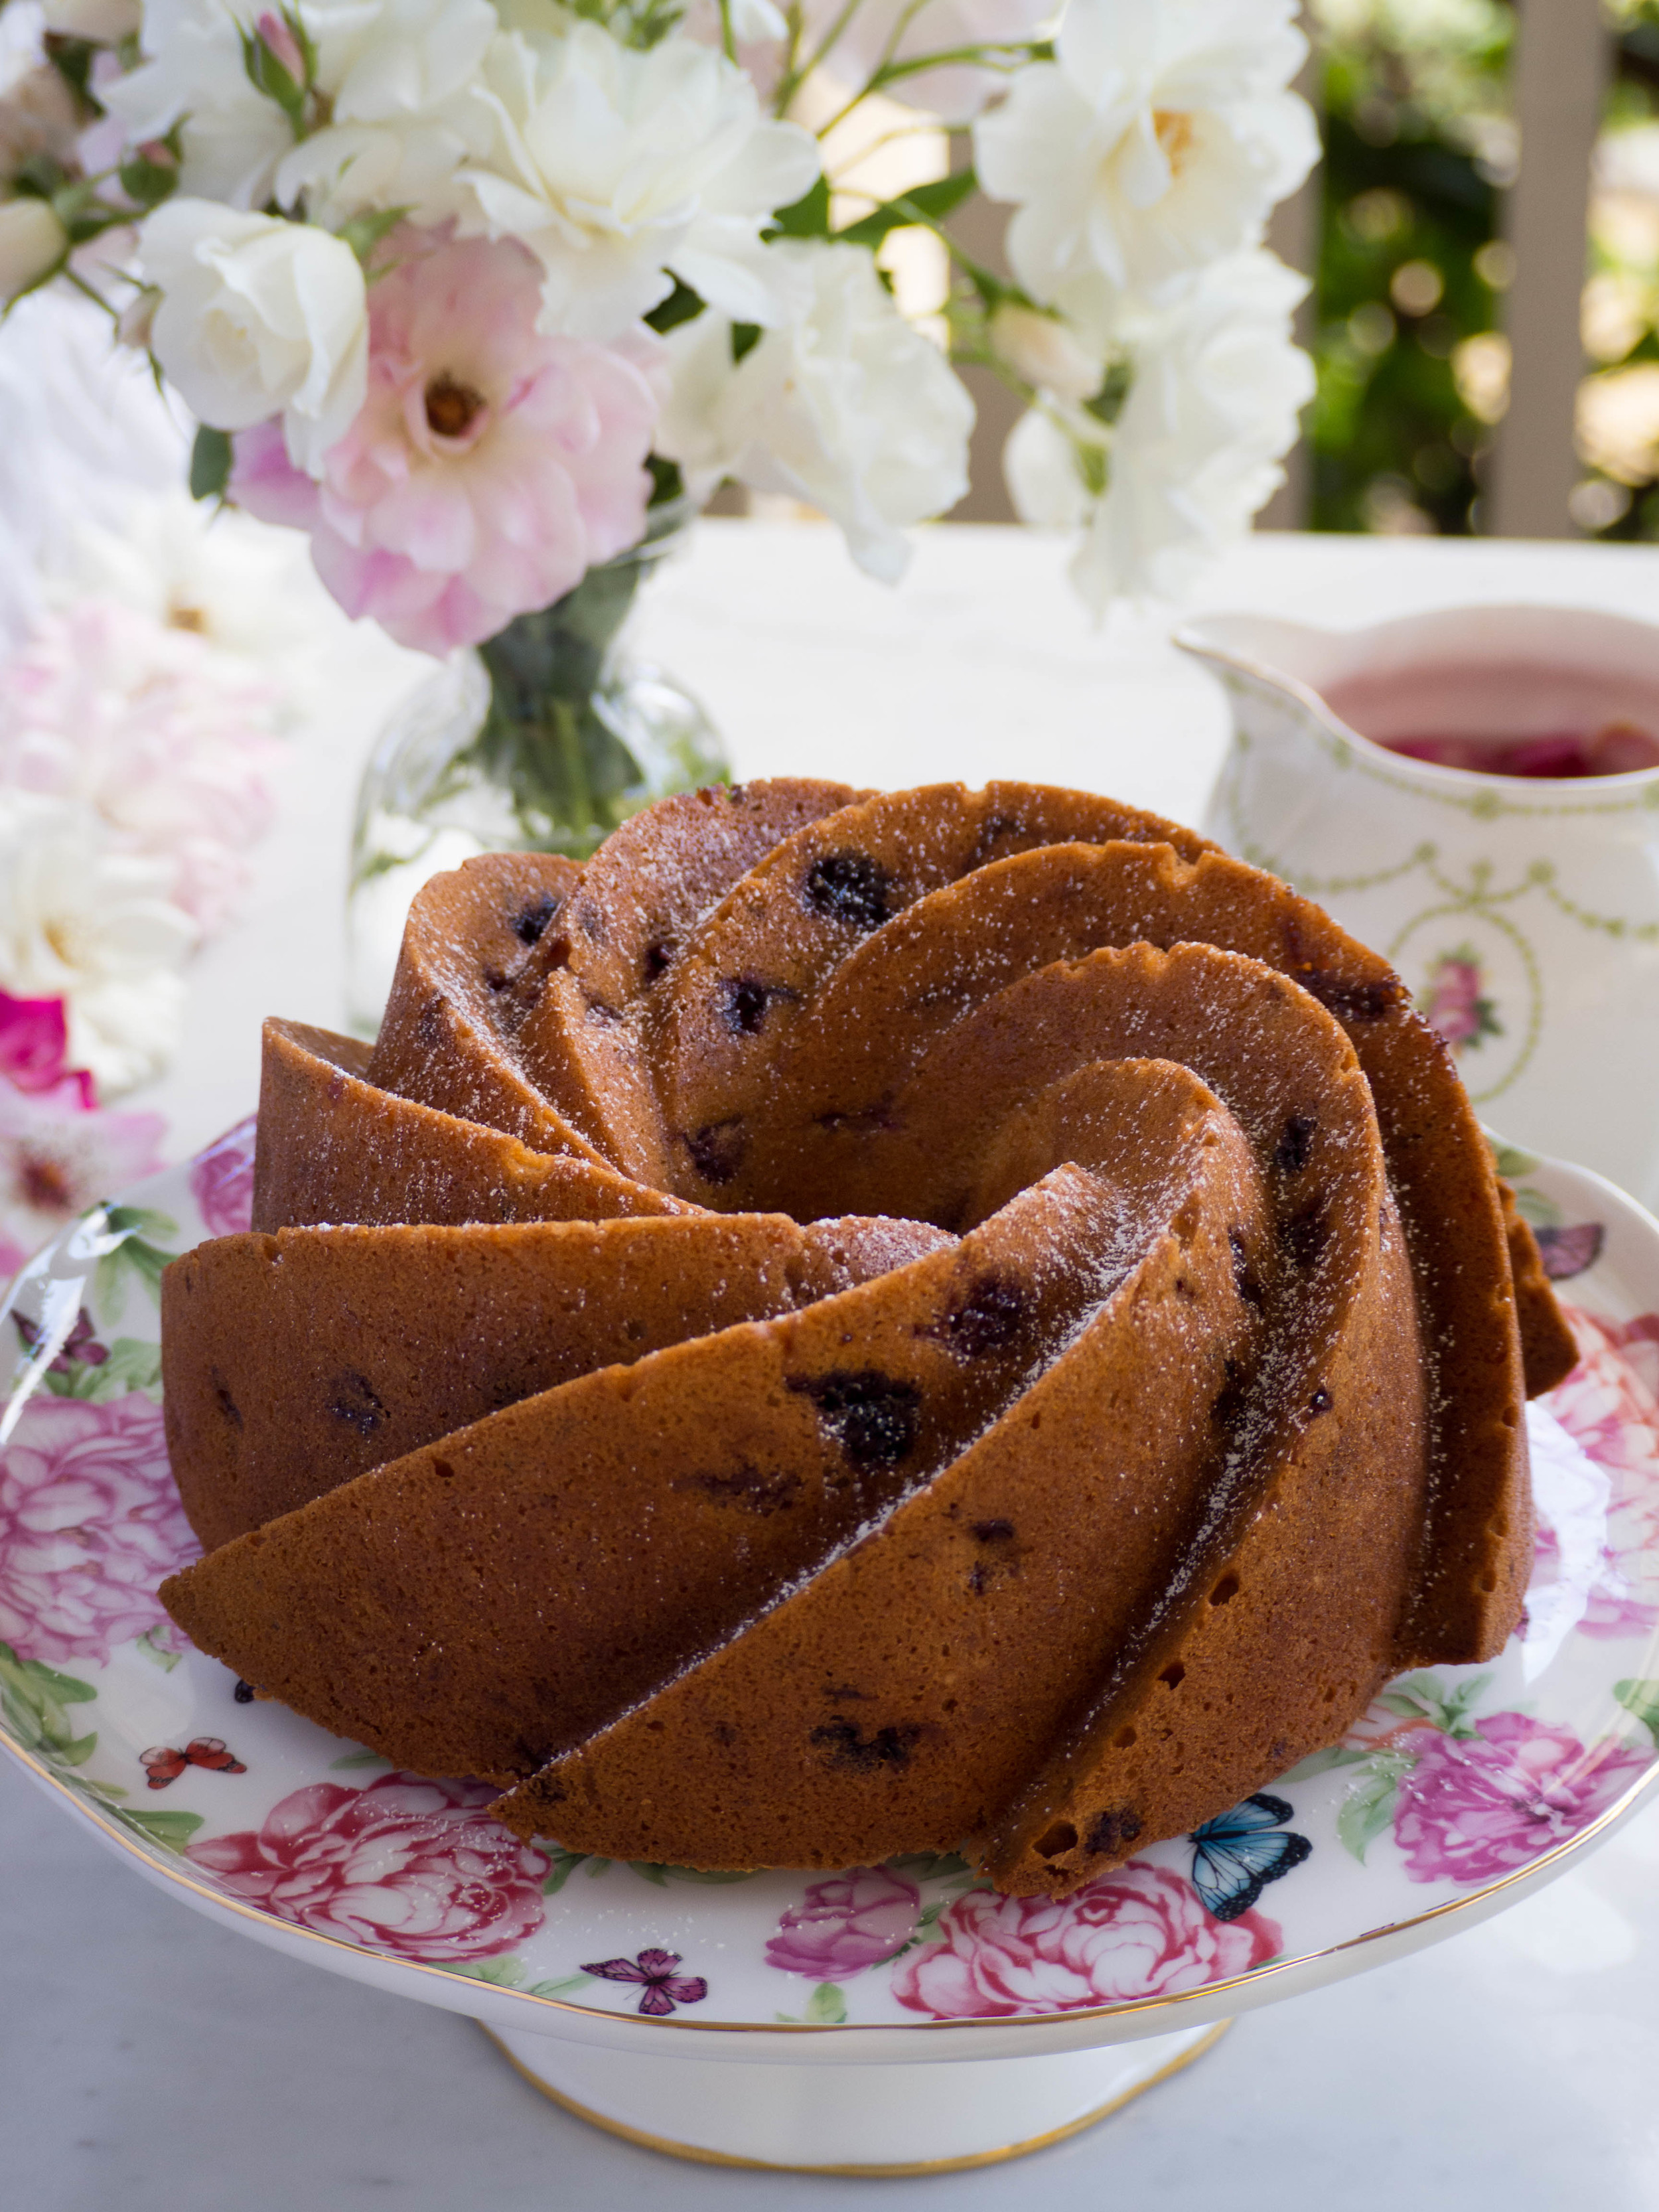
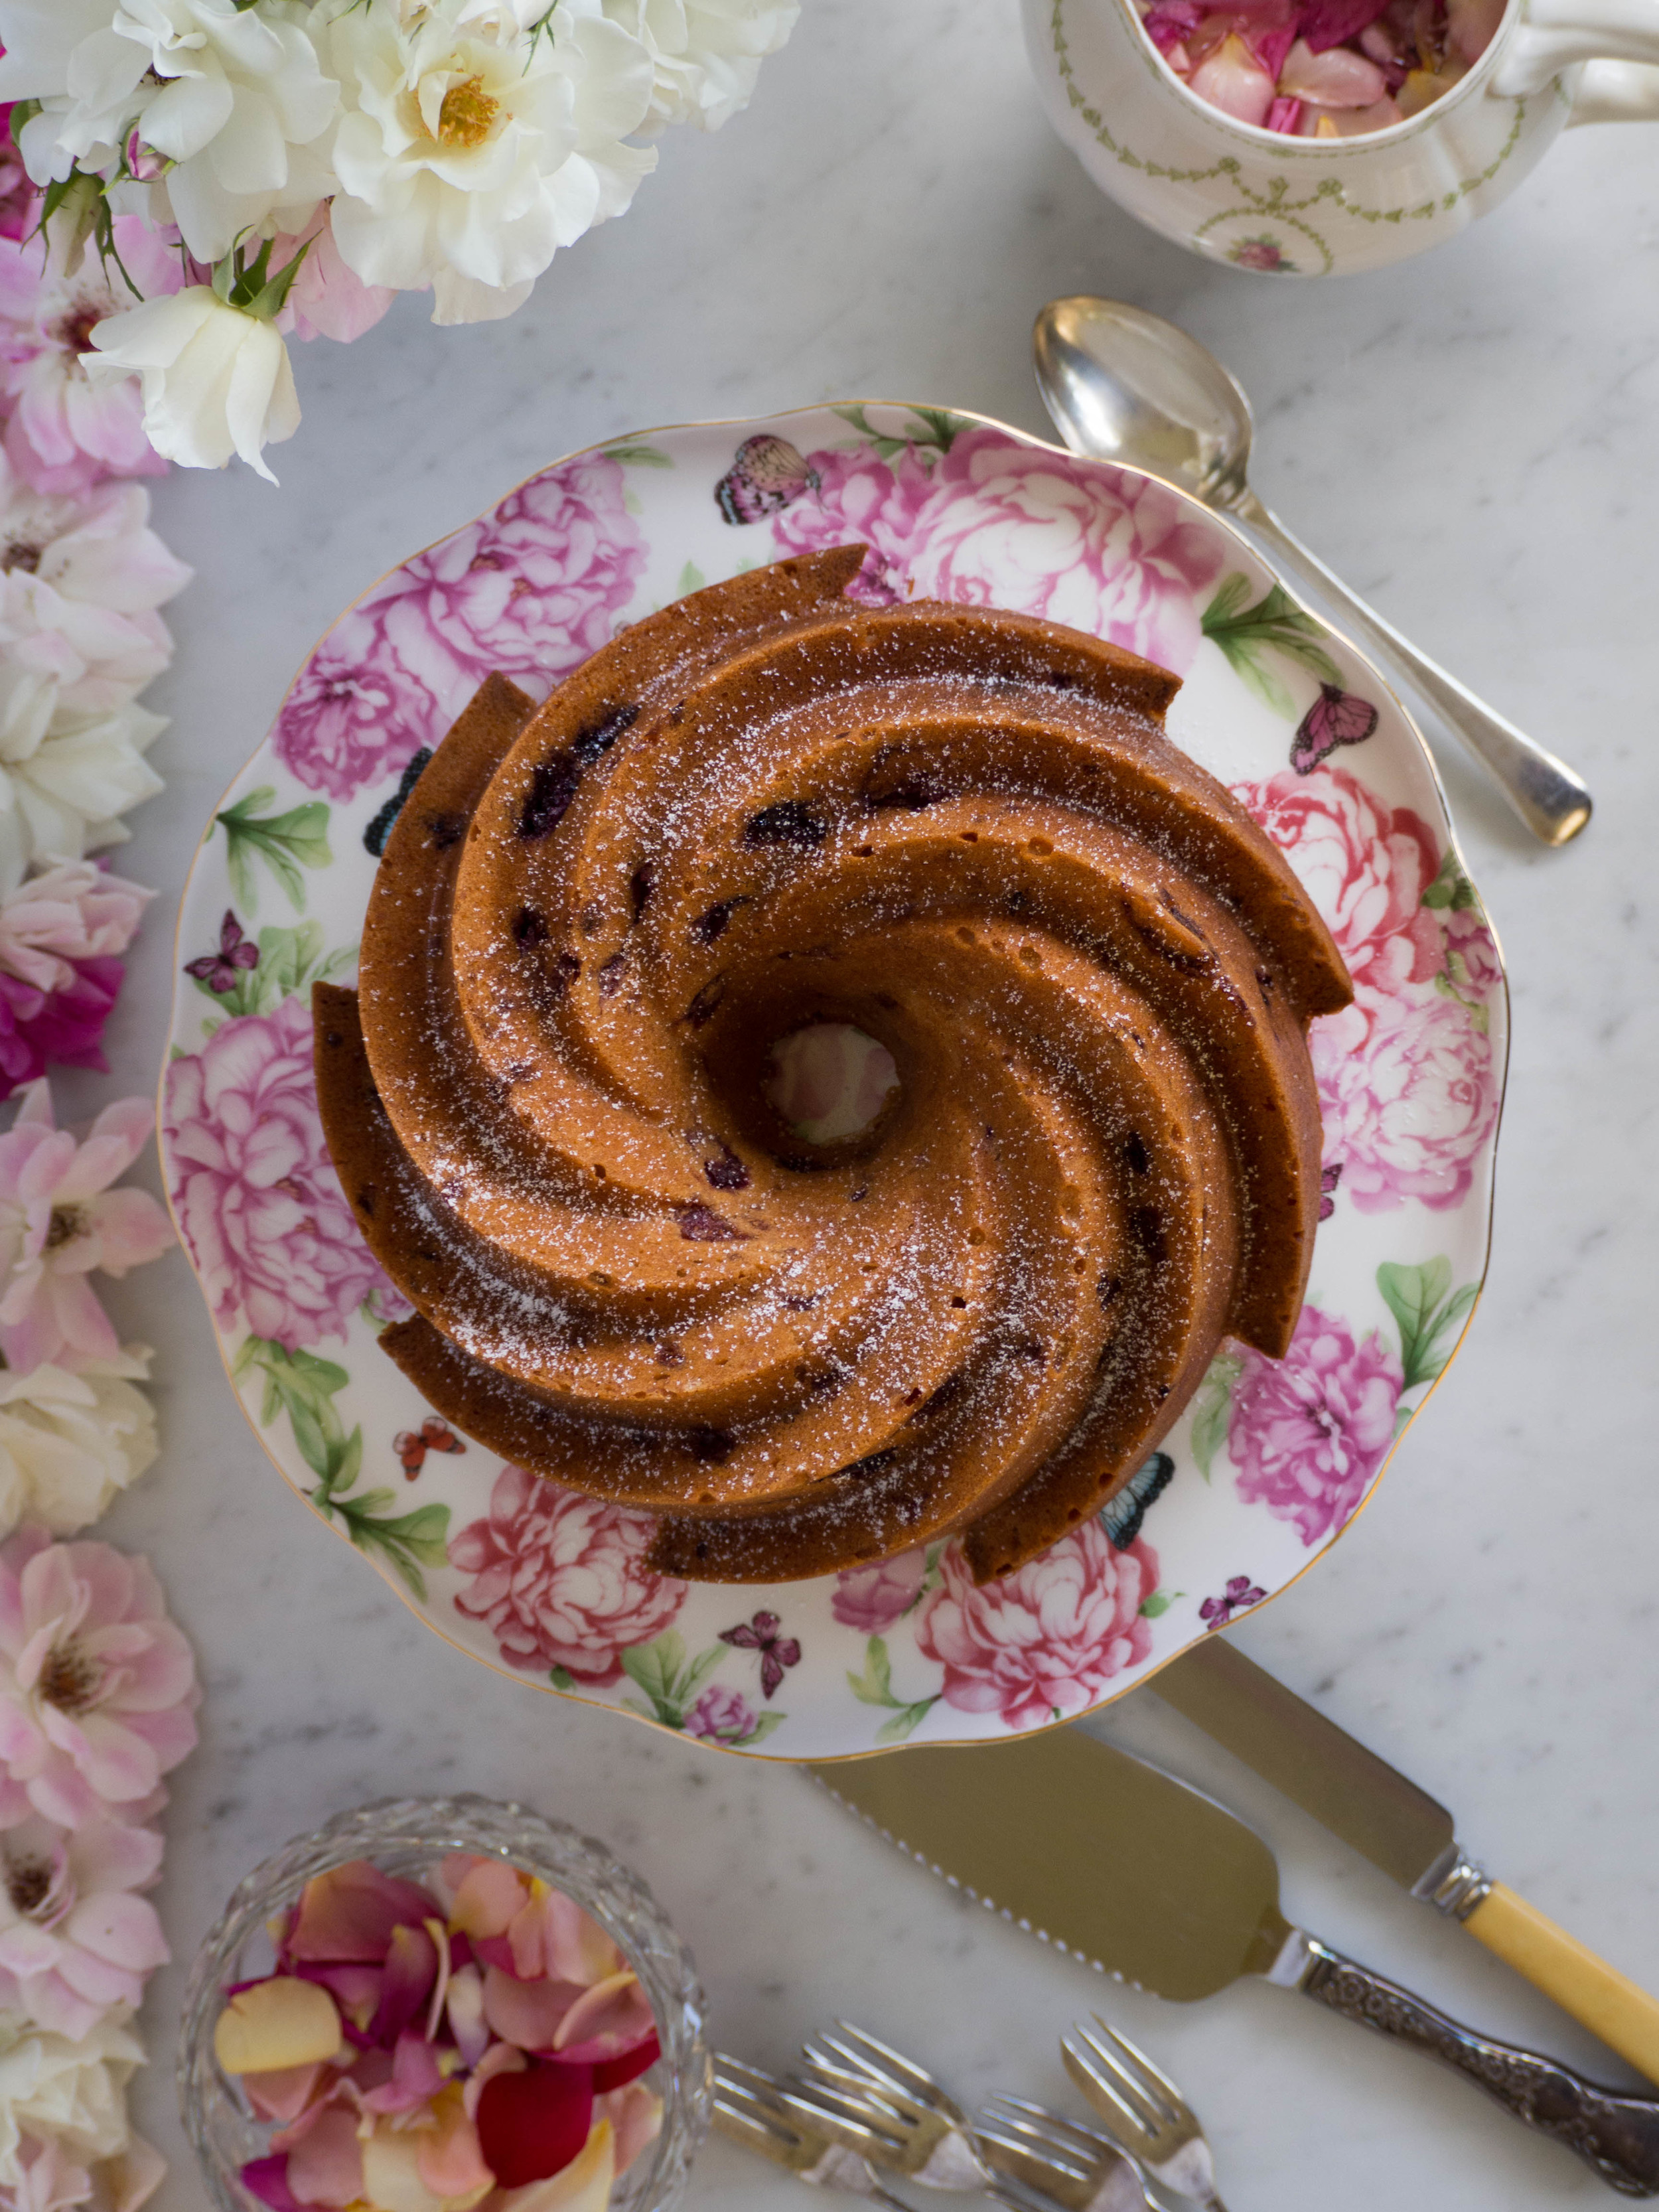
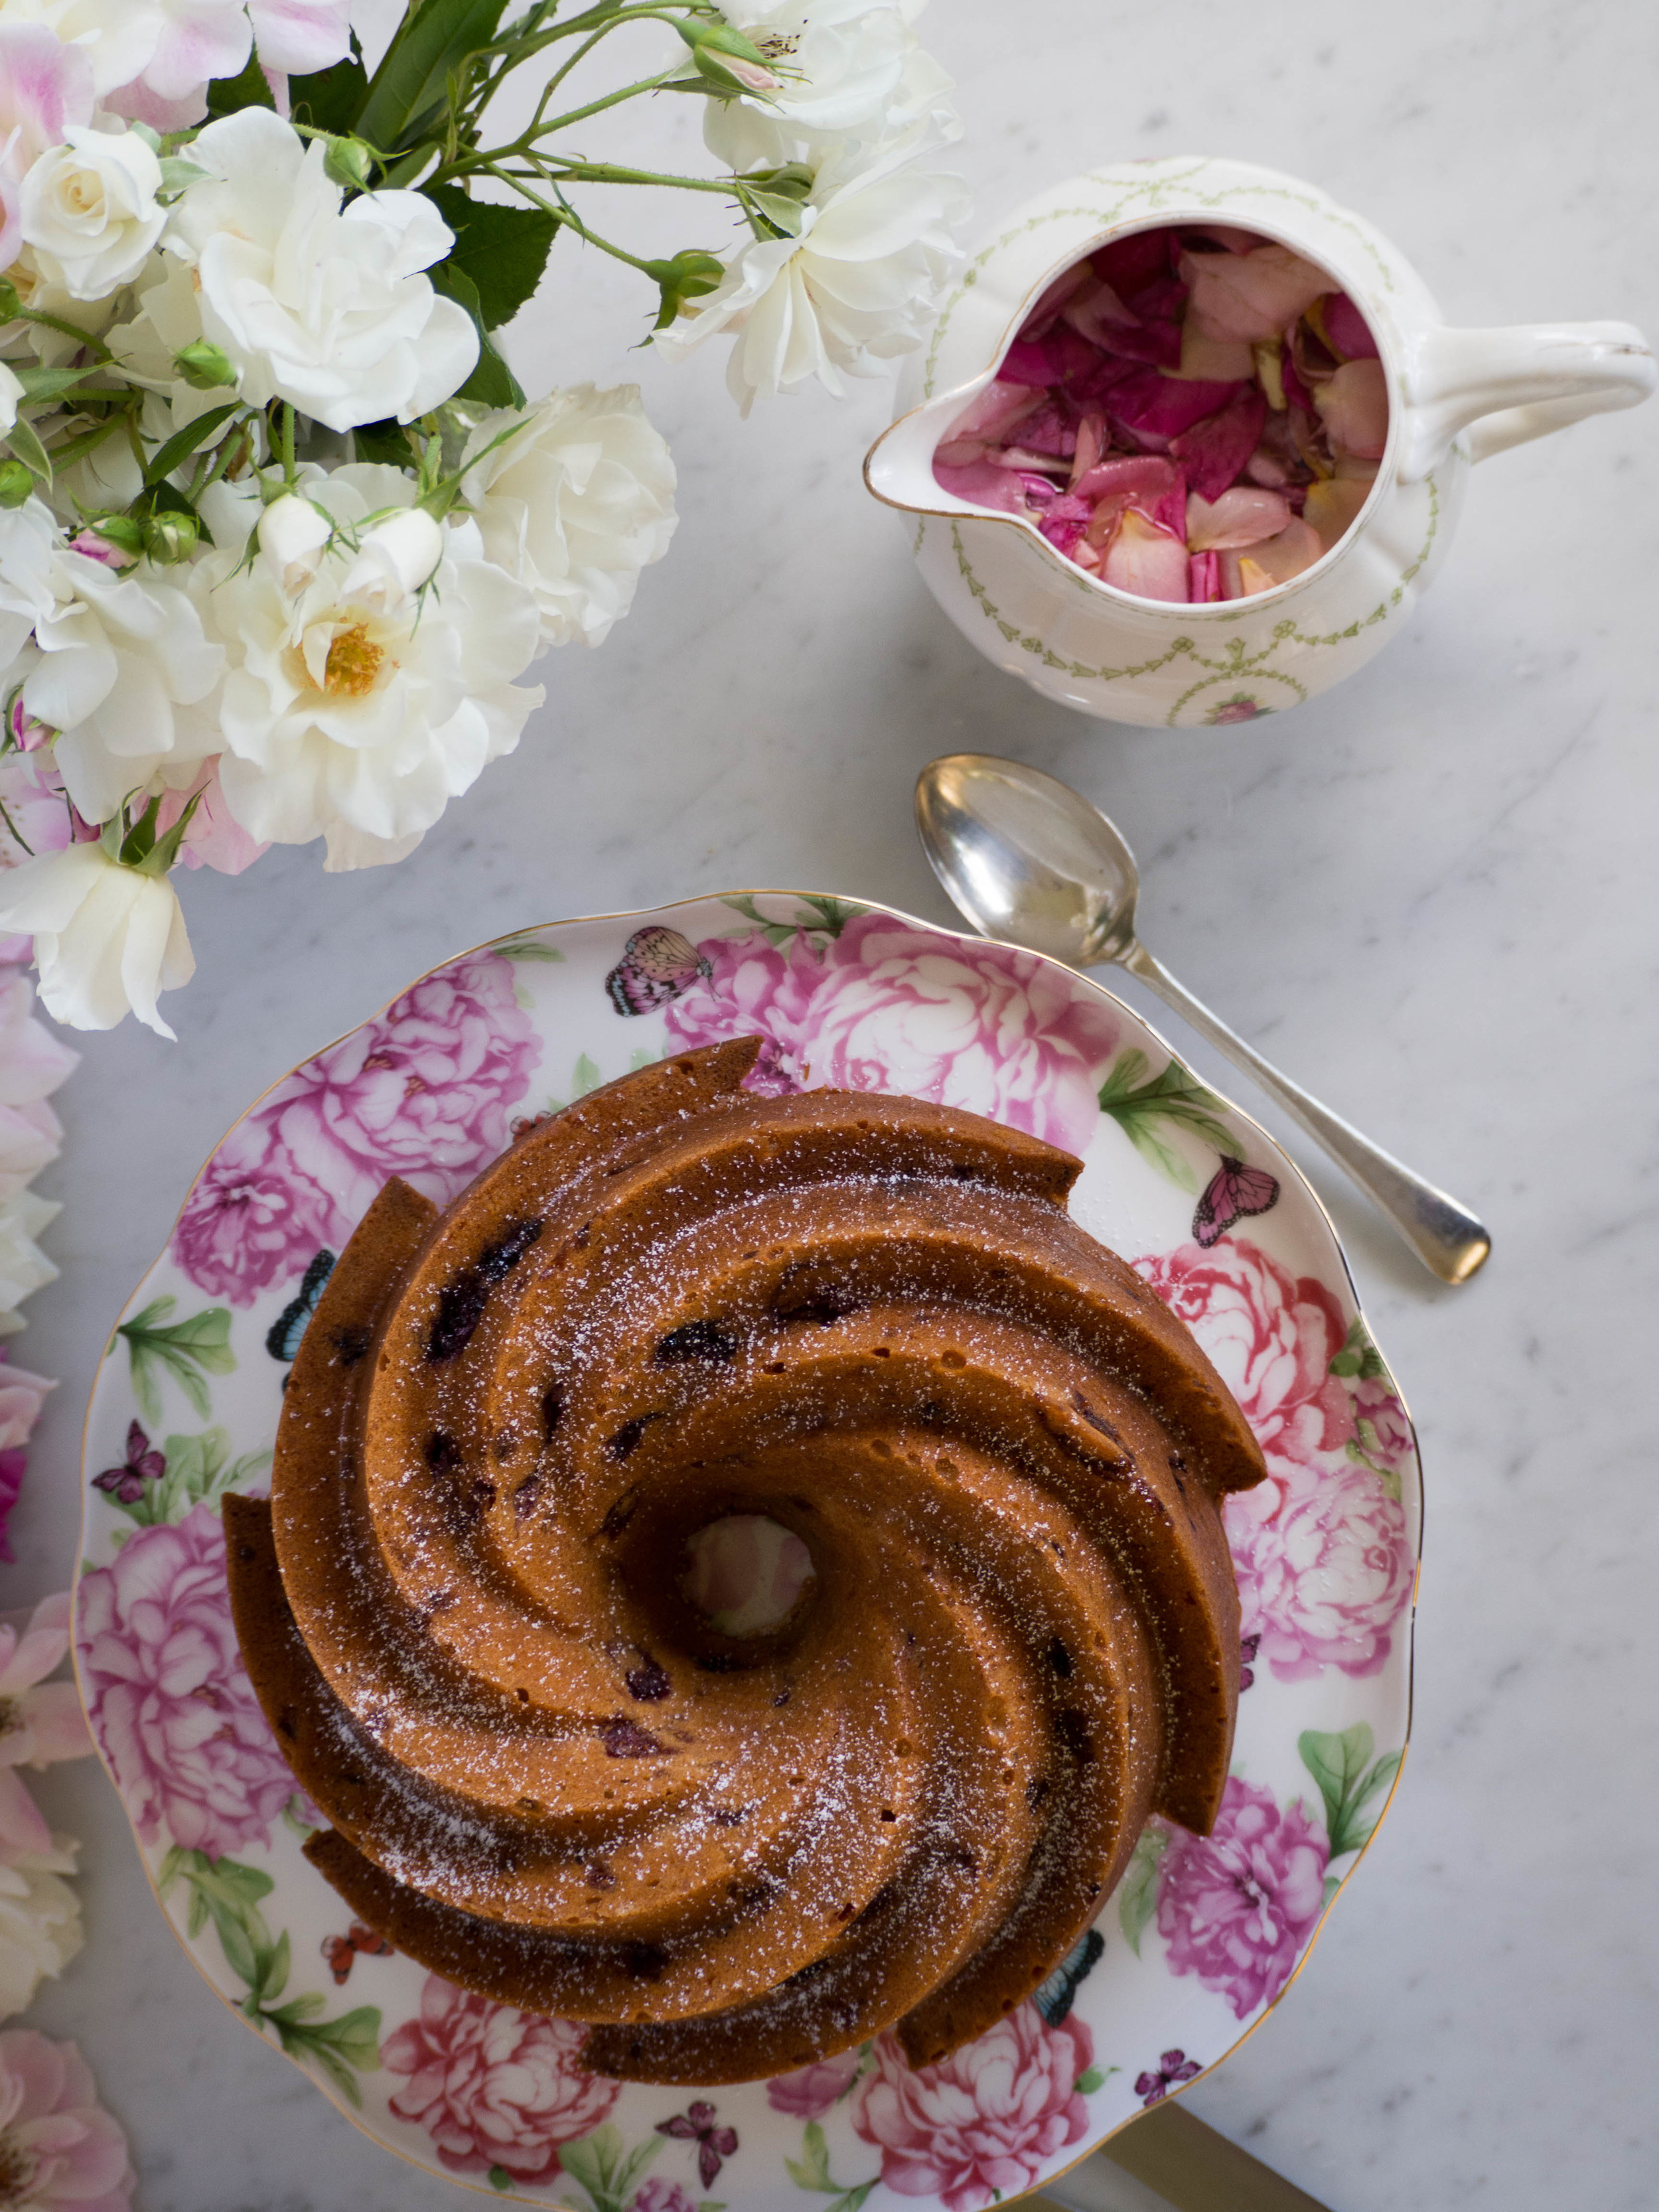
Anyway, I have some delicious things coming to the blog soon (or my version of ‘soon’, I should say), including a blood orange cake which I am quite excited about. I made it a couple of weeks ago and I’m pretty sure I ate most of it myself, which when you see the cake you will understand the seriousness of that statement!
For now I’ll leave you with my photo recap of the wonderful weekend that was the Local is Lovely Workshop. Don’t forget to check out my Instagram and Instagram Story for what I’m up to in the kitchen in between blog posts!
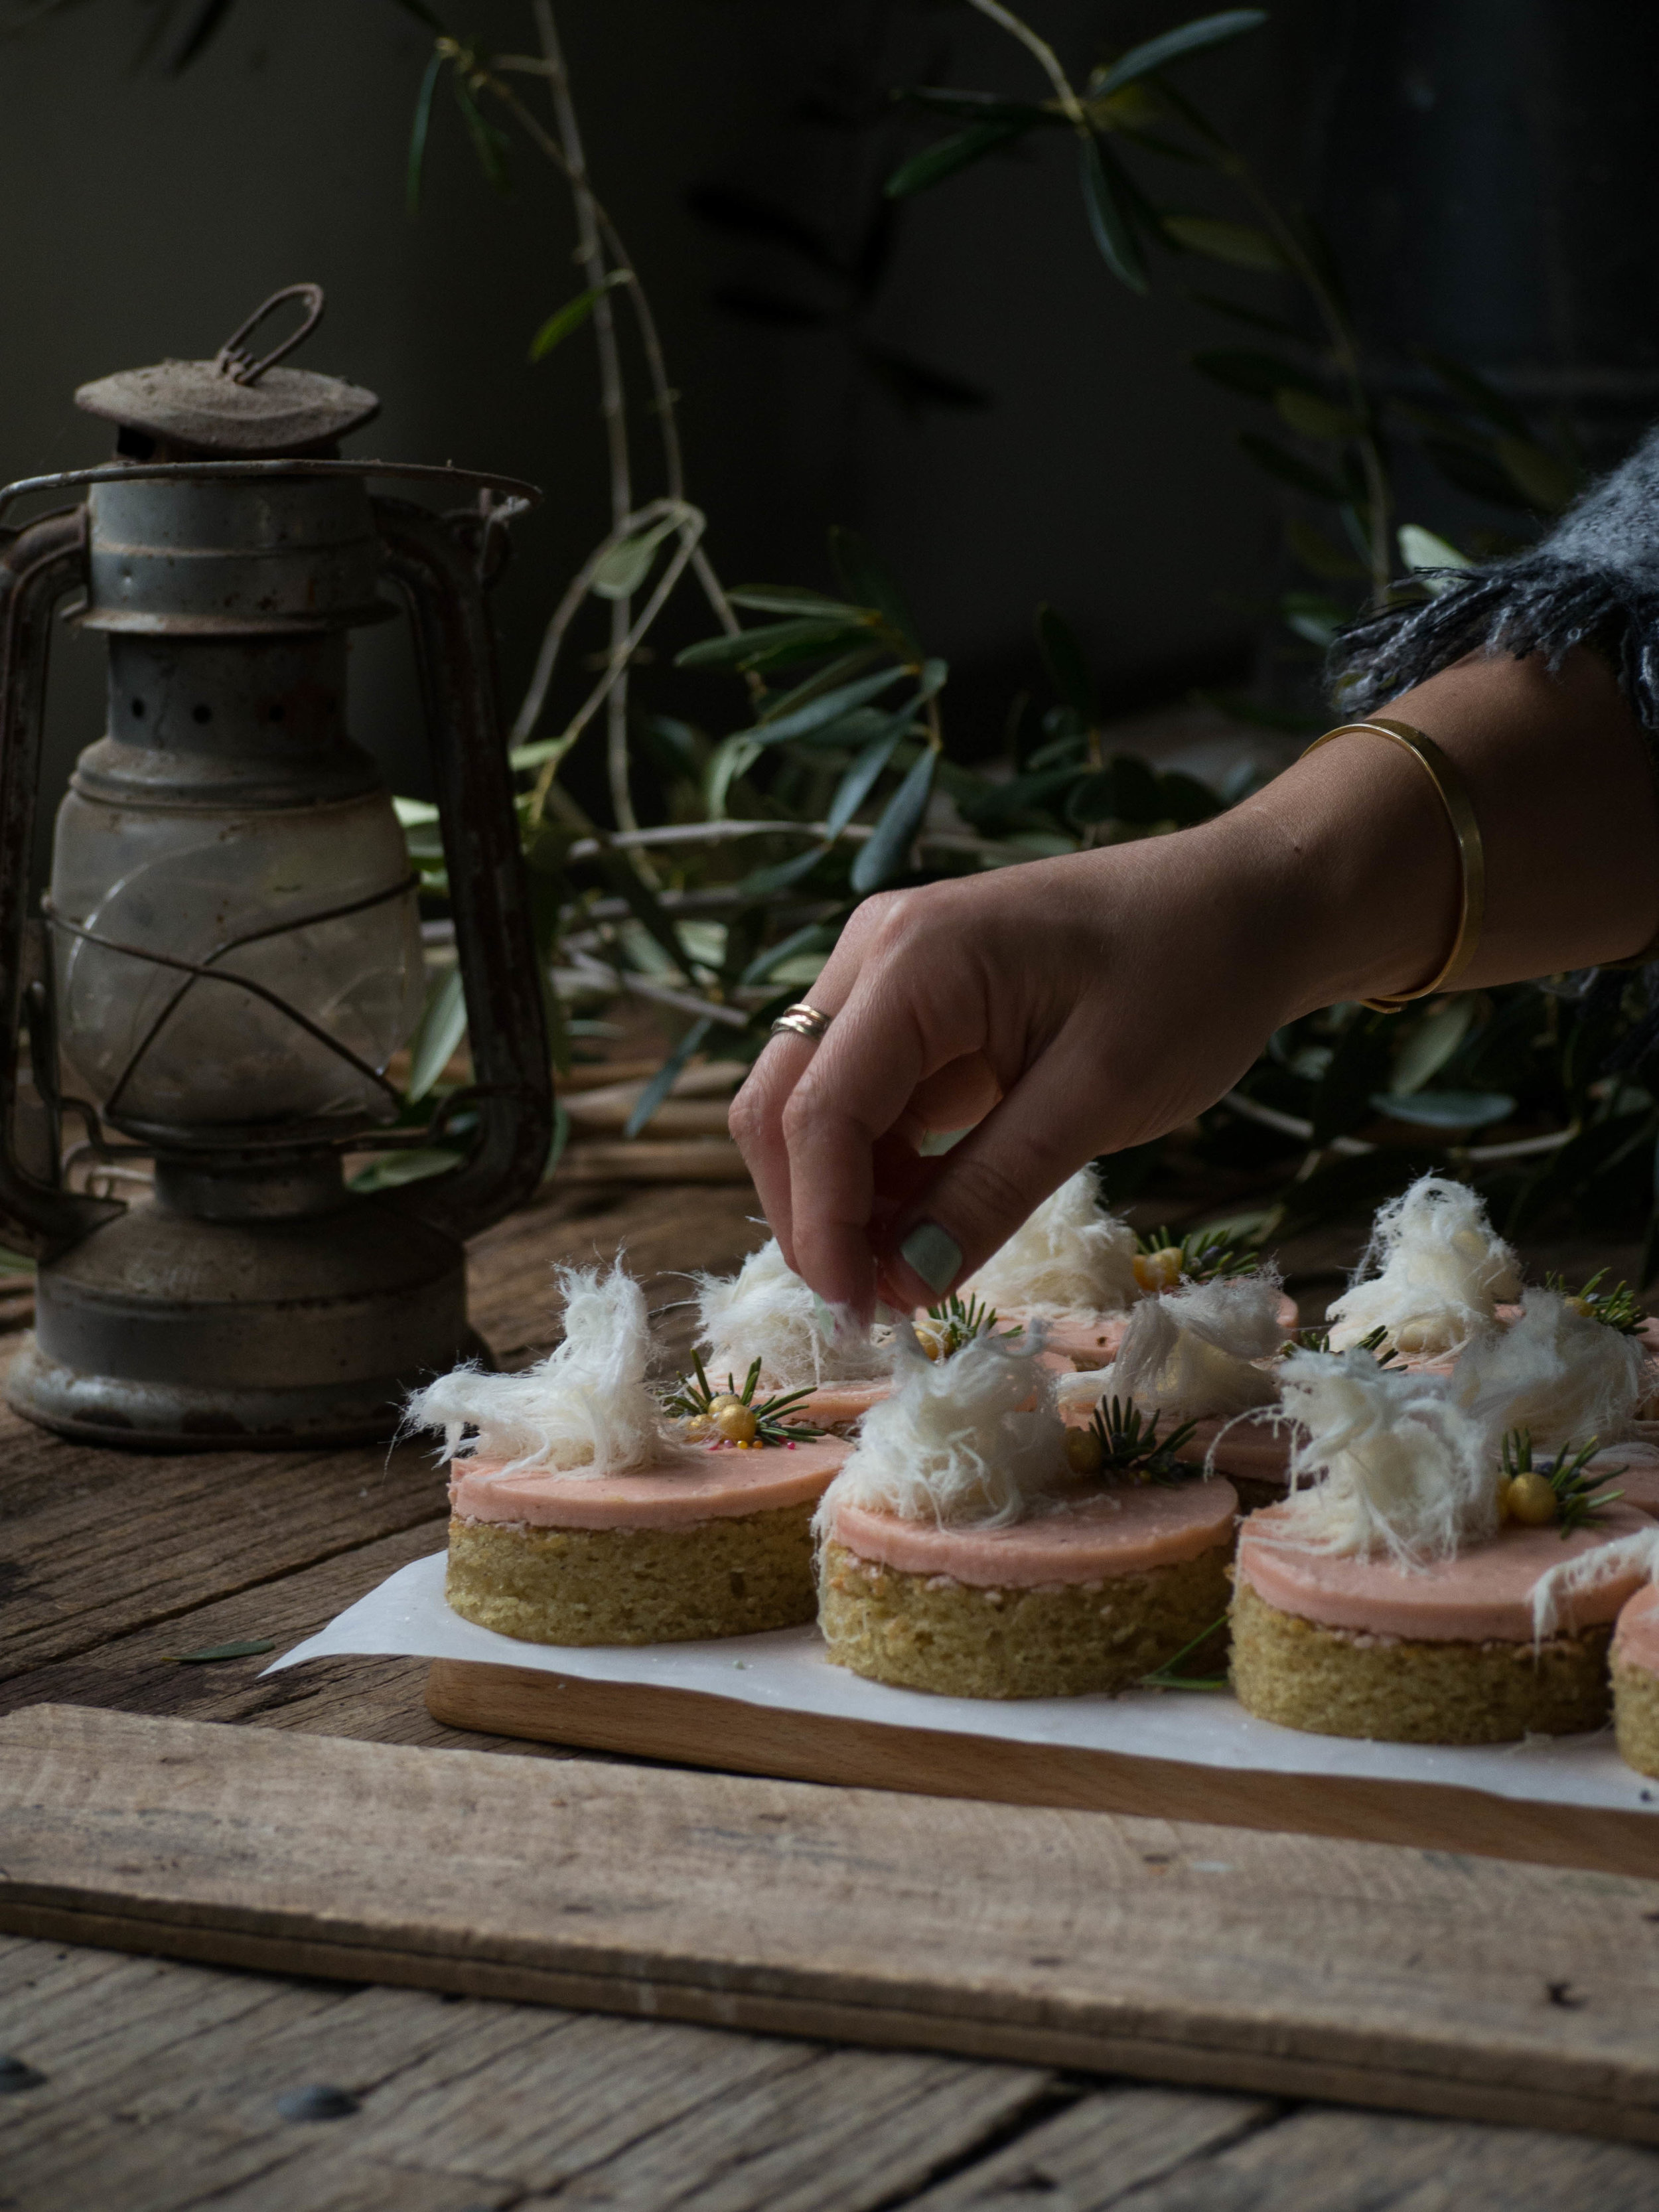
Rhubarb & Olive Oil Cakes - Made by Molly Yeh

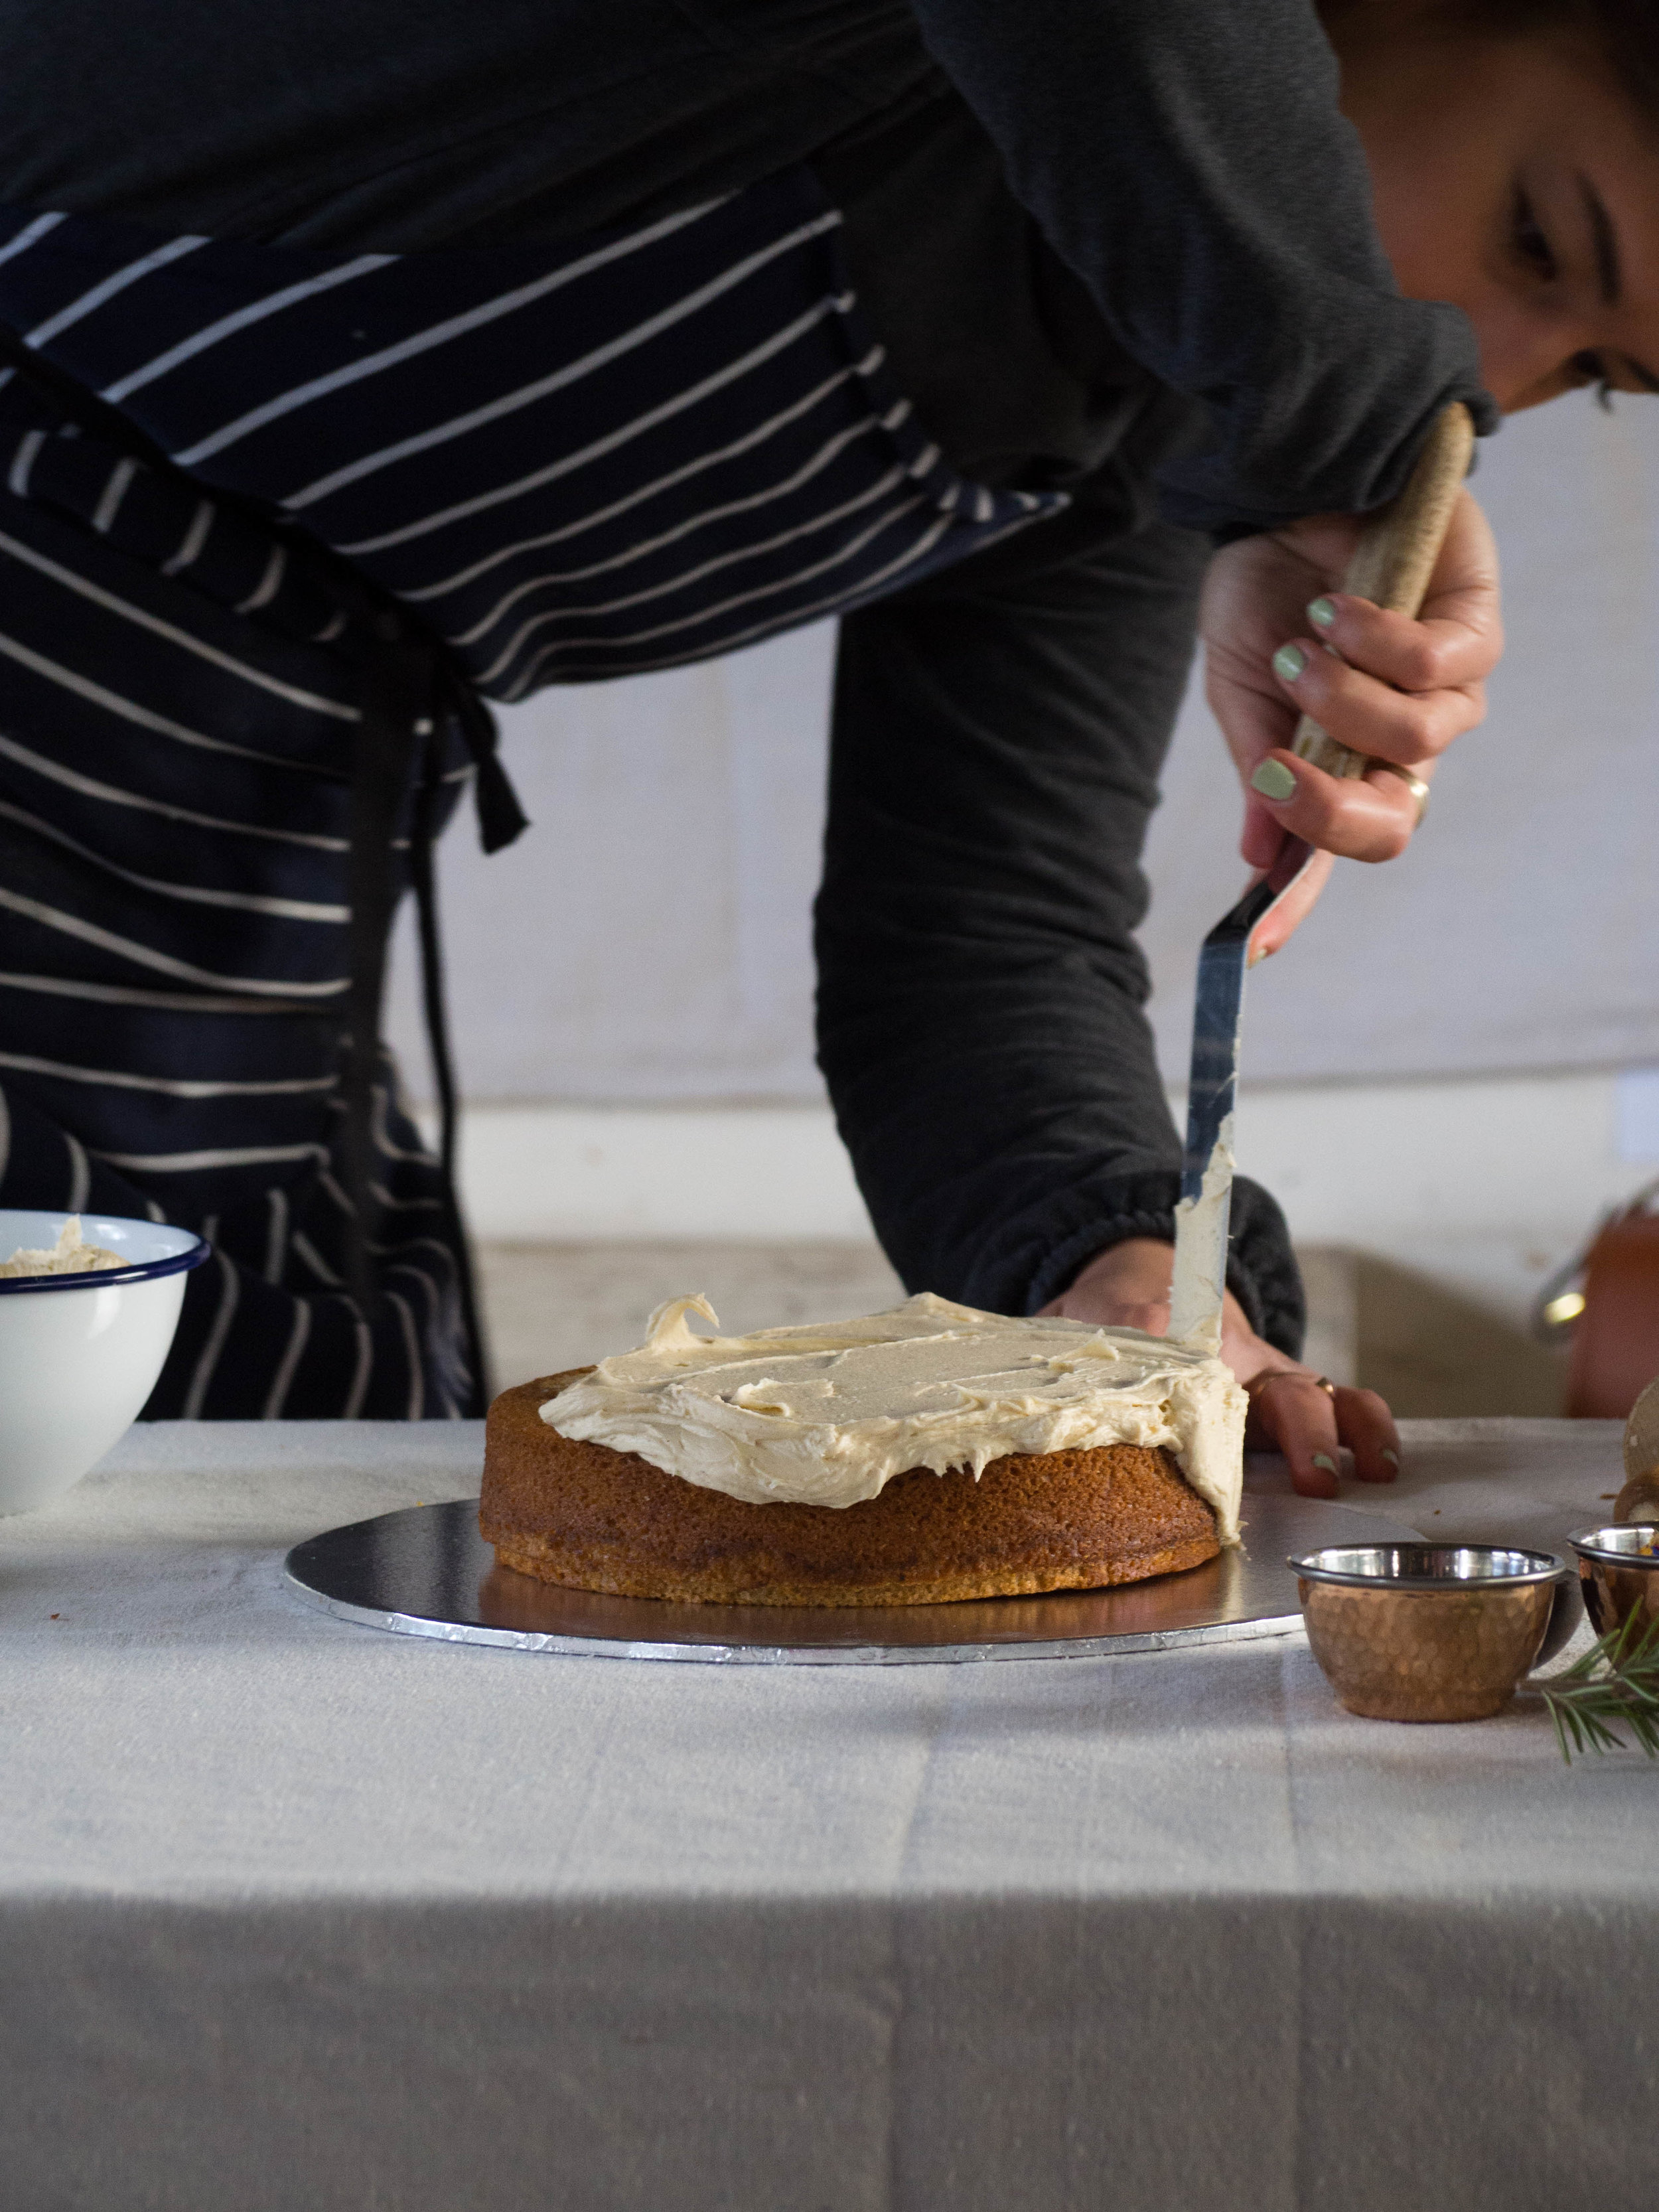
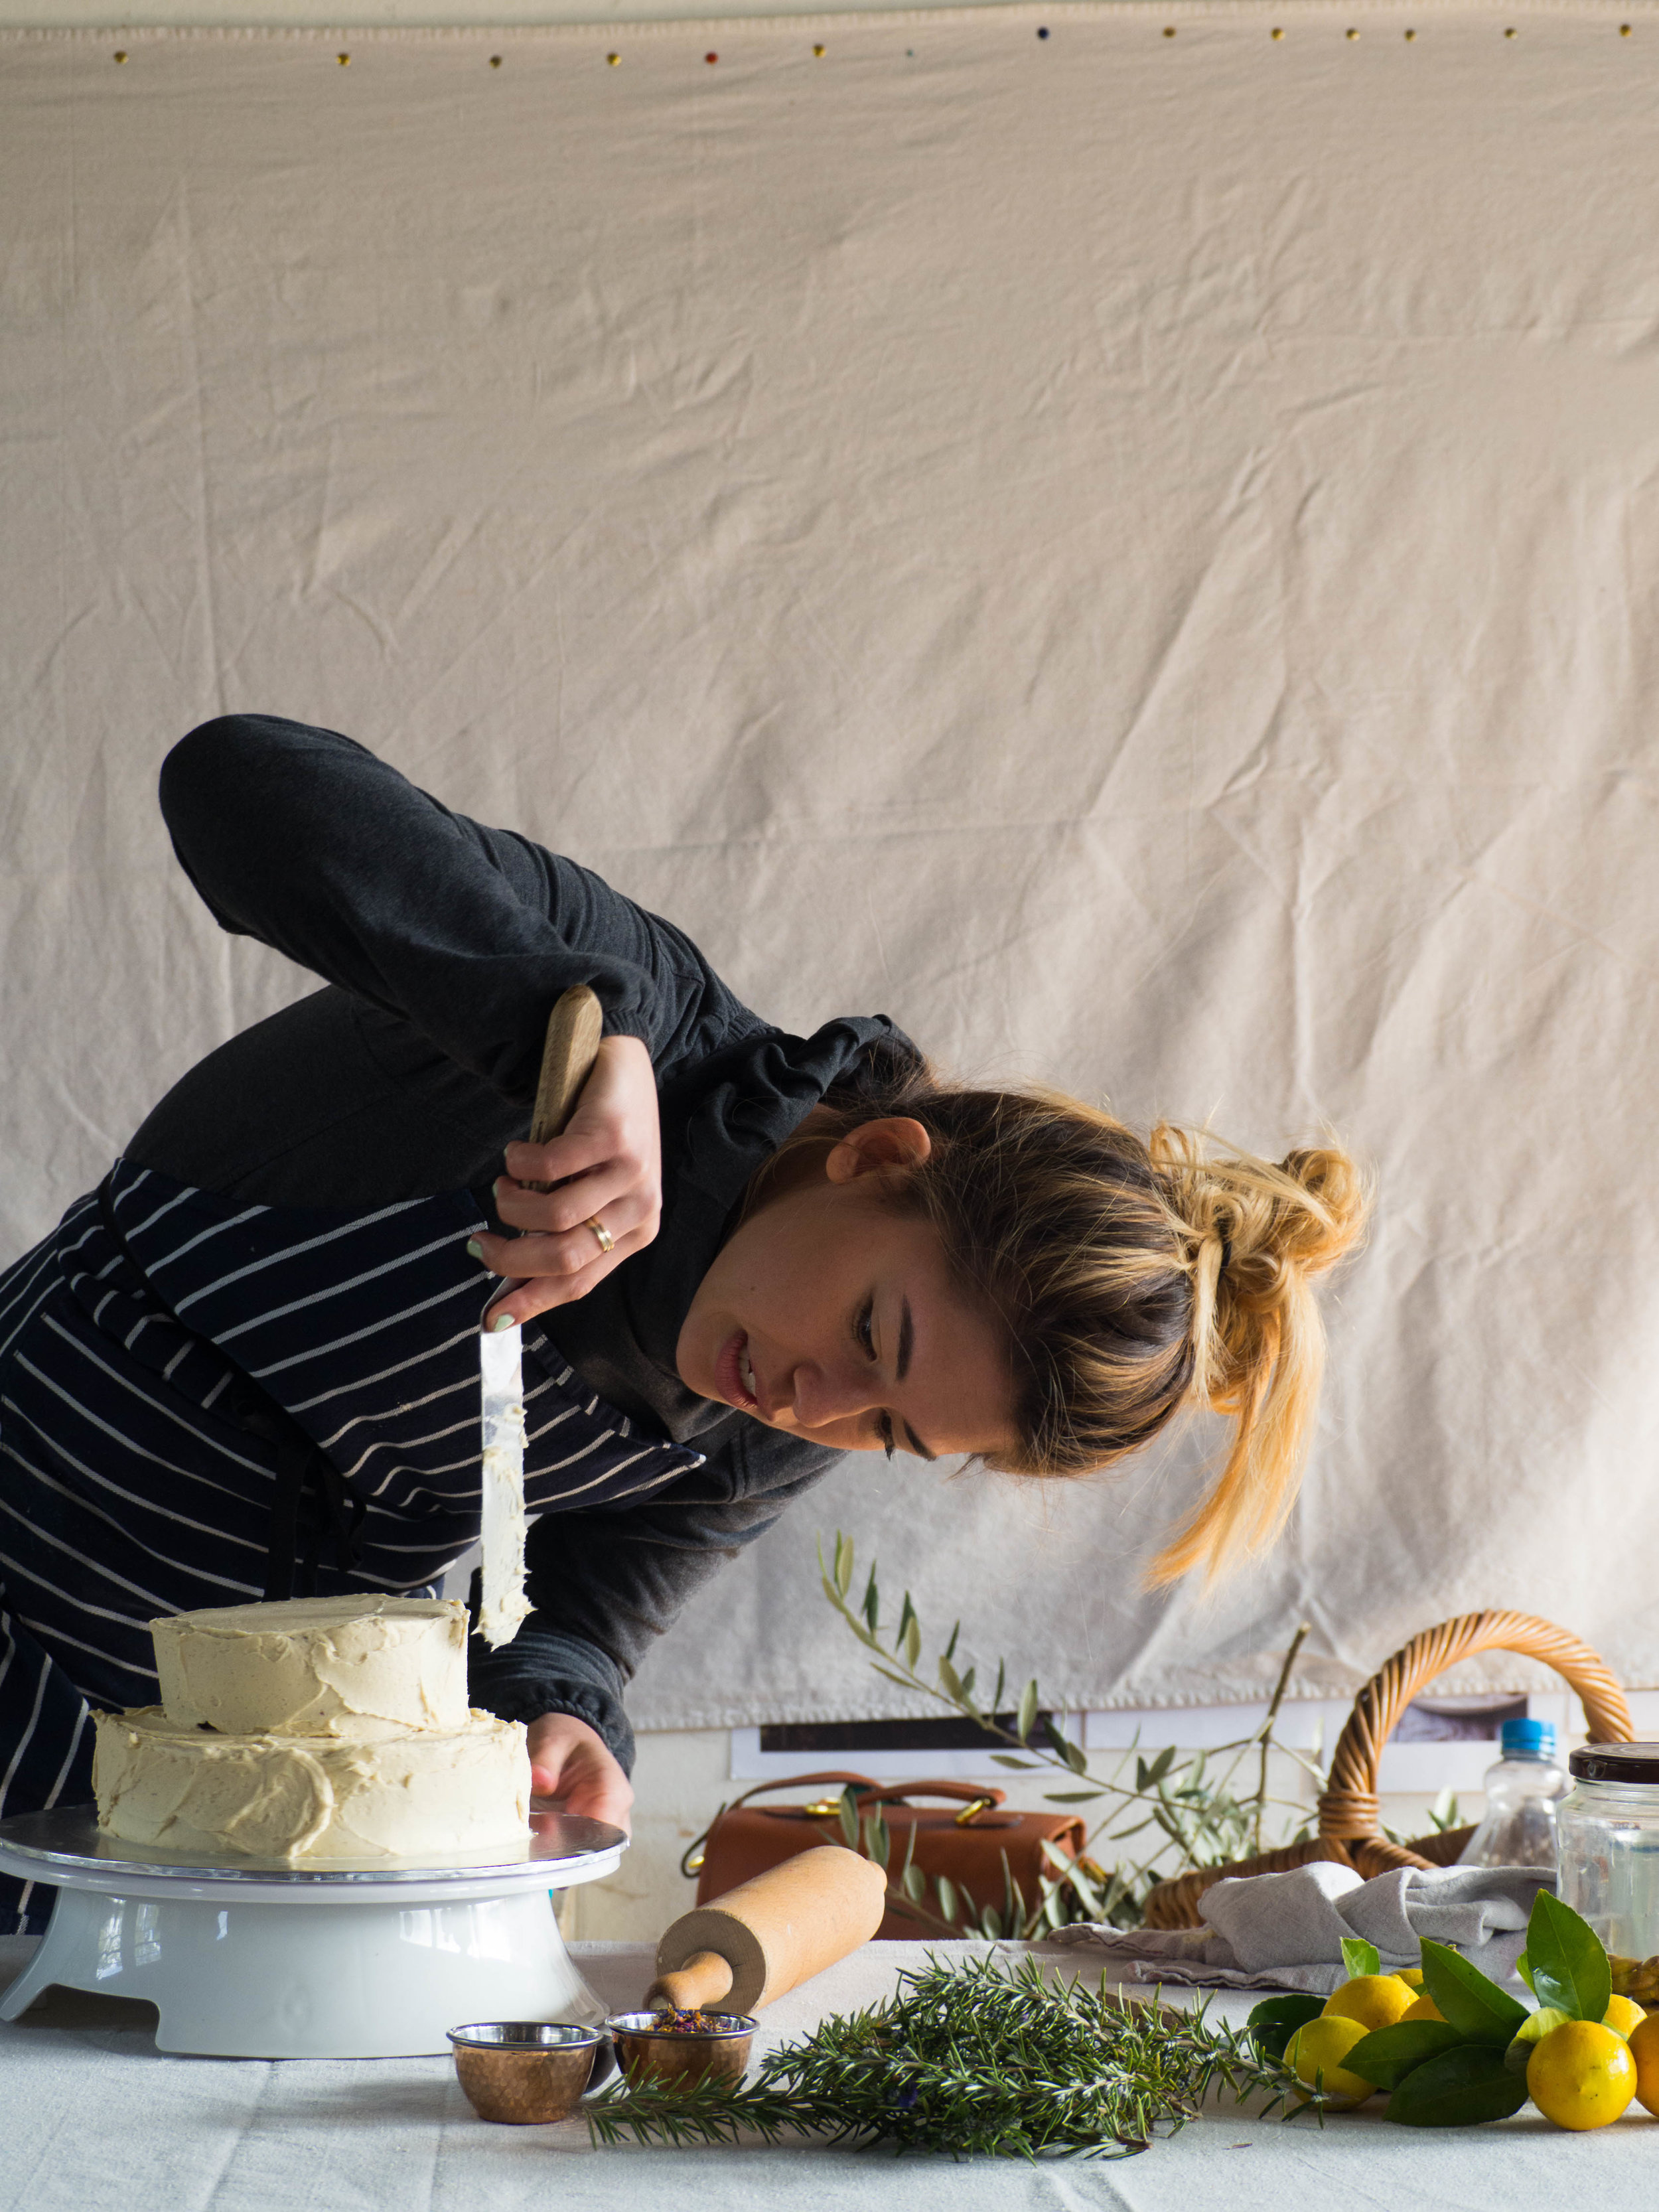
Molly icing her cake with tahini buttercream

Molly decorating her cake - complete with a marzipan kangaroo!


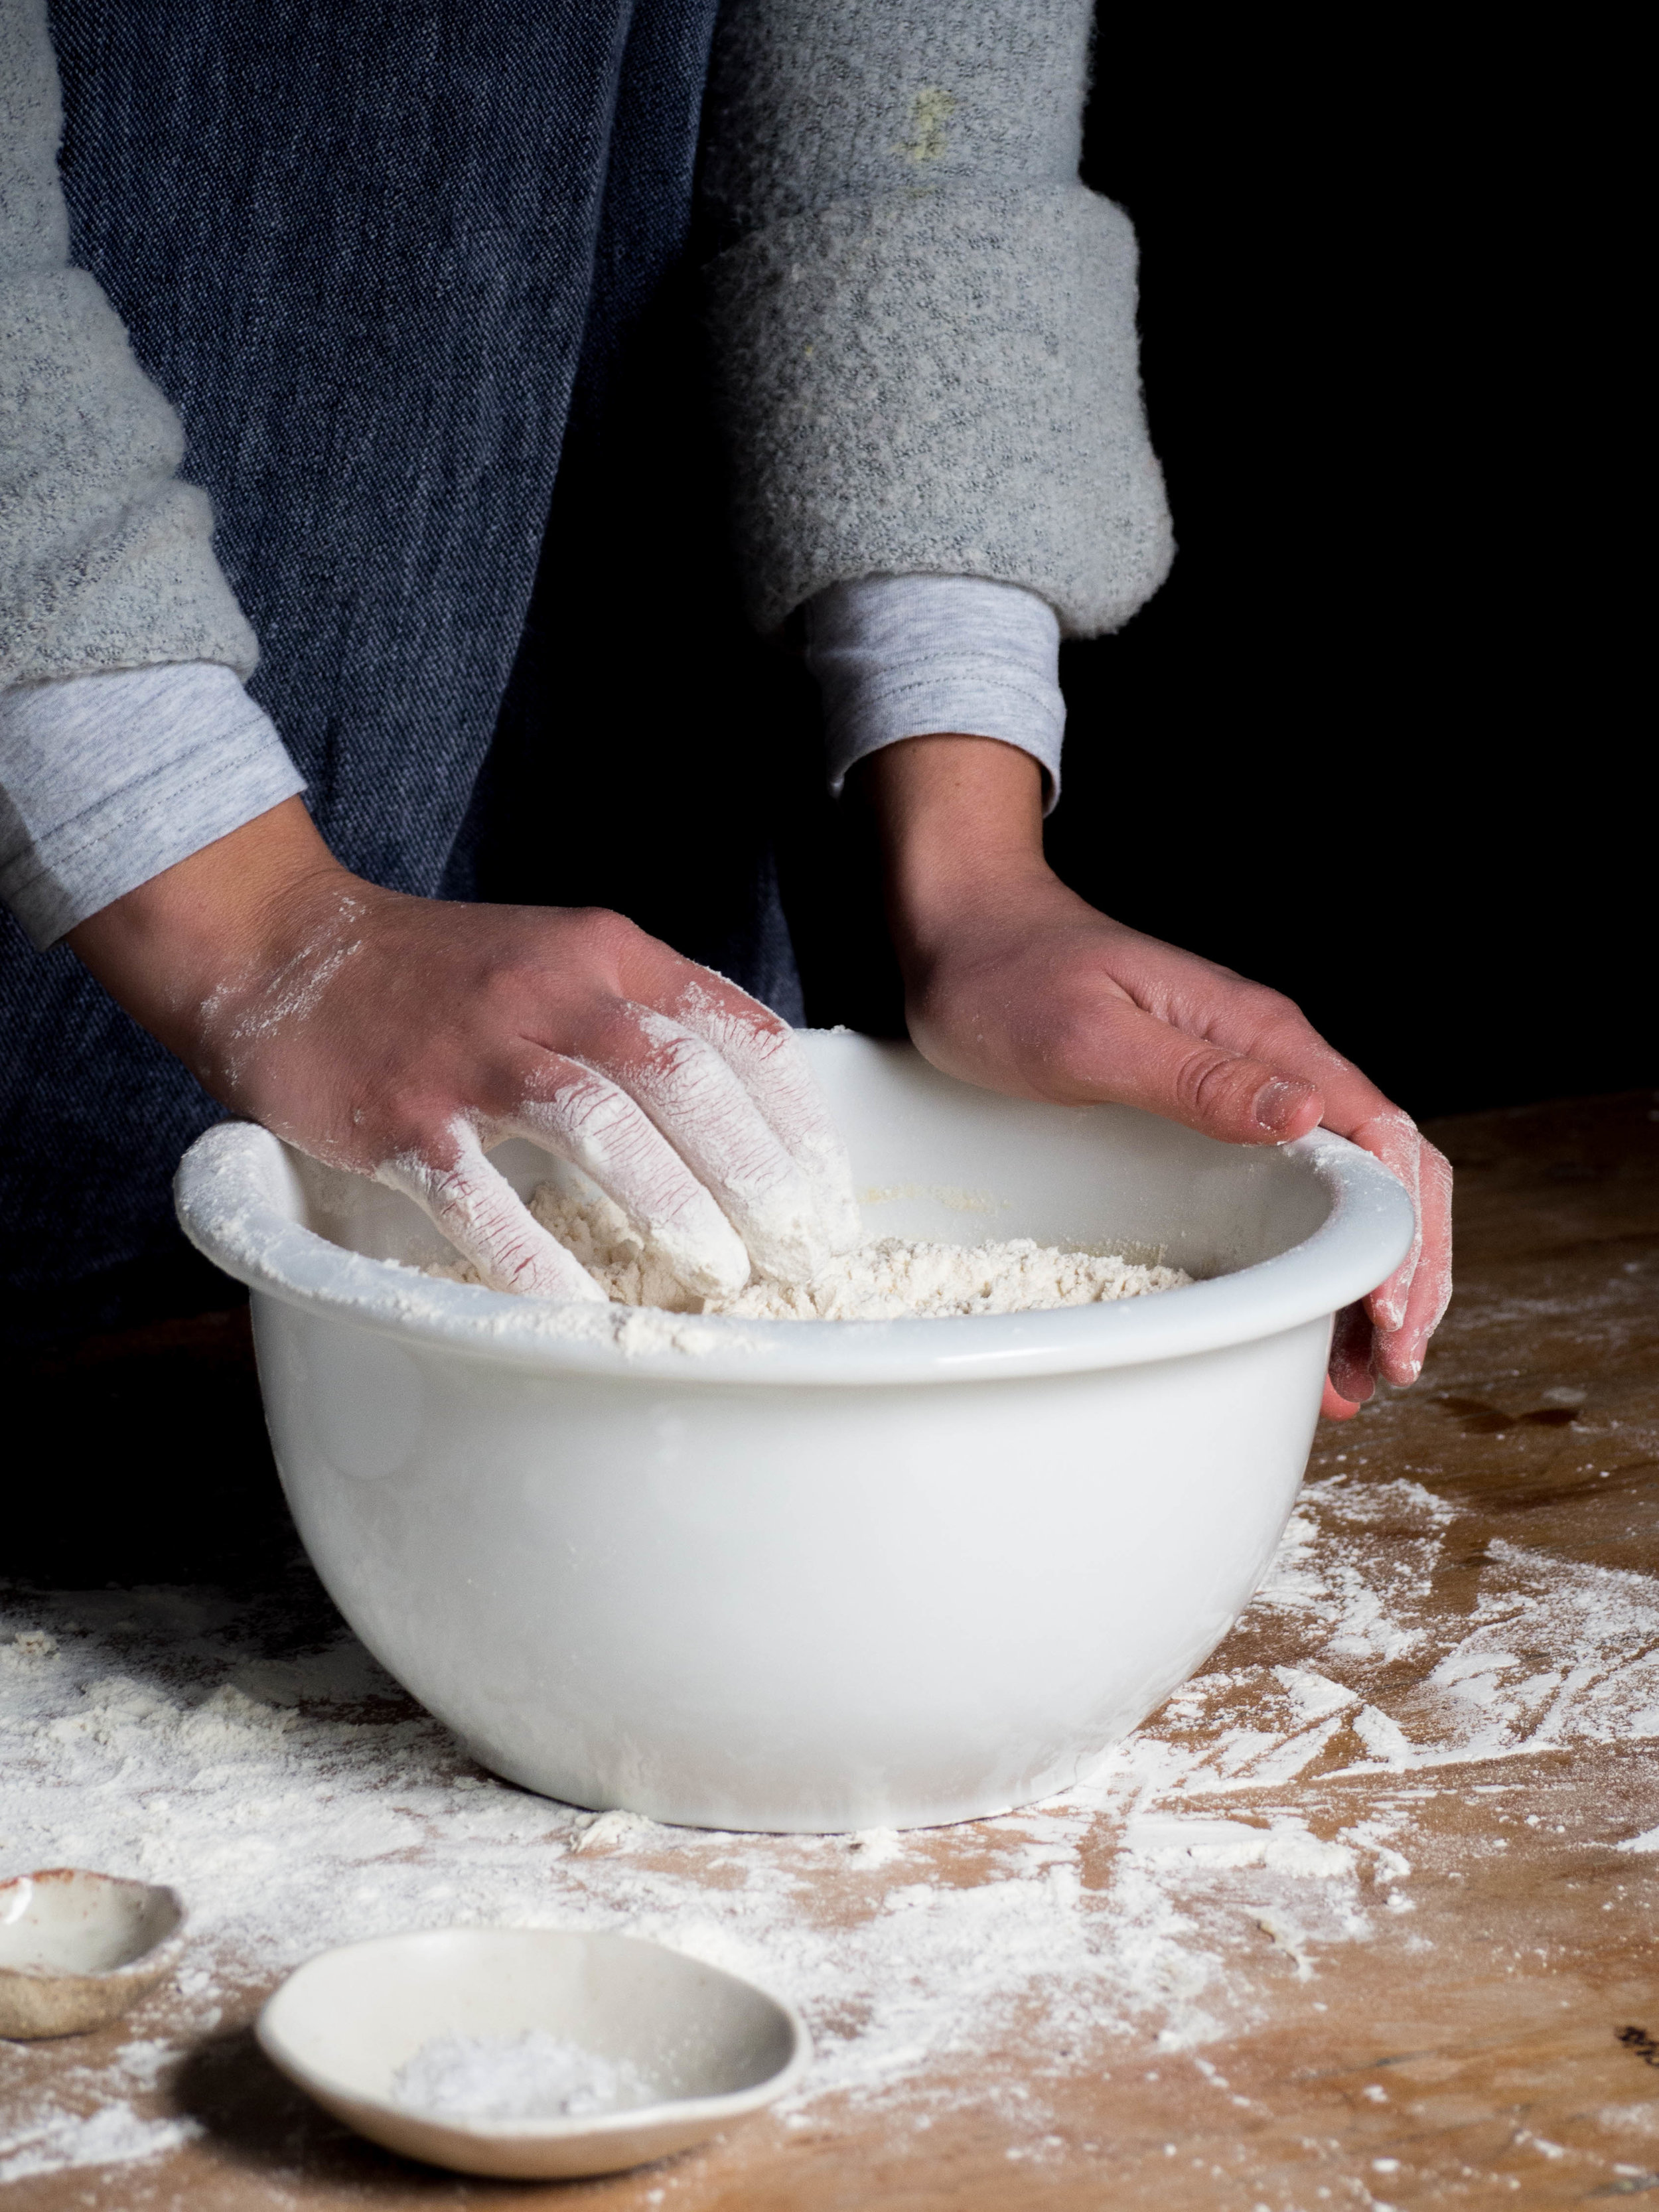
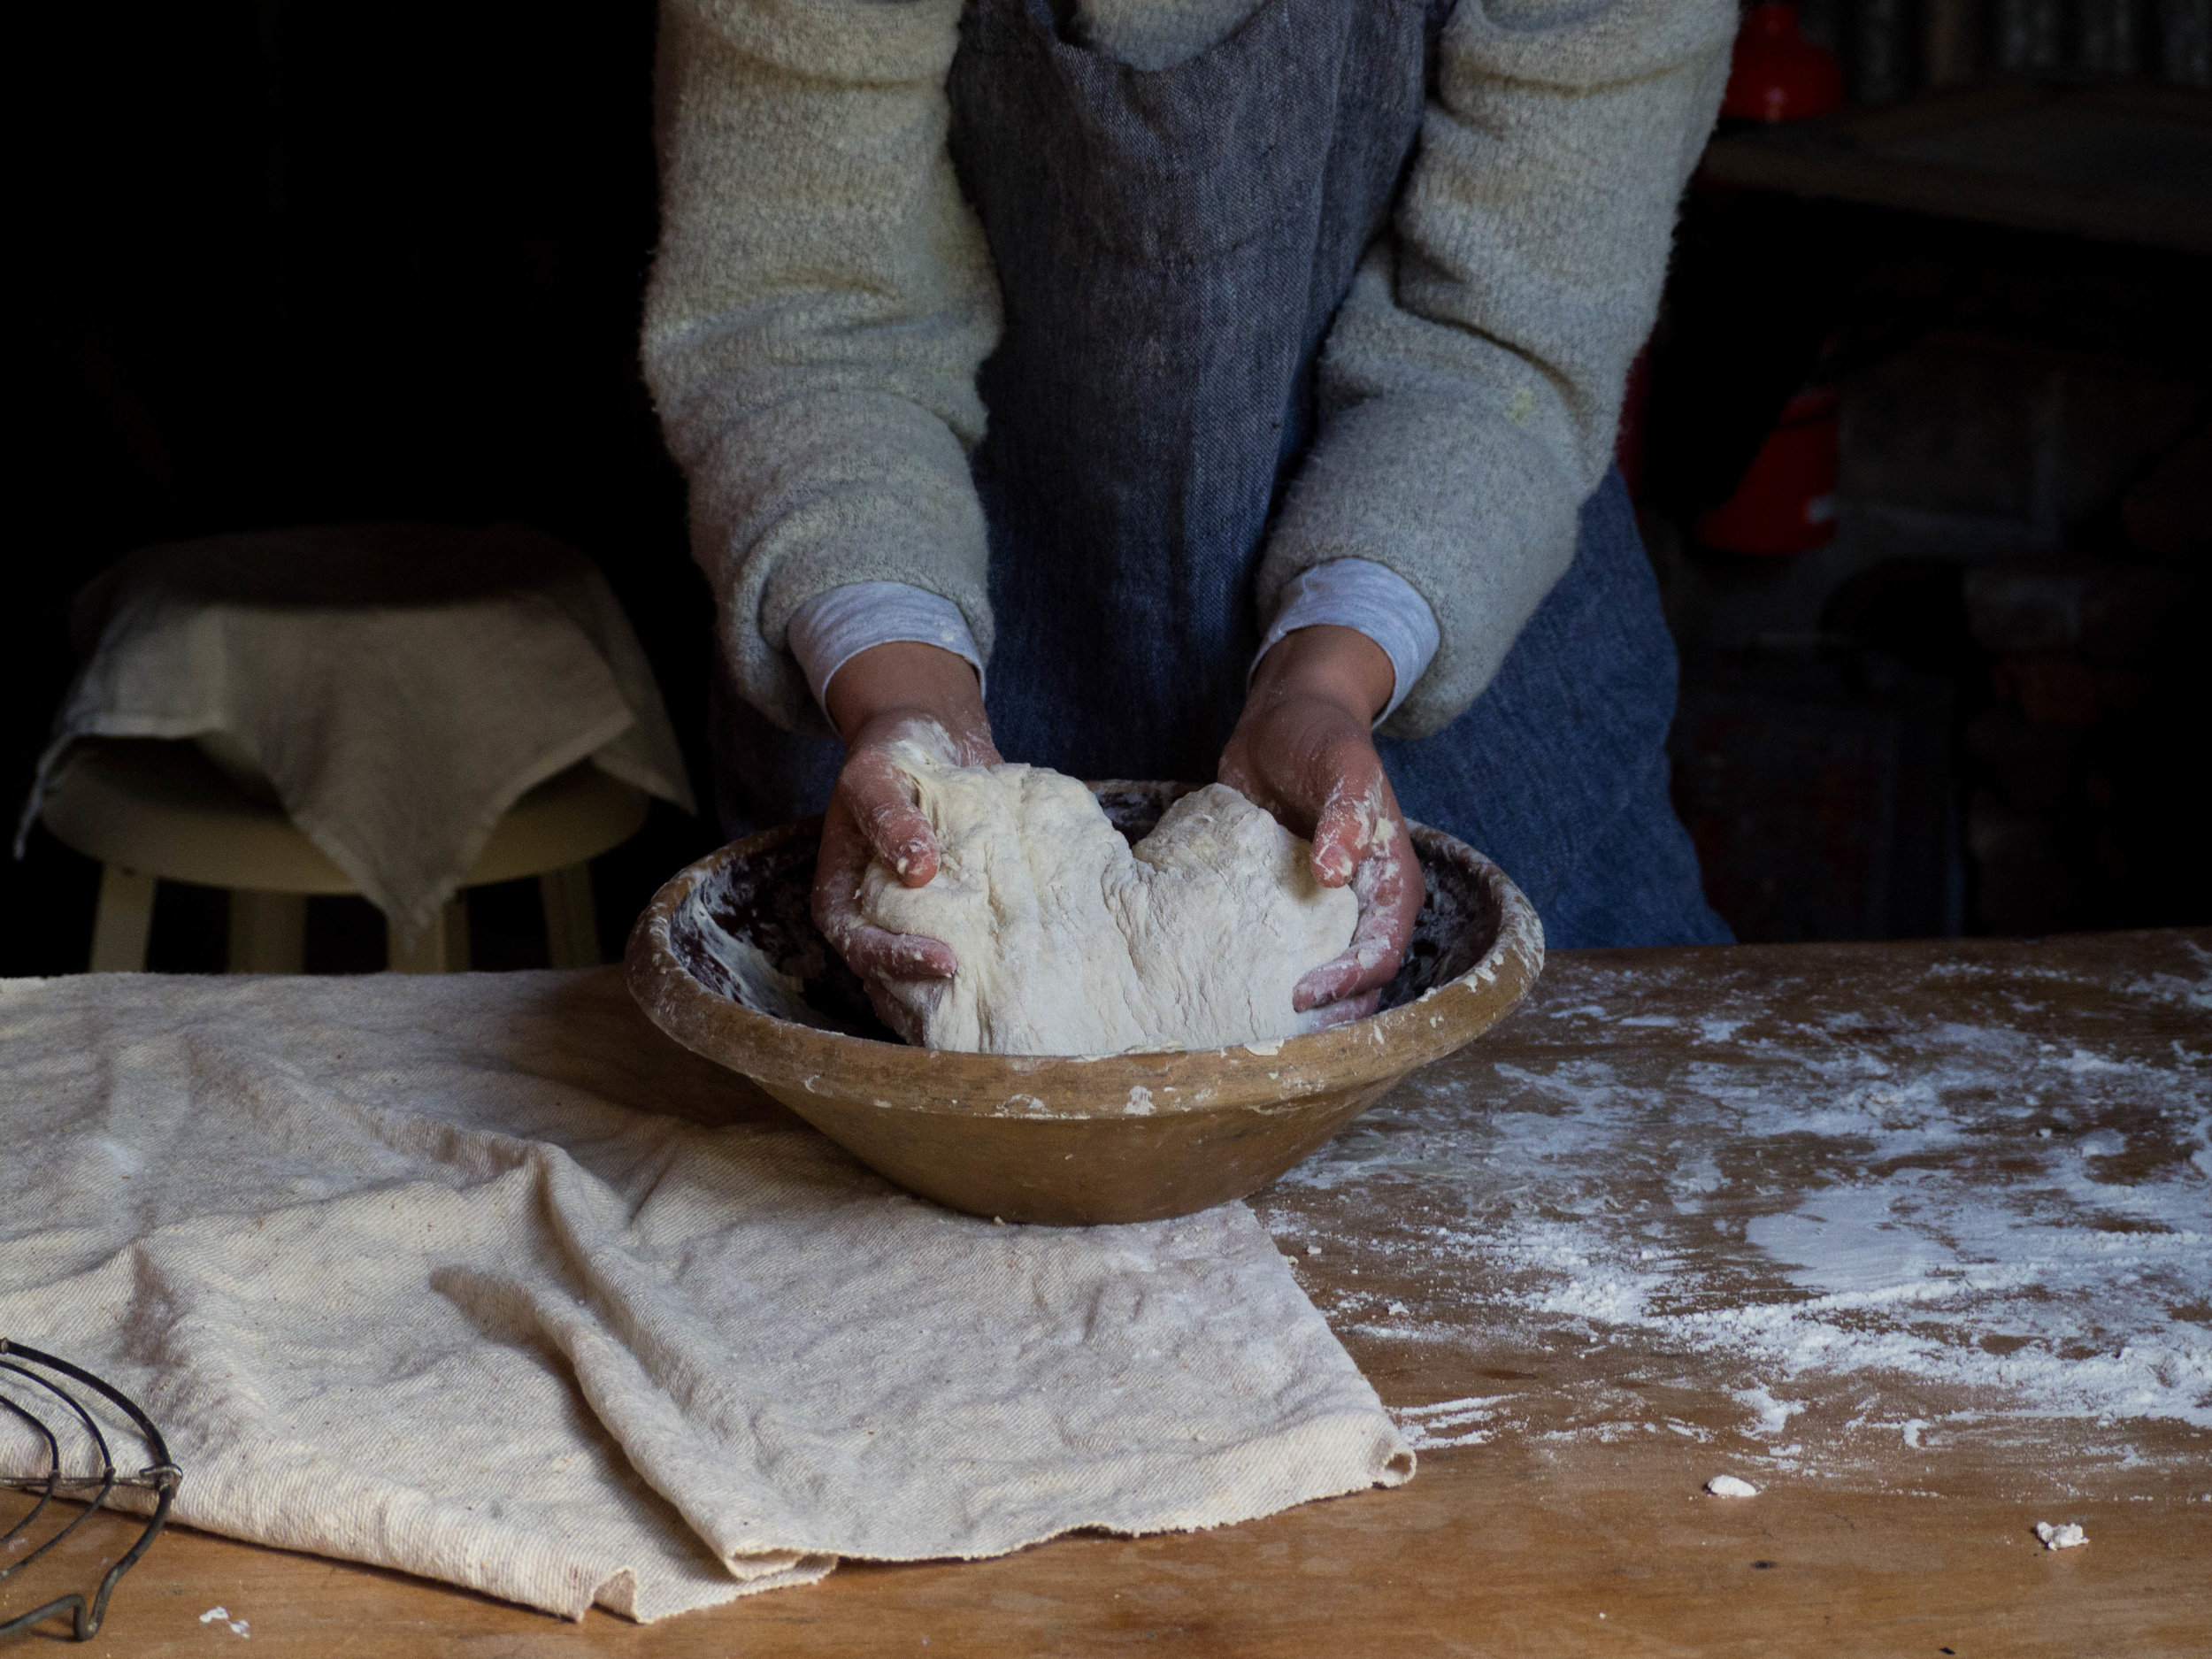
The beginnings of challah doughnuts - making the dough

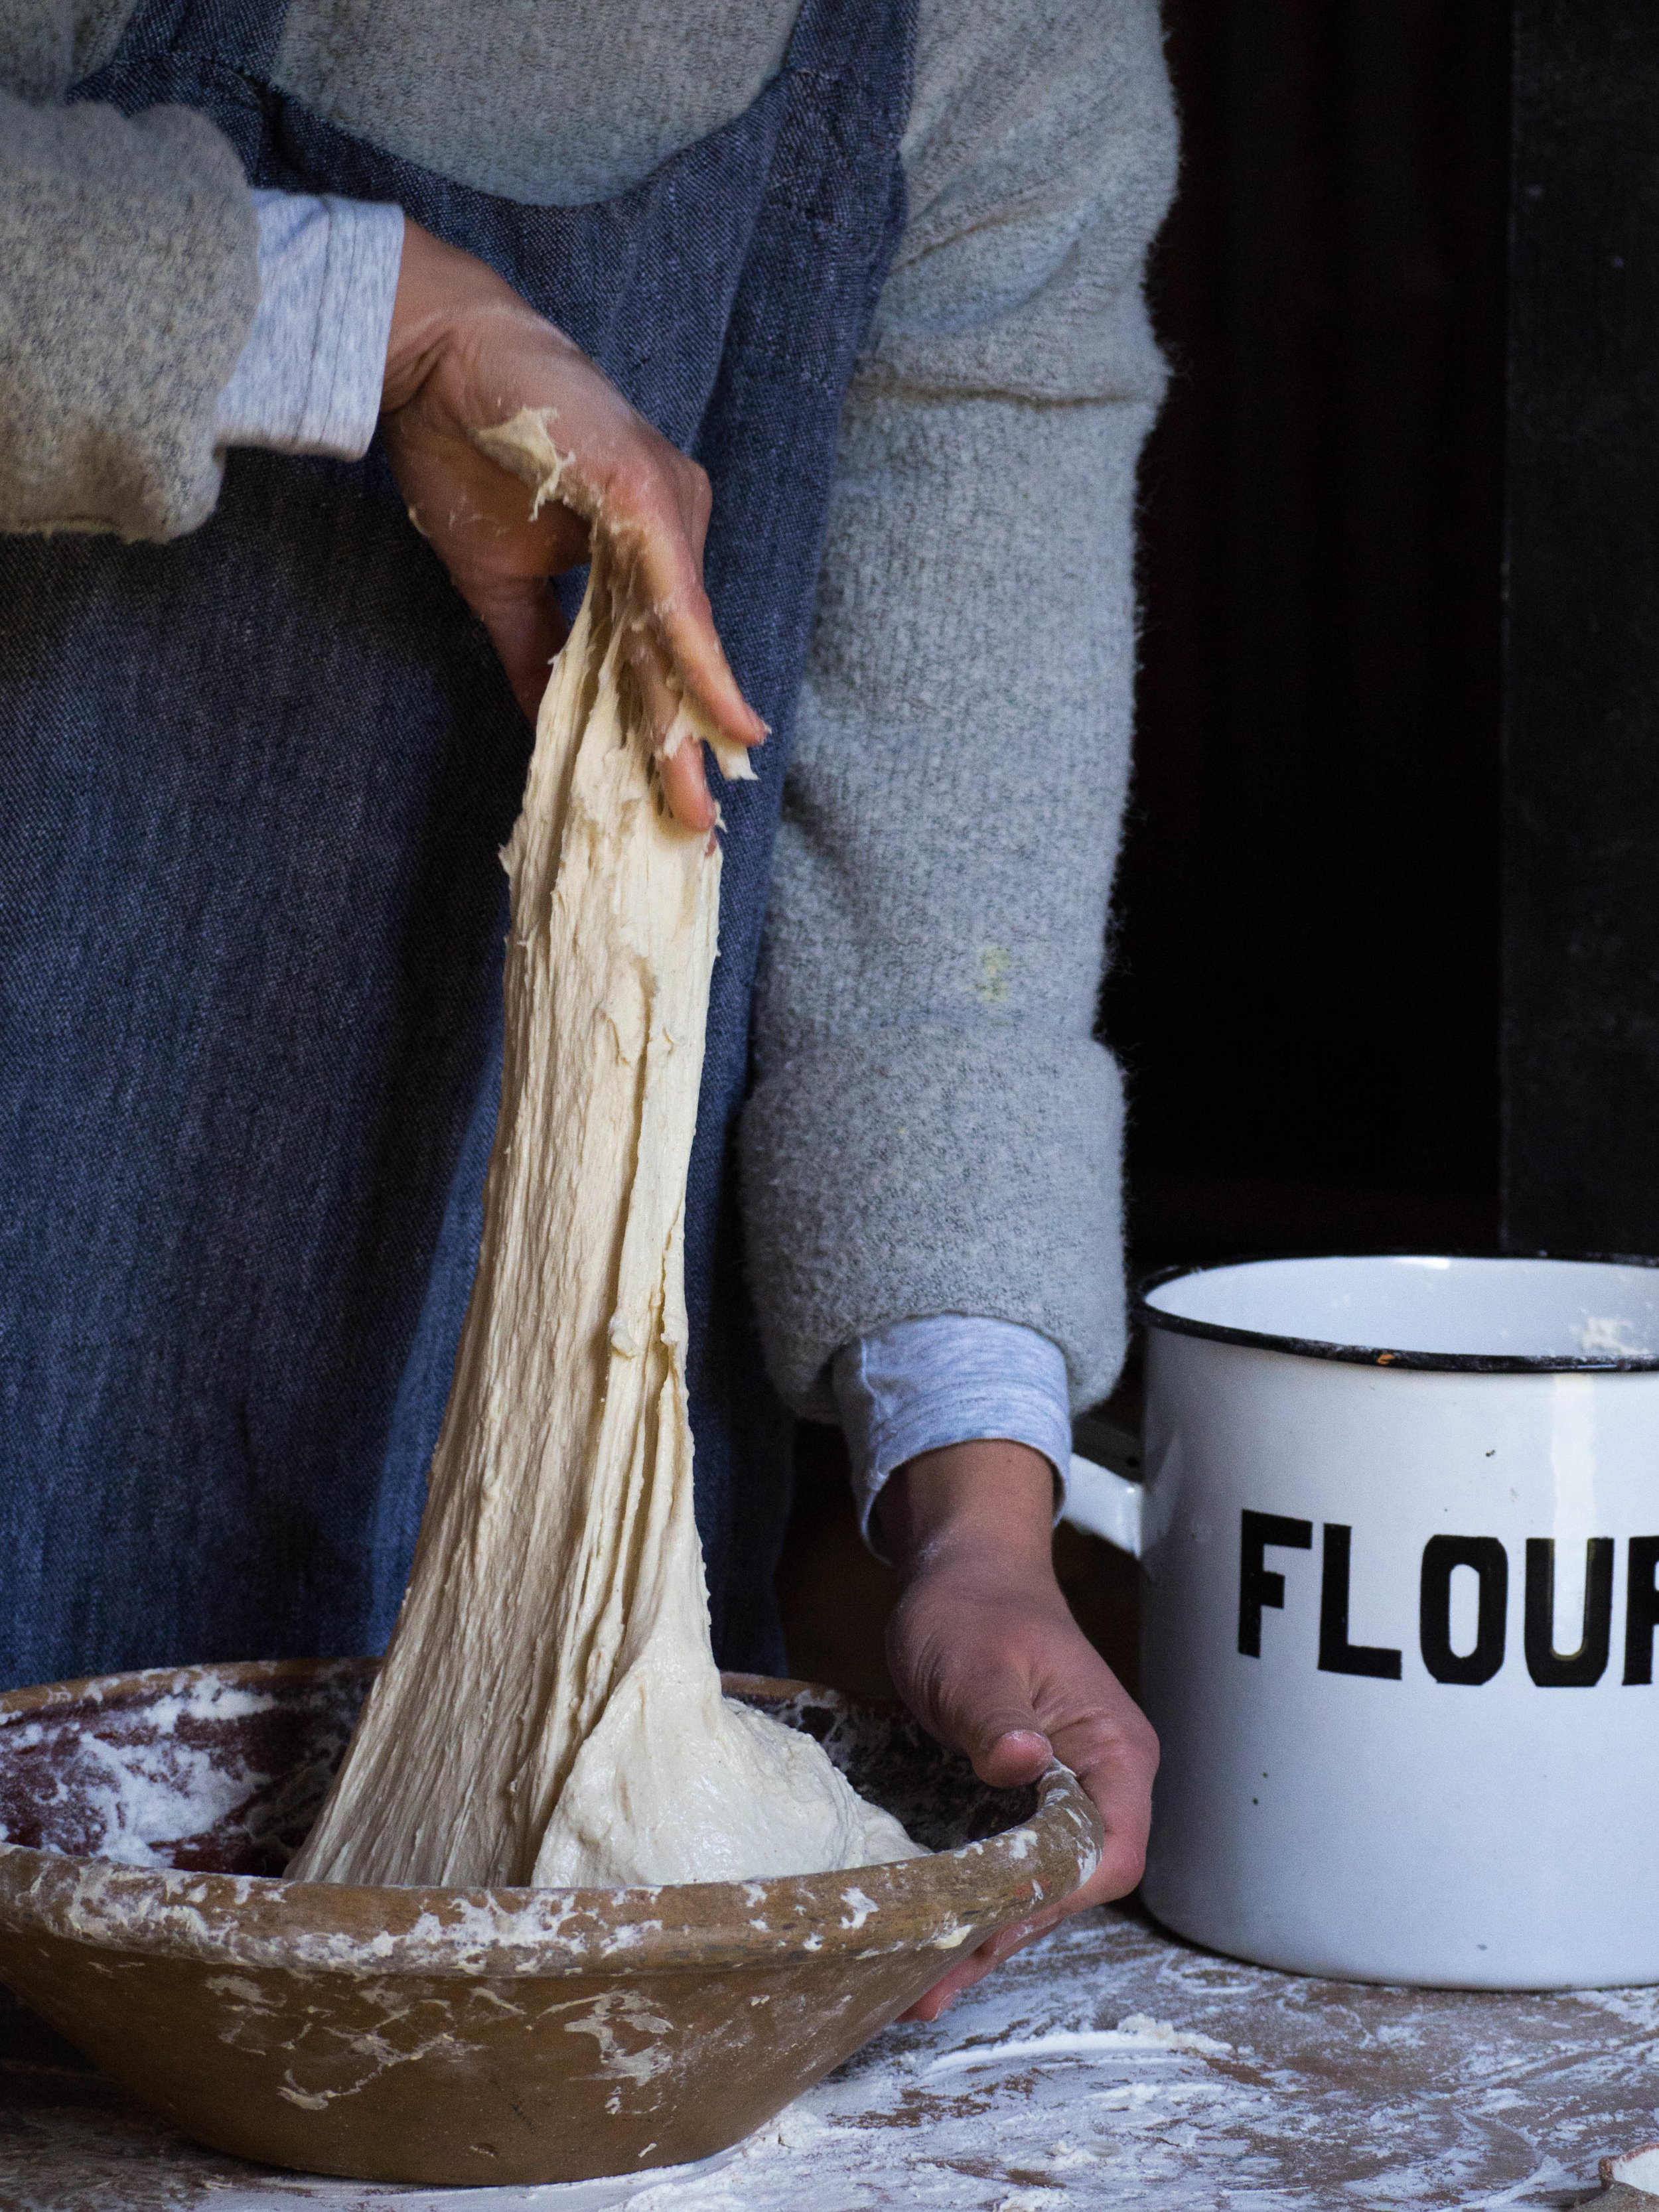
Challah dough


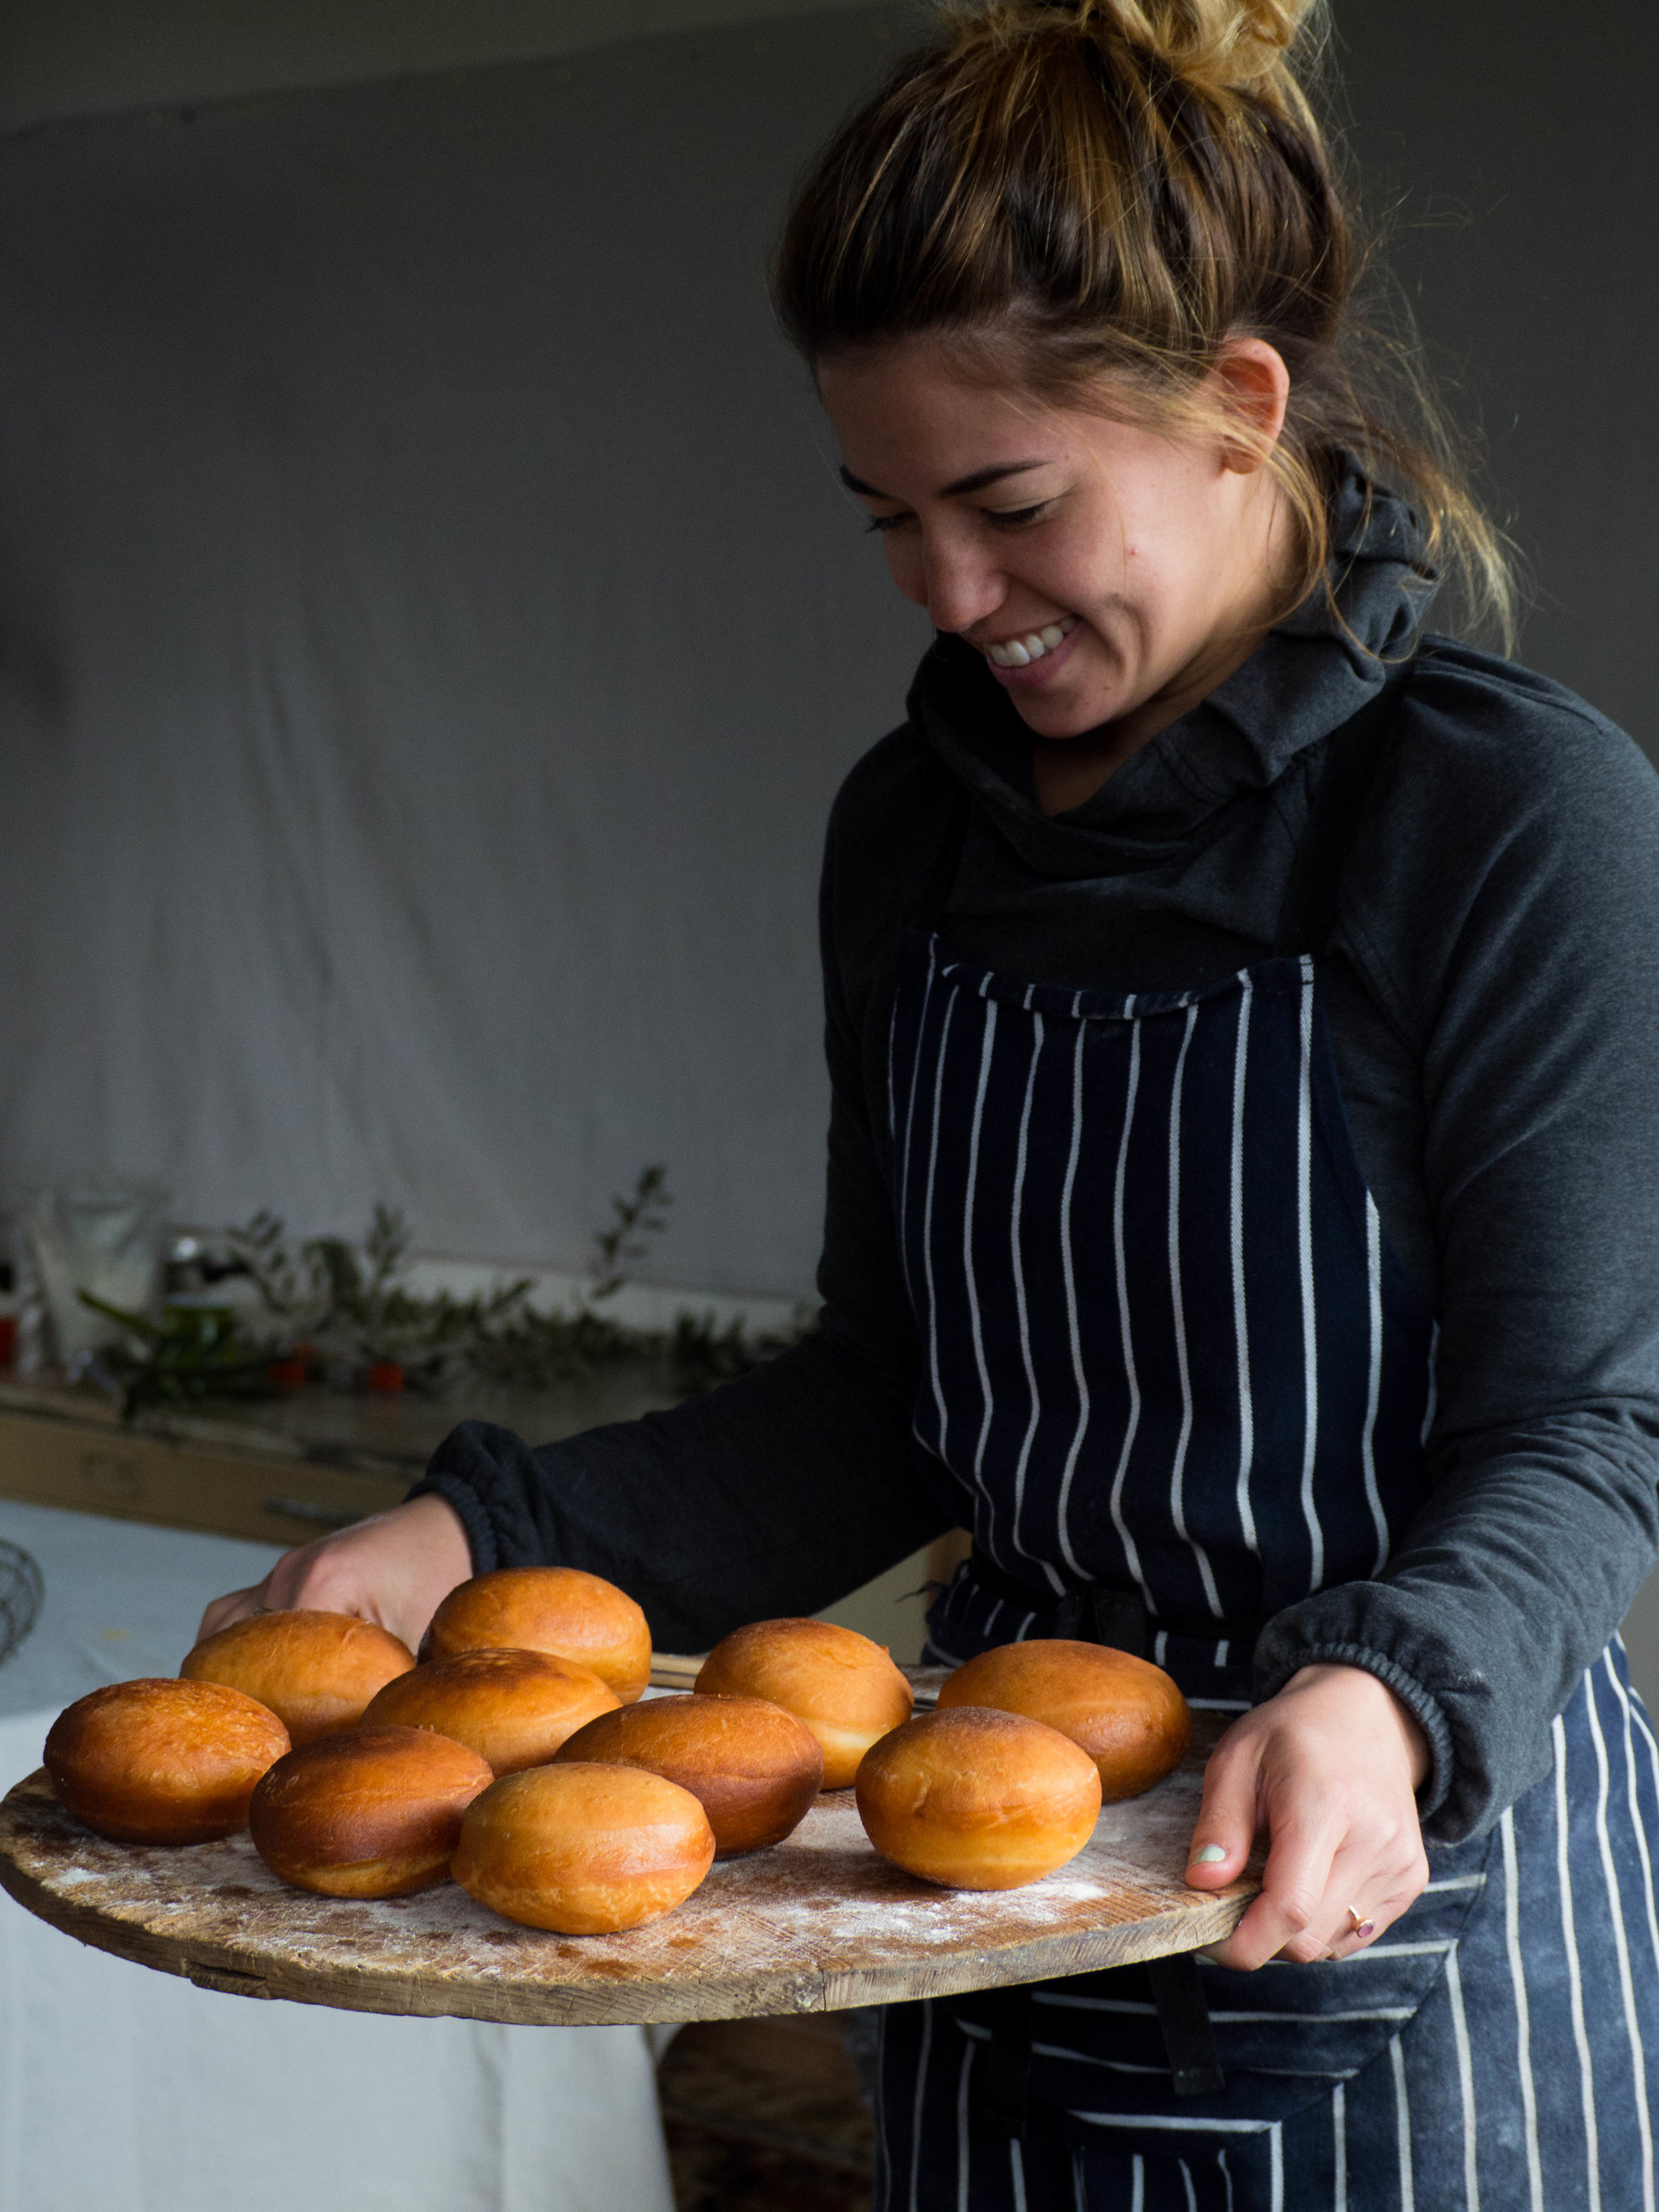
Molly with her freshly fried doughnuts

Blood orange glaze


Challah doughnuts with Blood Orange glaze

Making sourdough
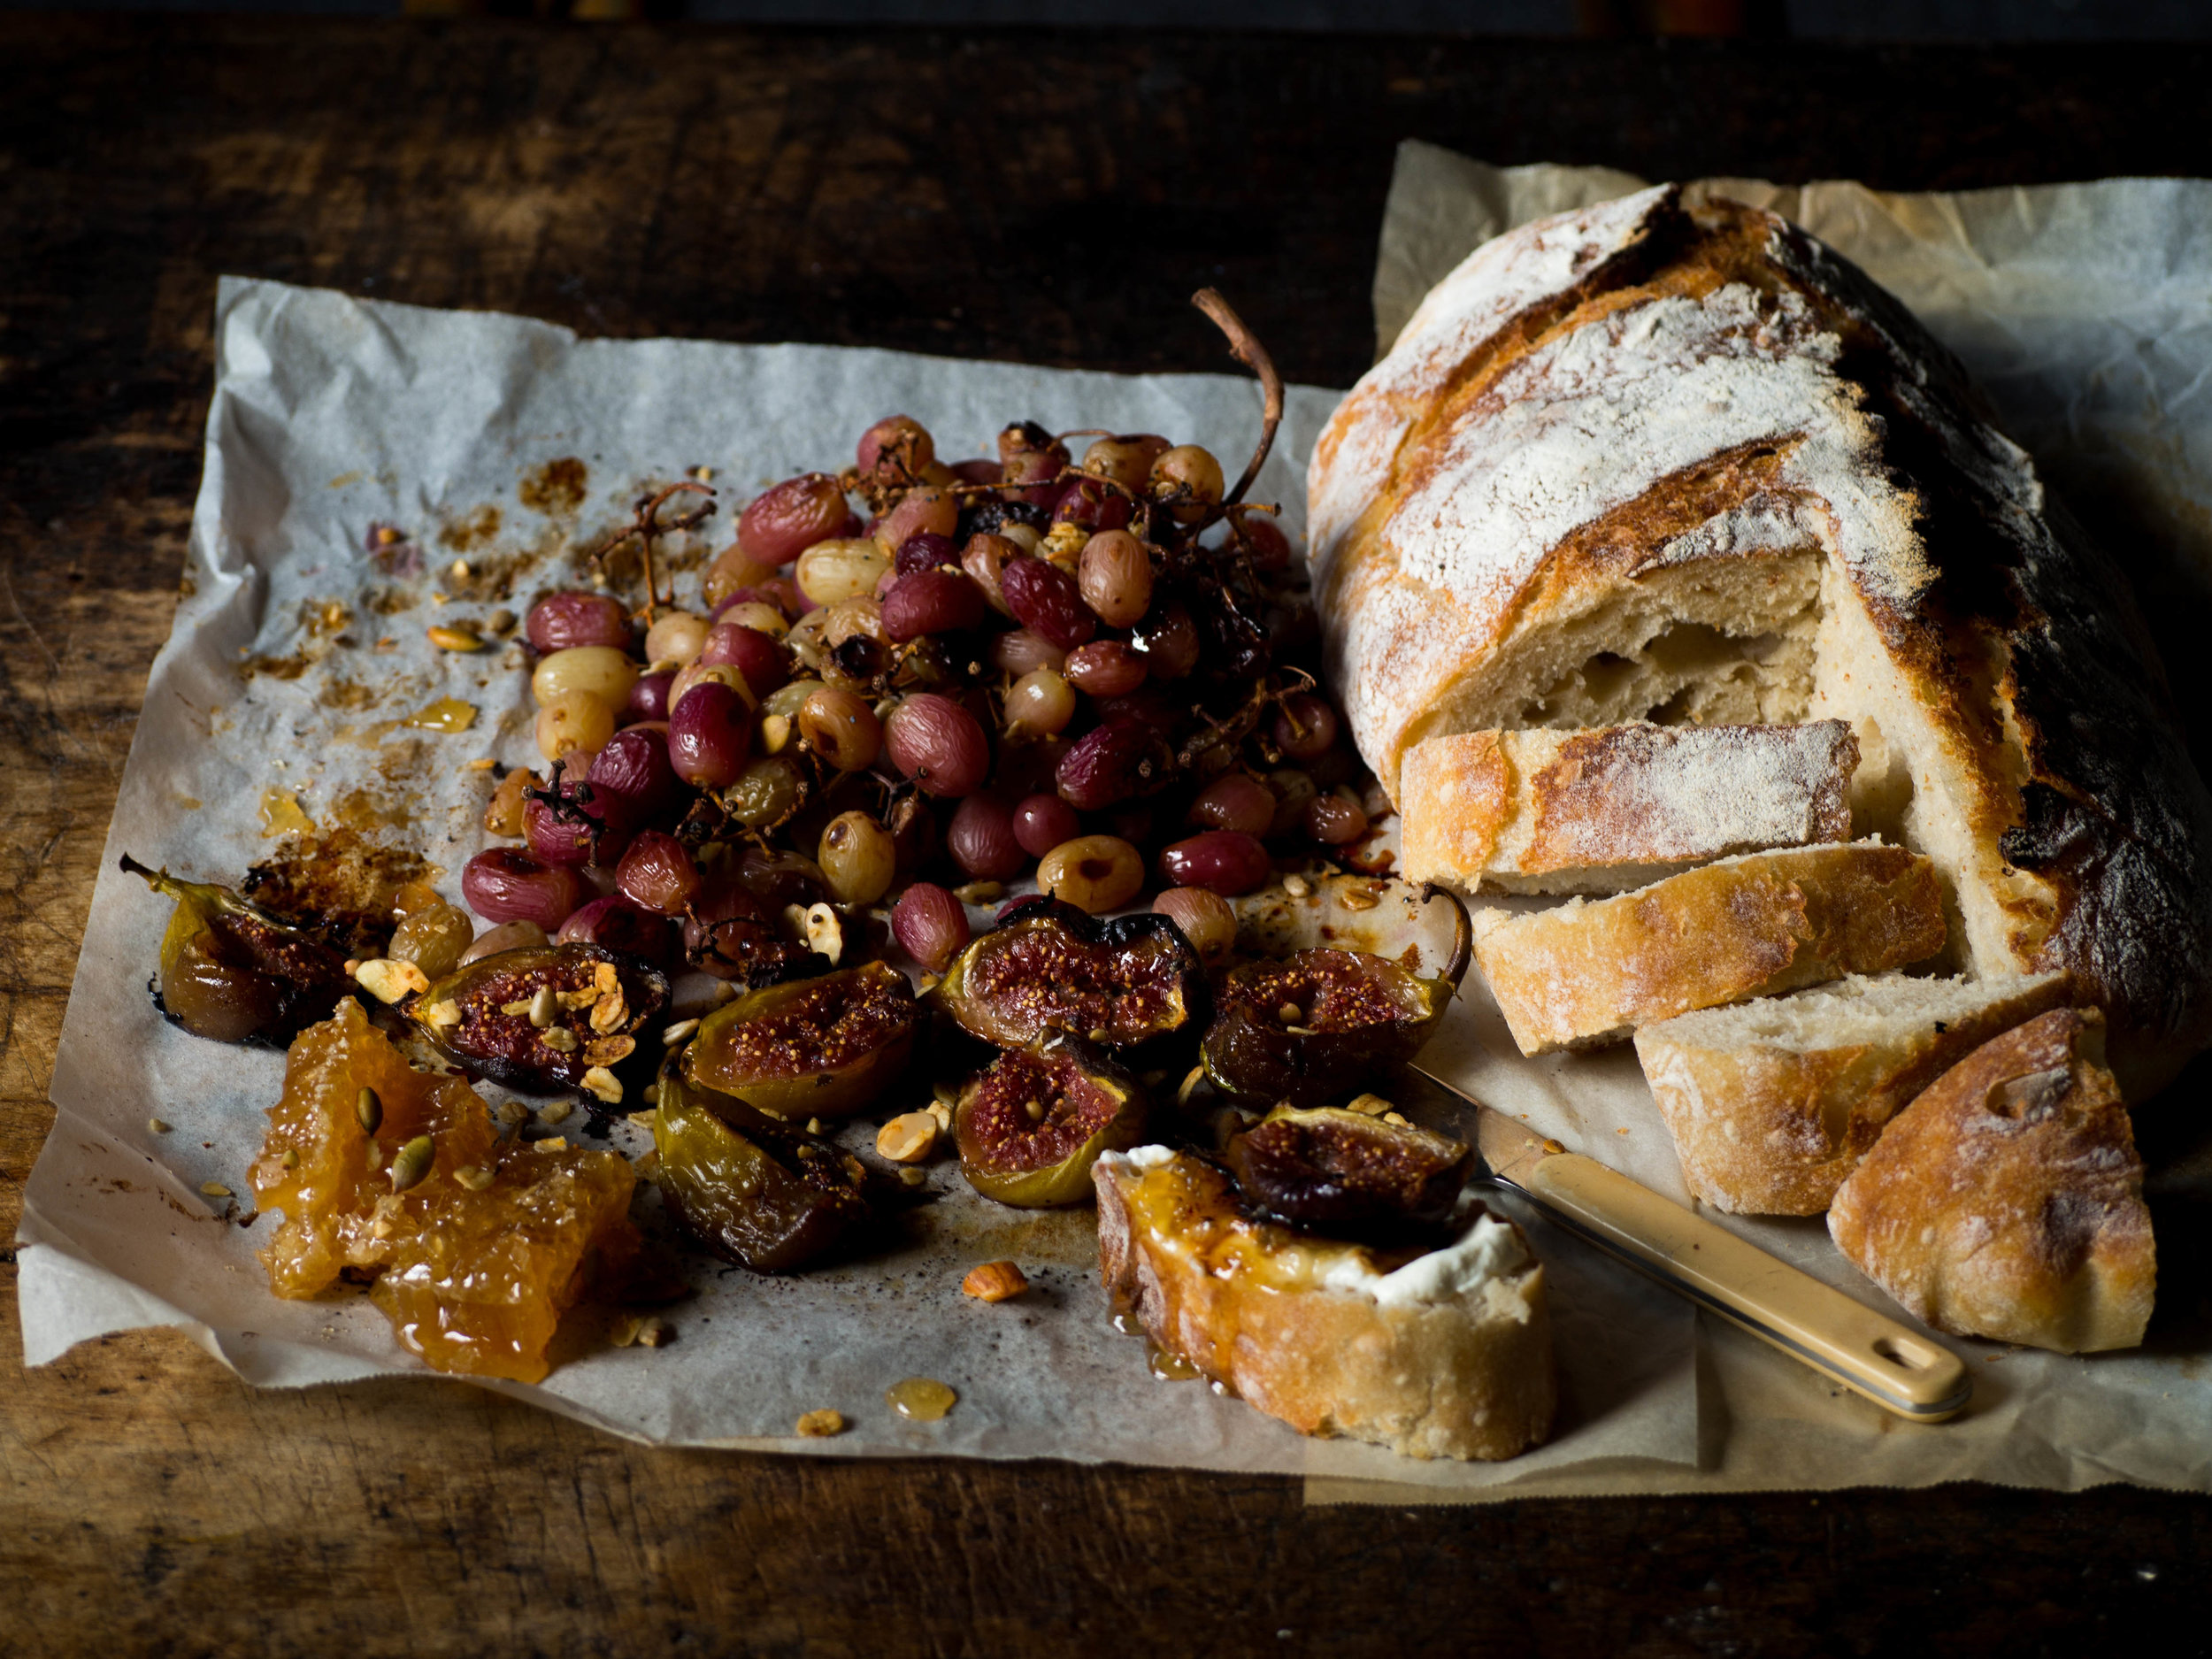
Finished sourdough

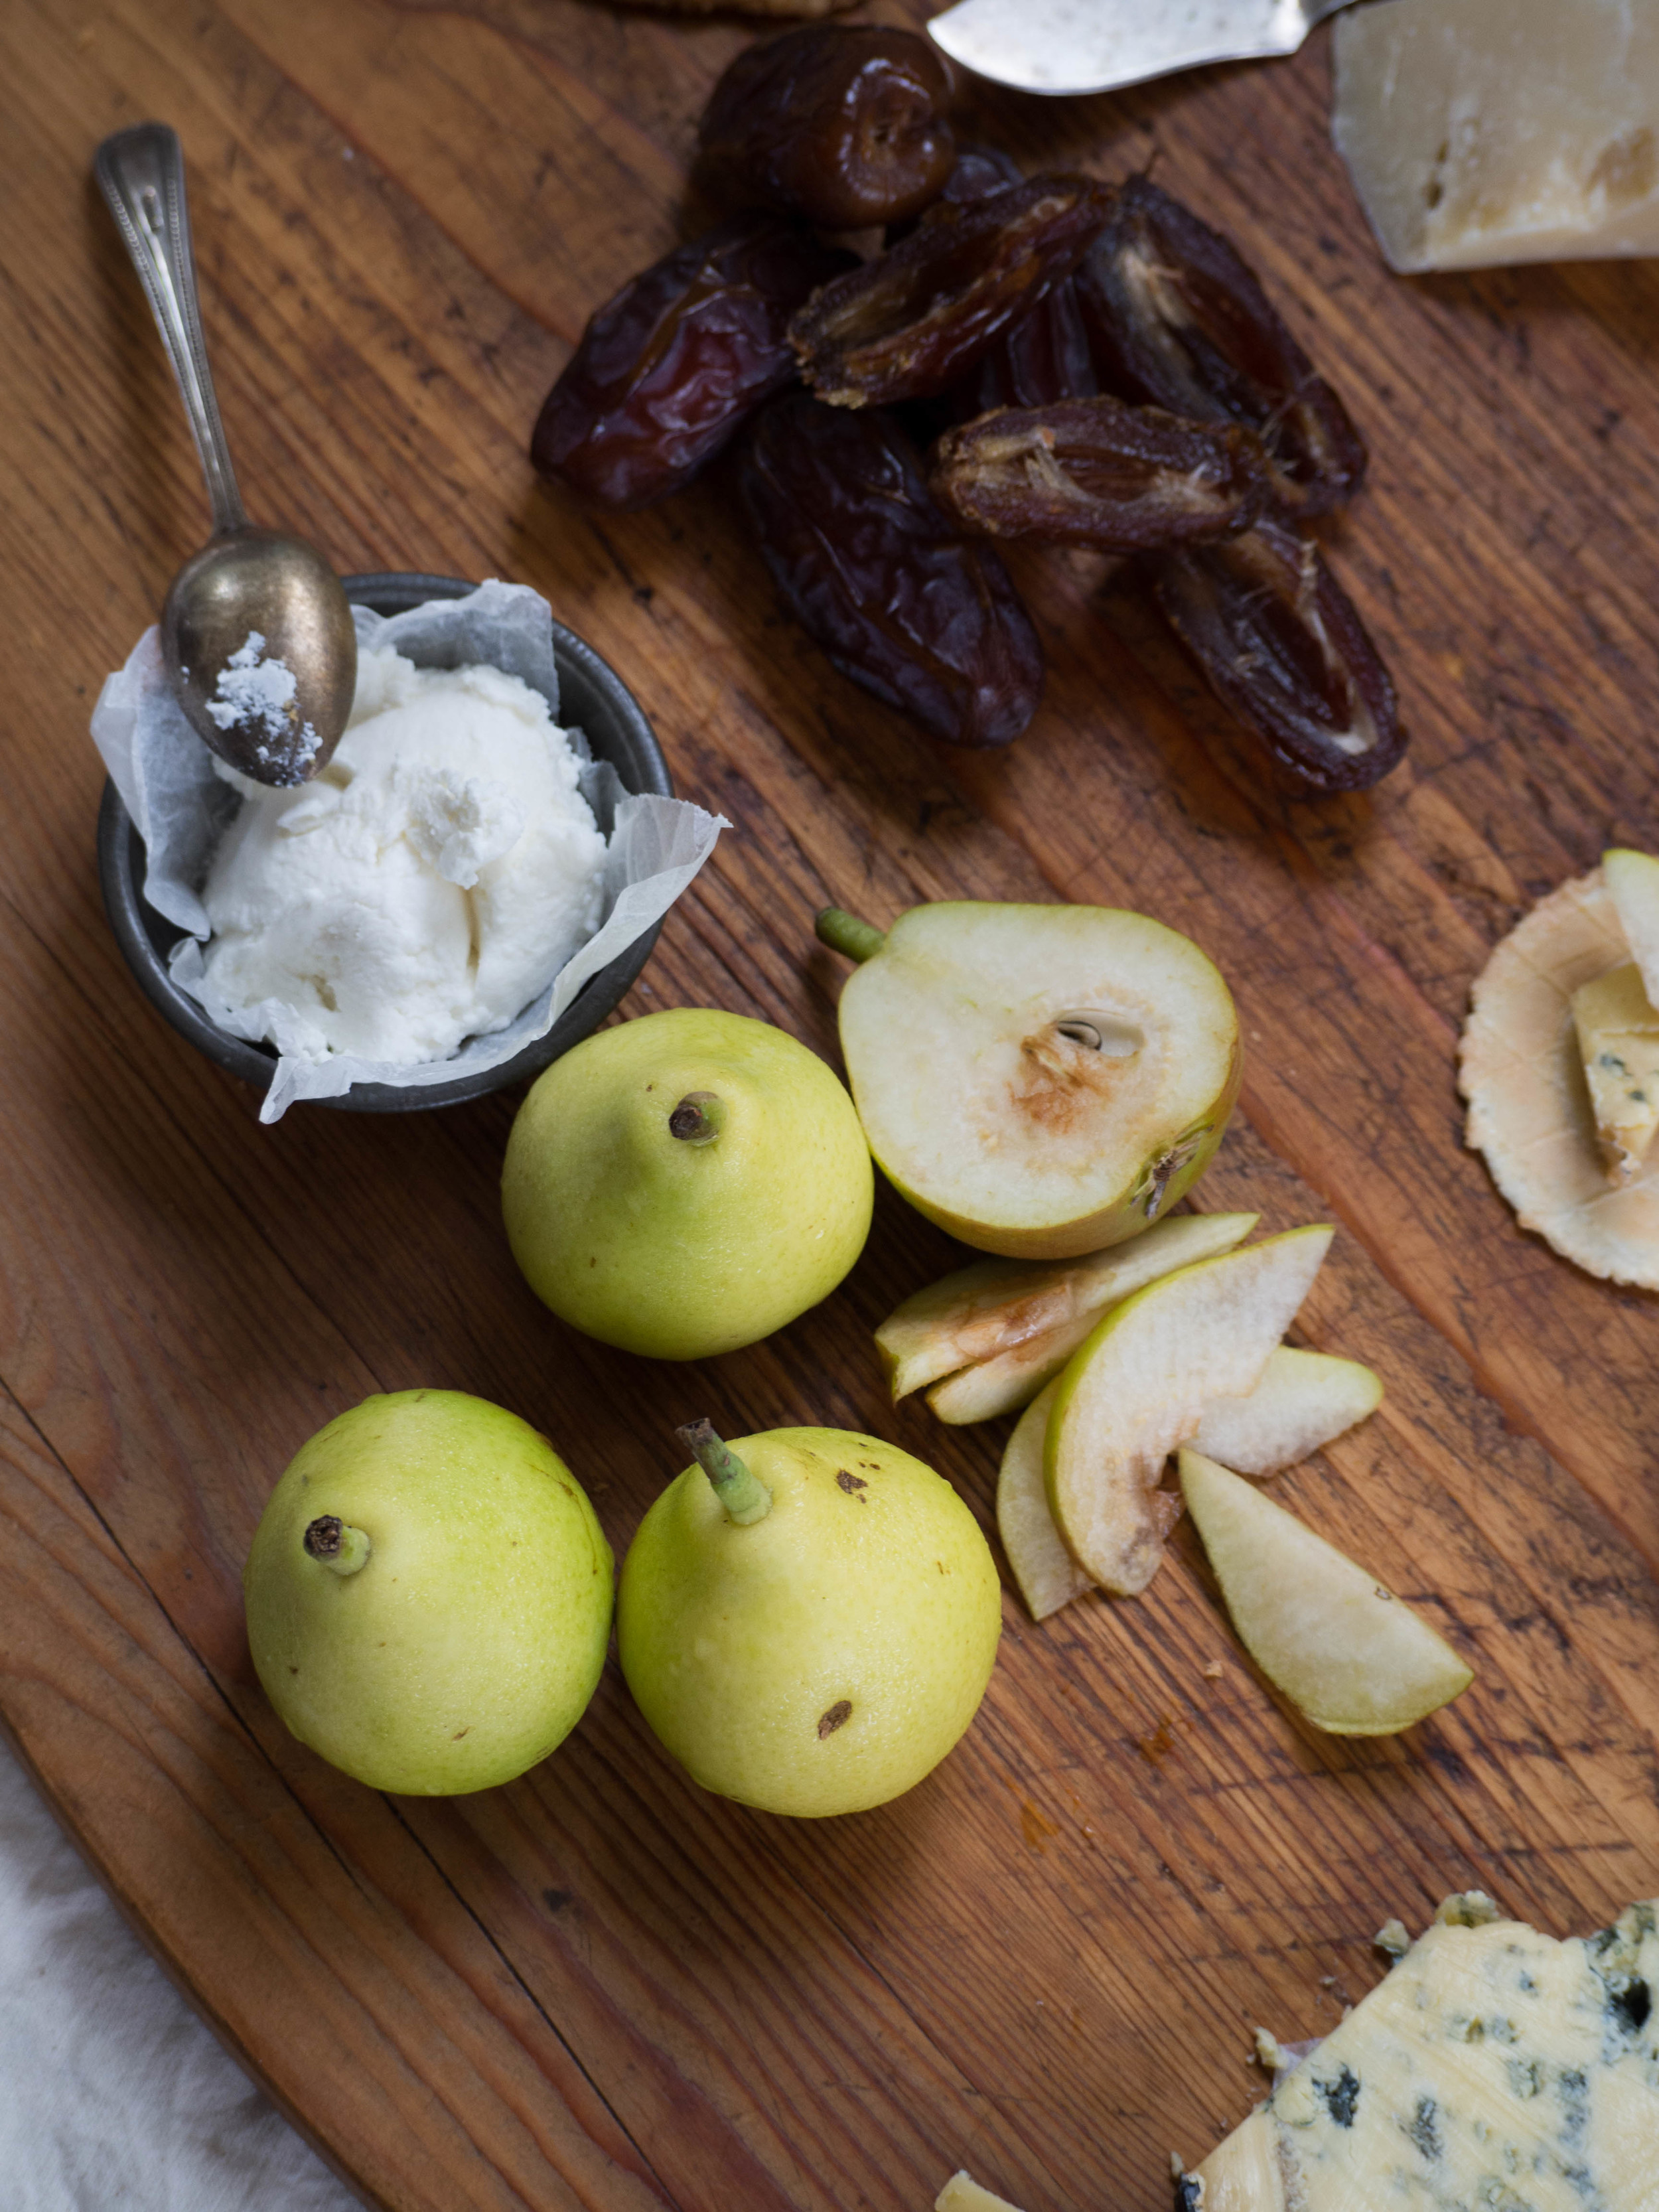
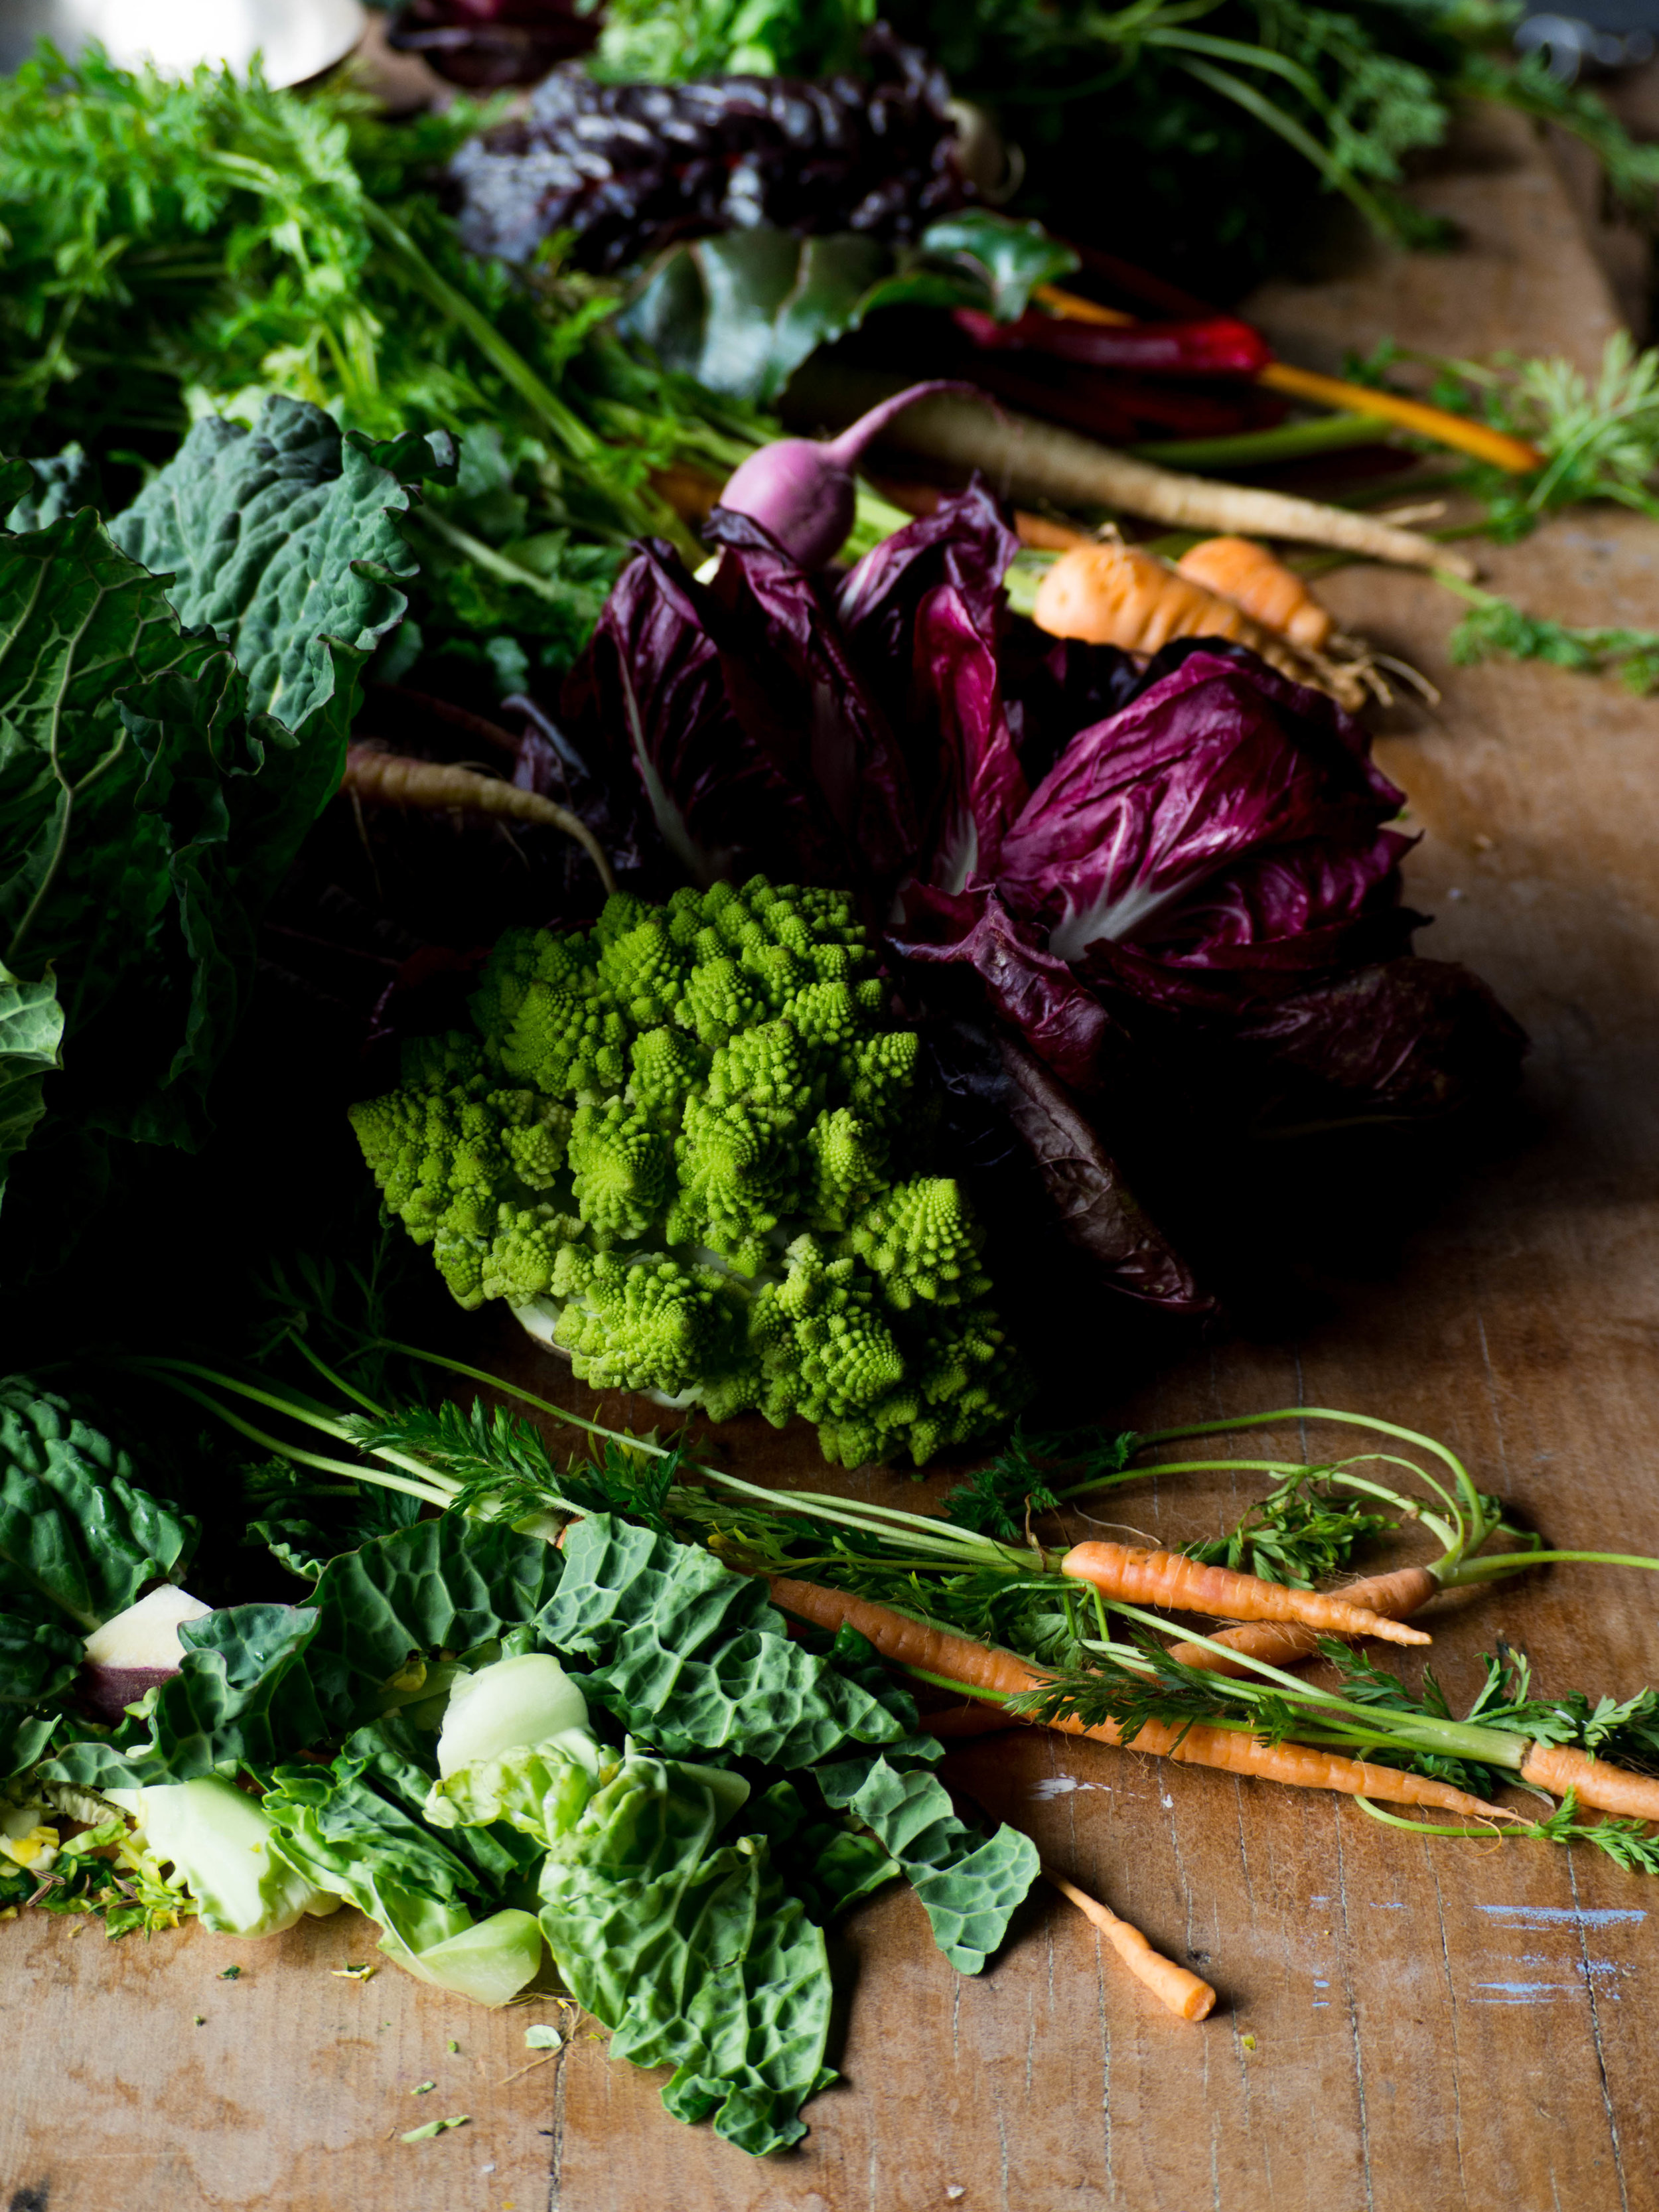
Beautiful fresh produce from Epicurean Harvest


Molly making Shakshuka

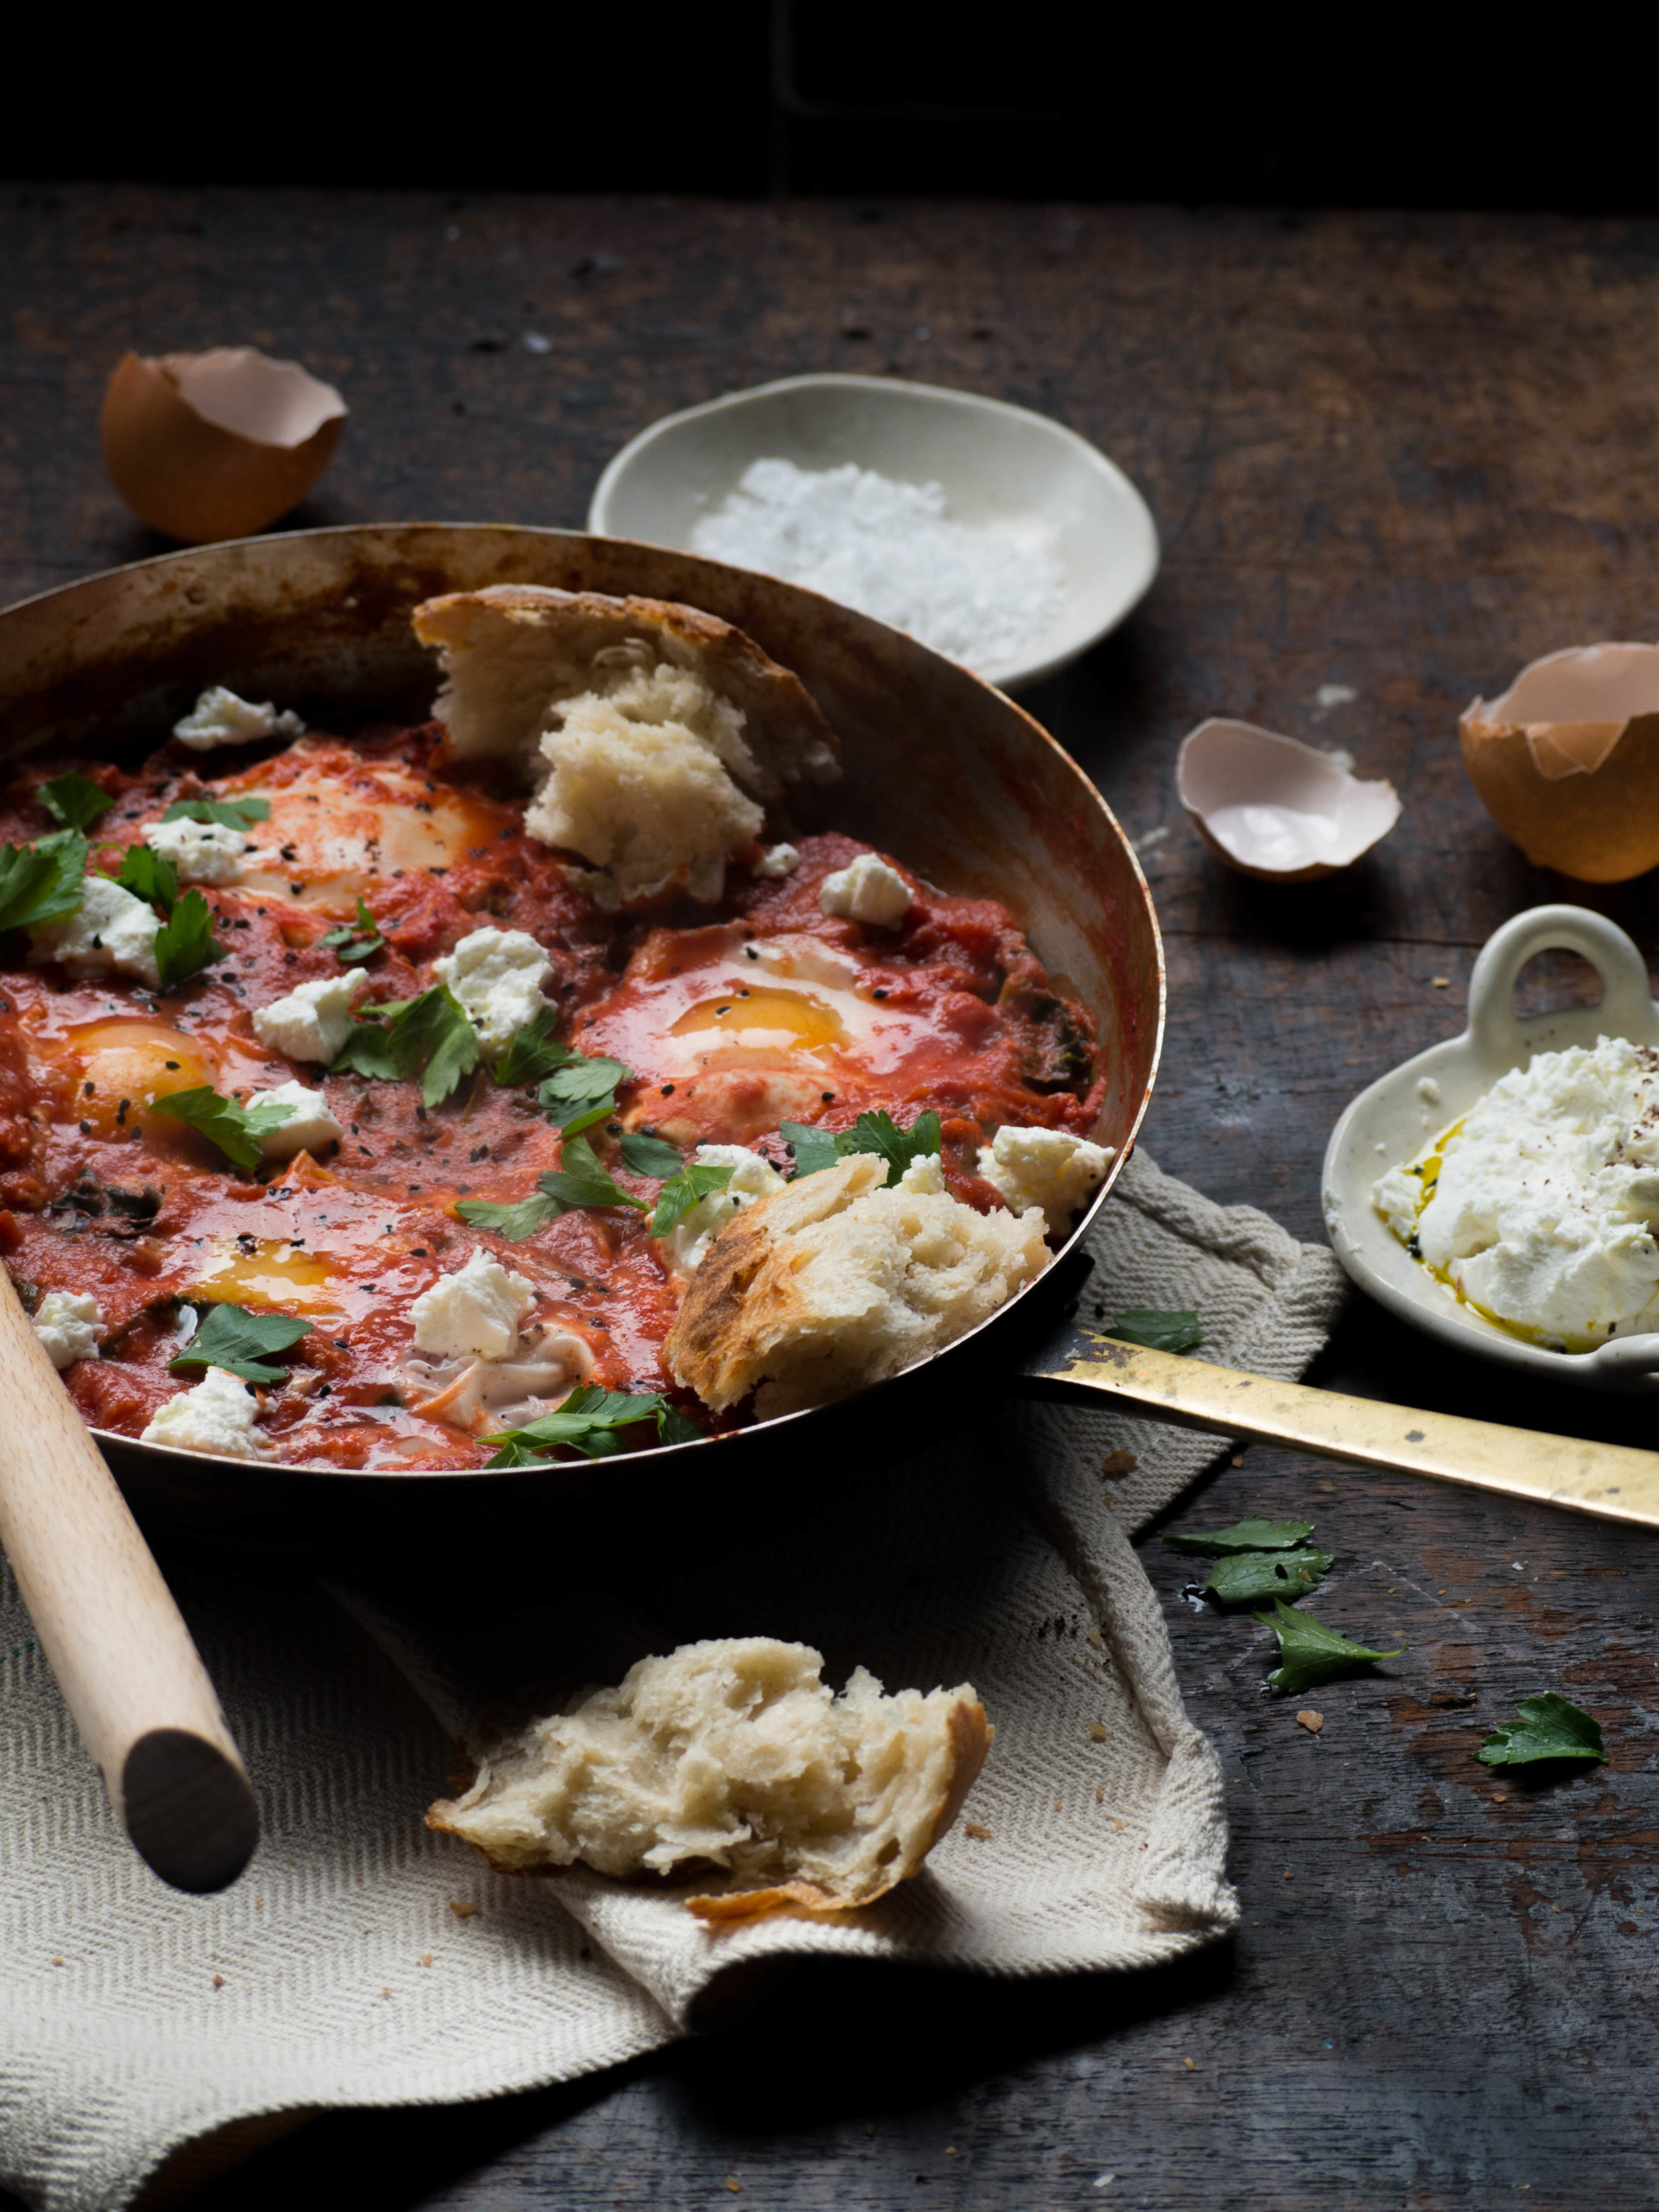
Shakshuka with homemade sourdough