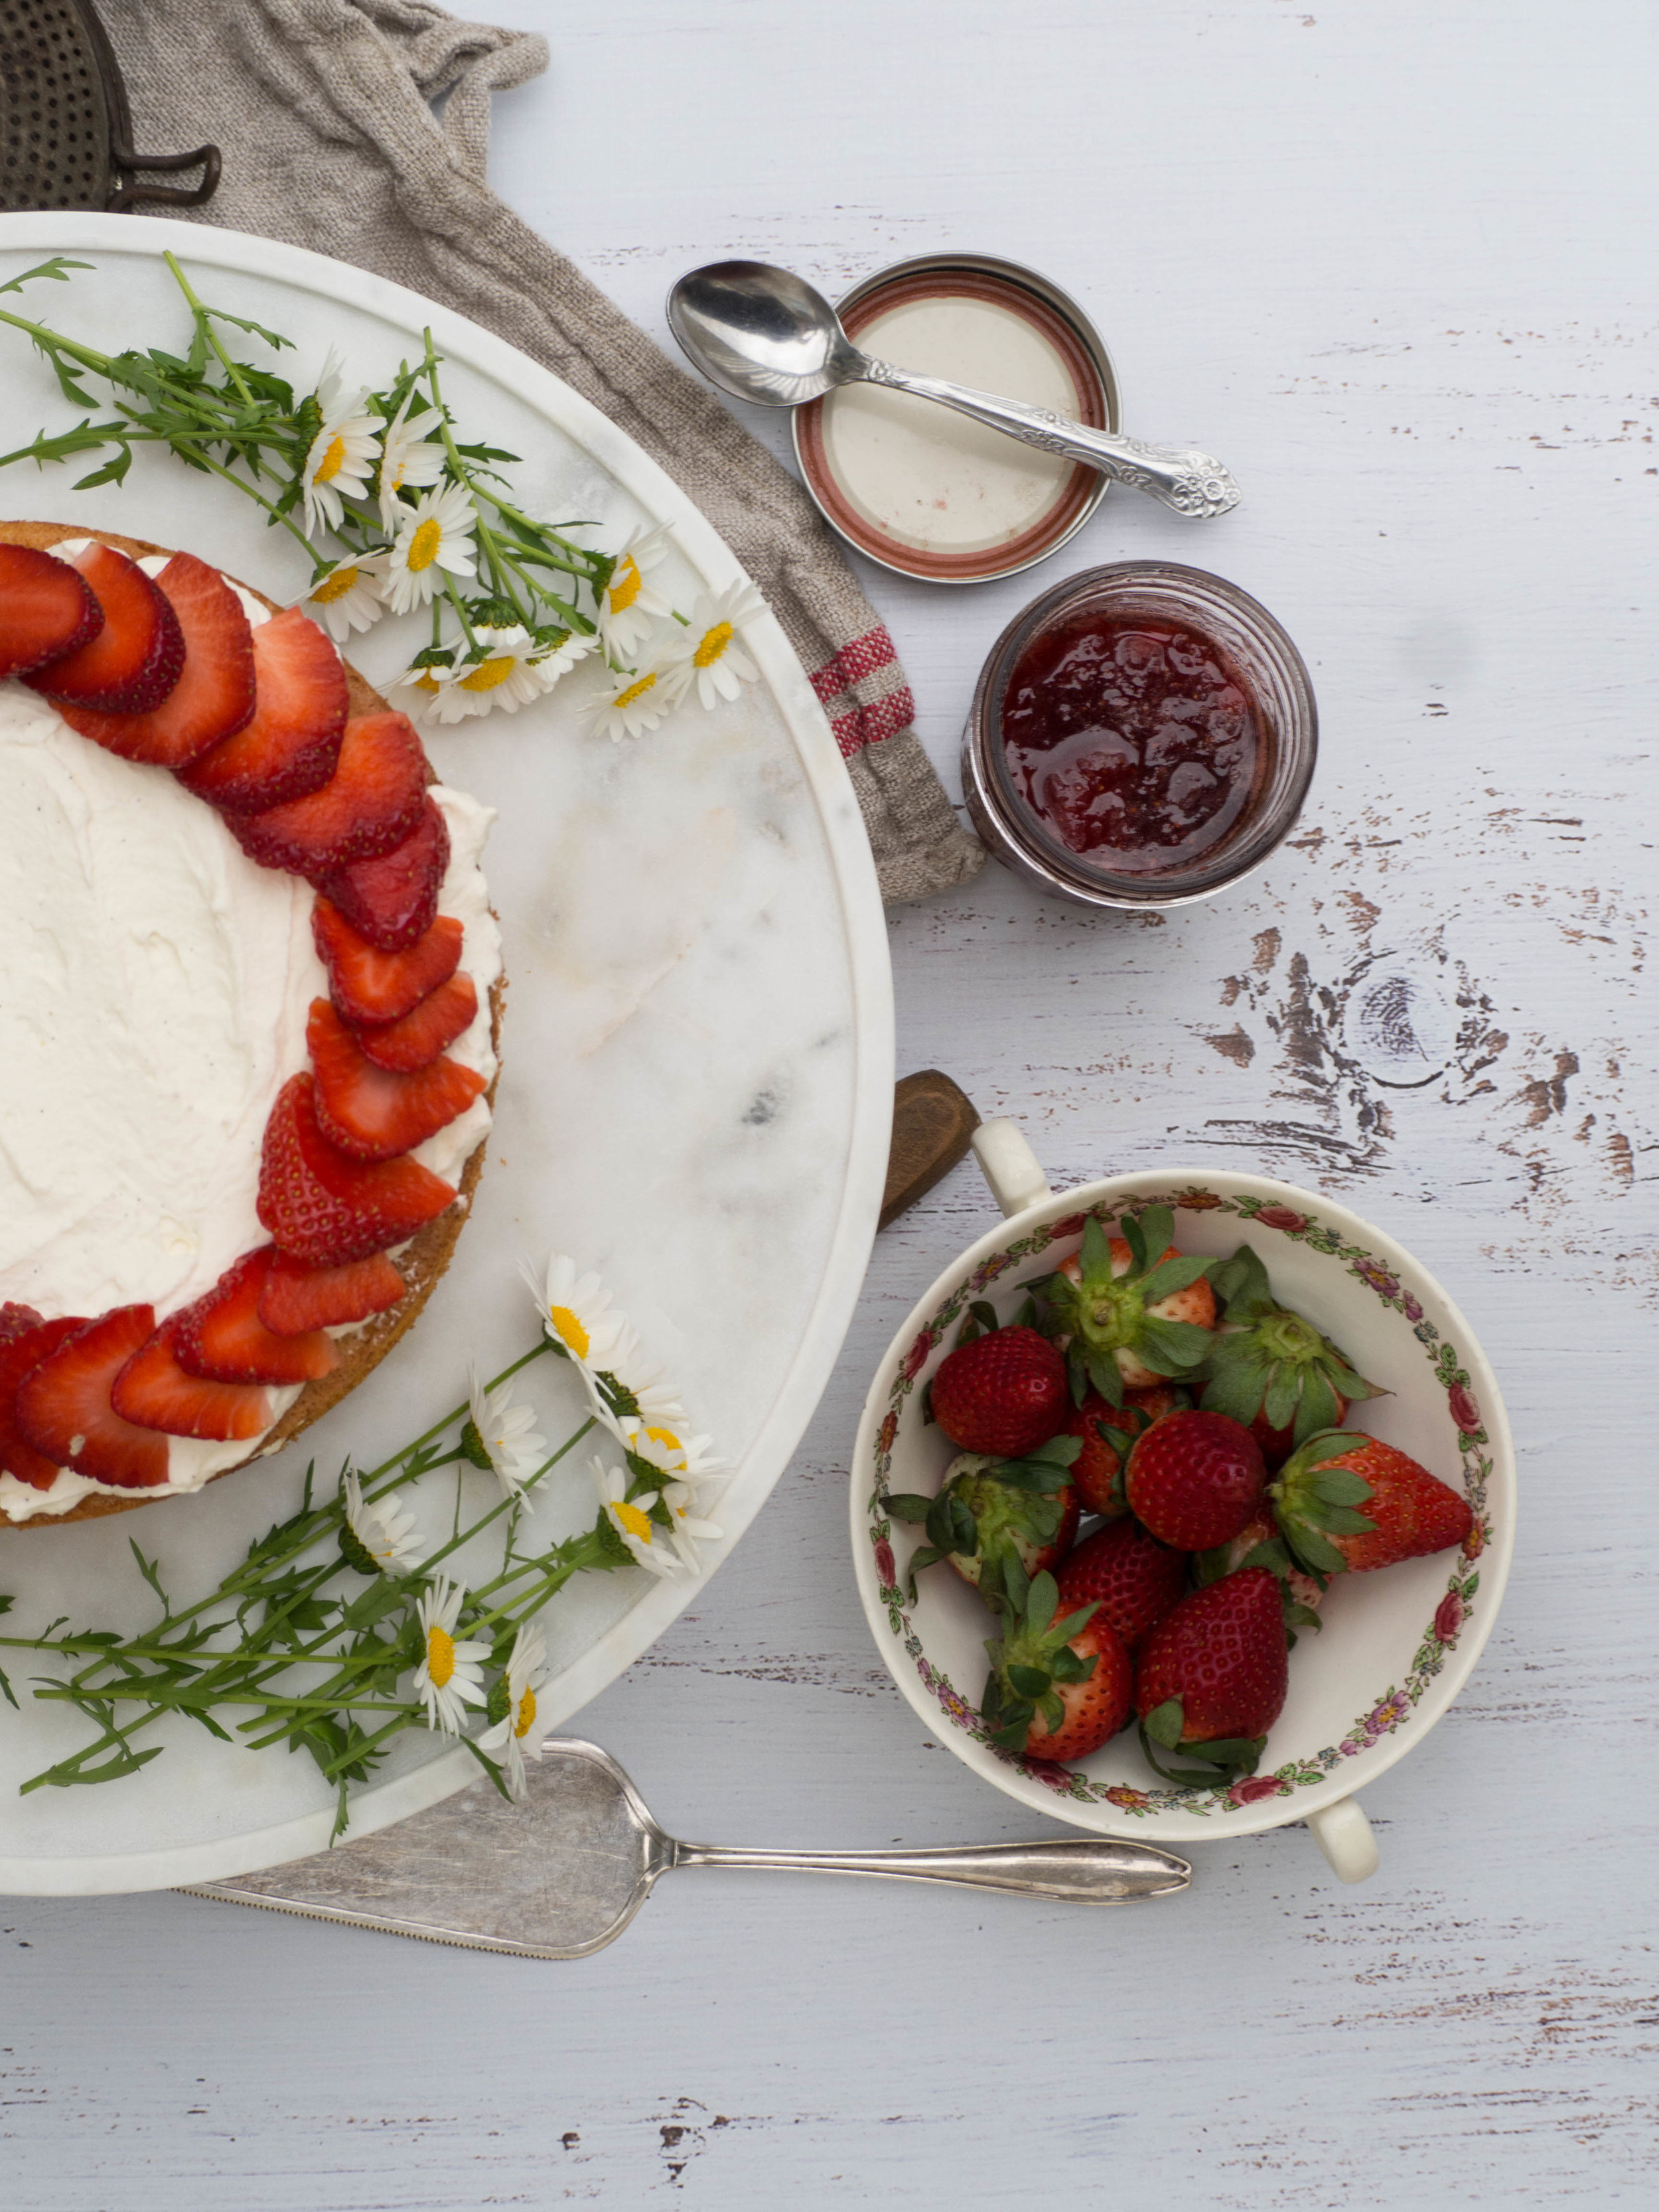
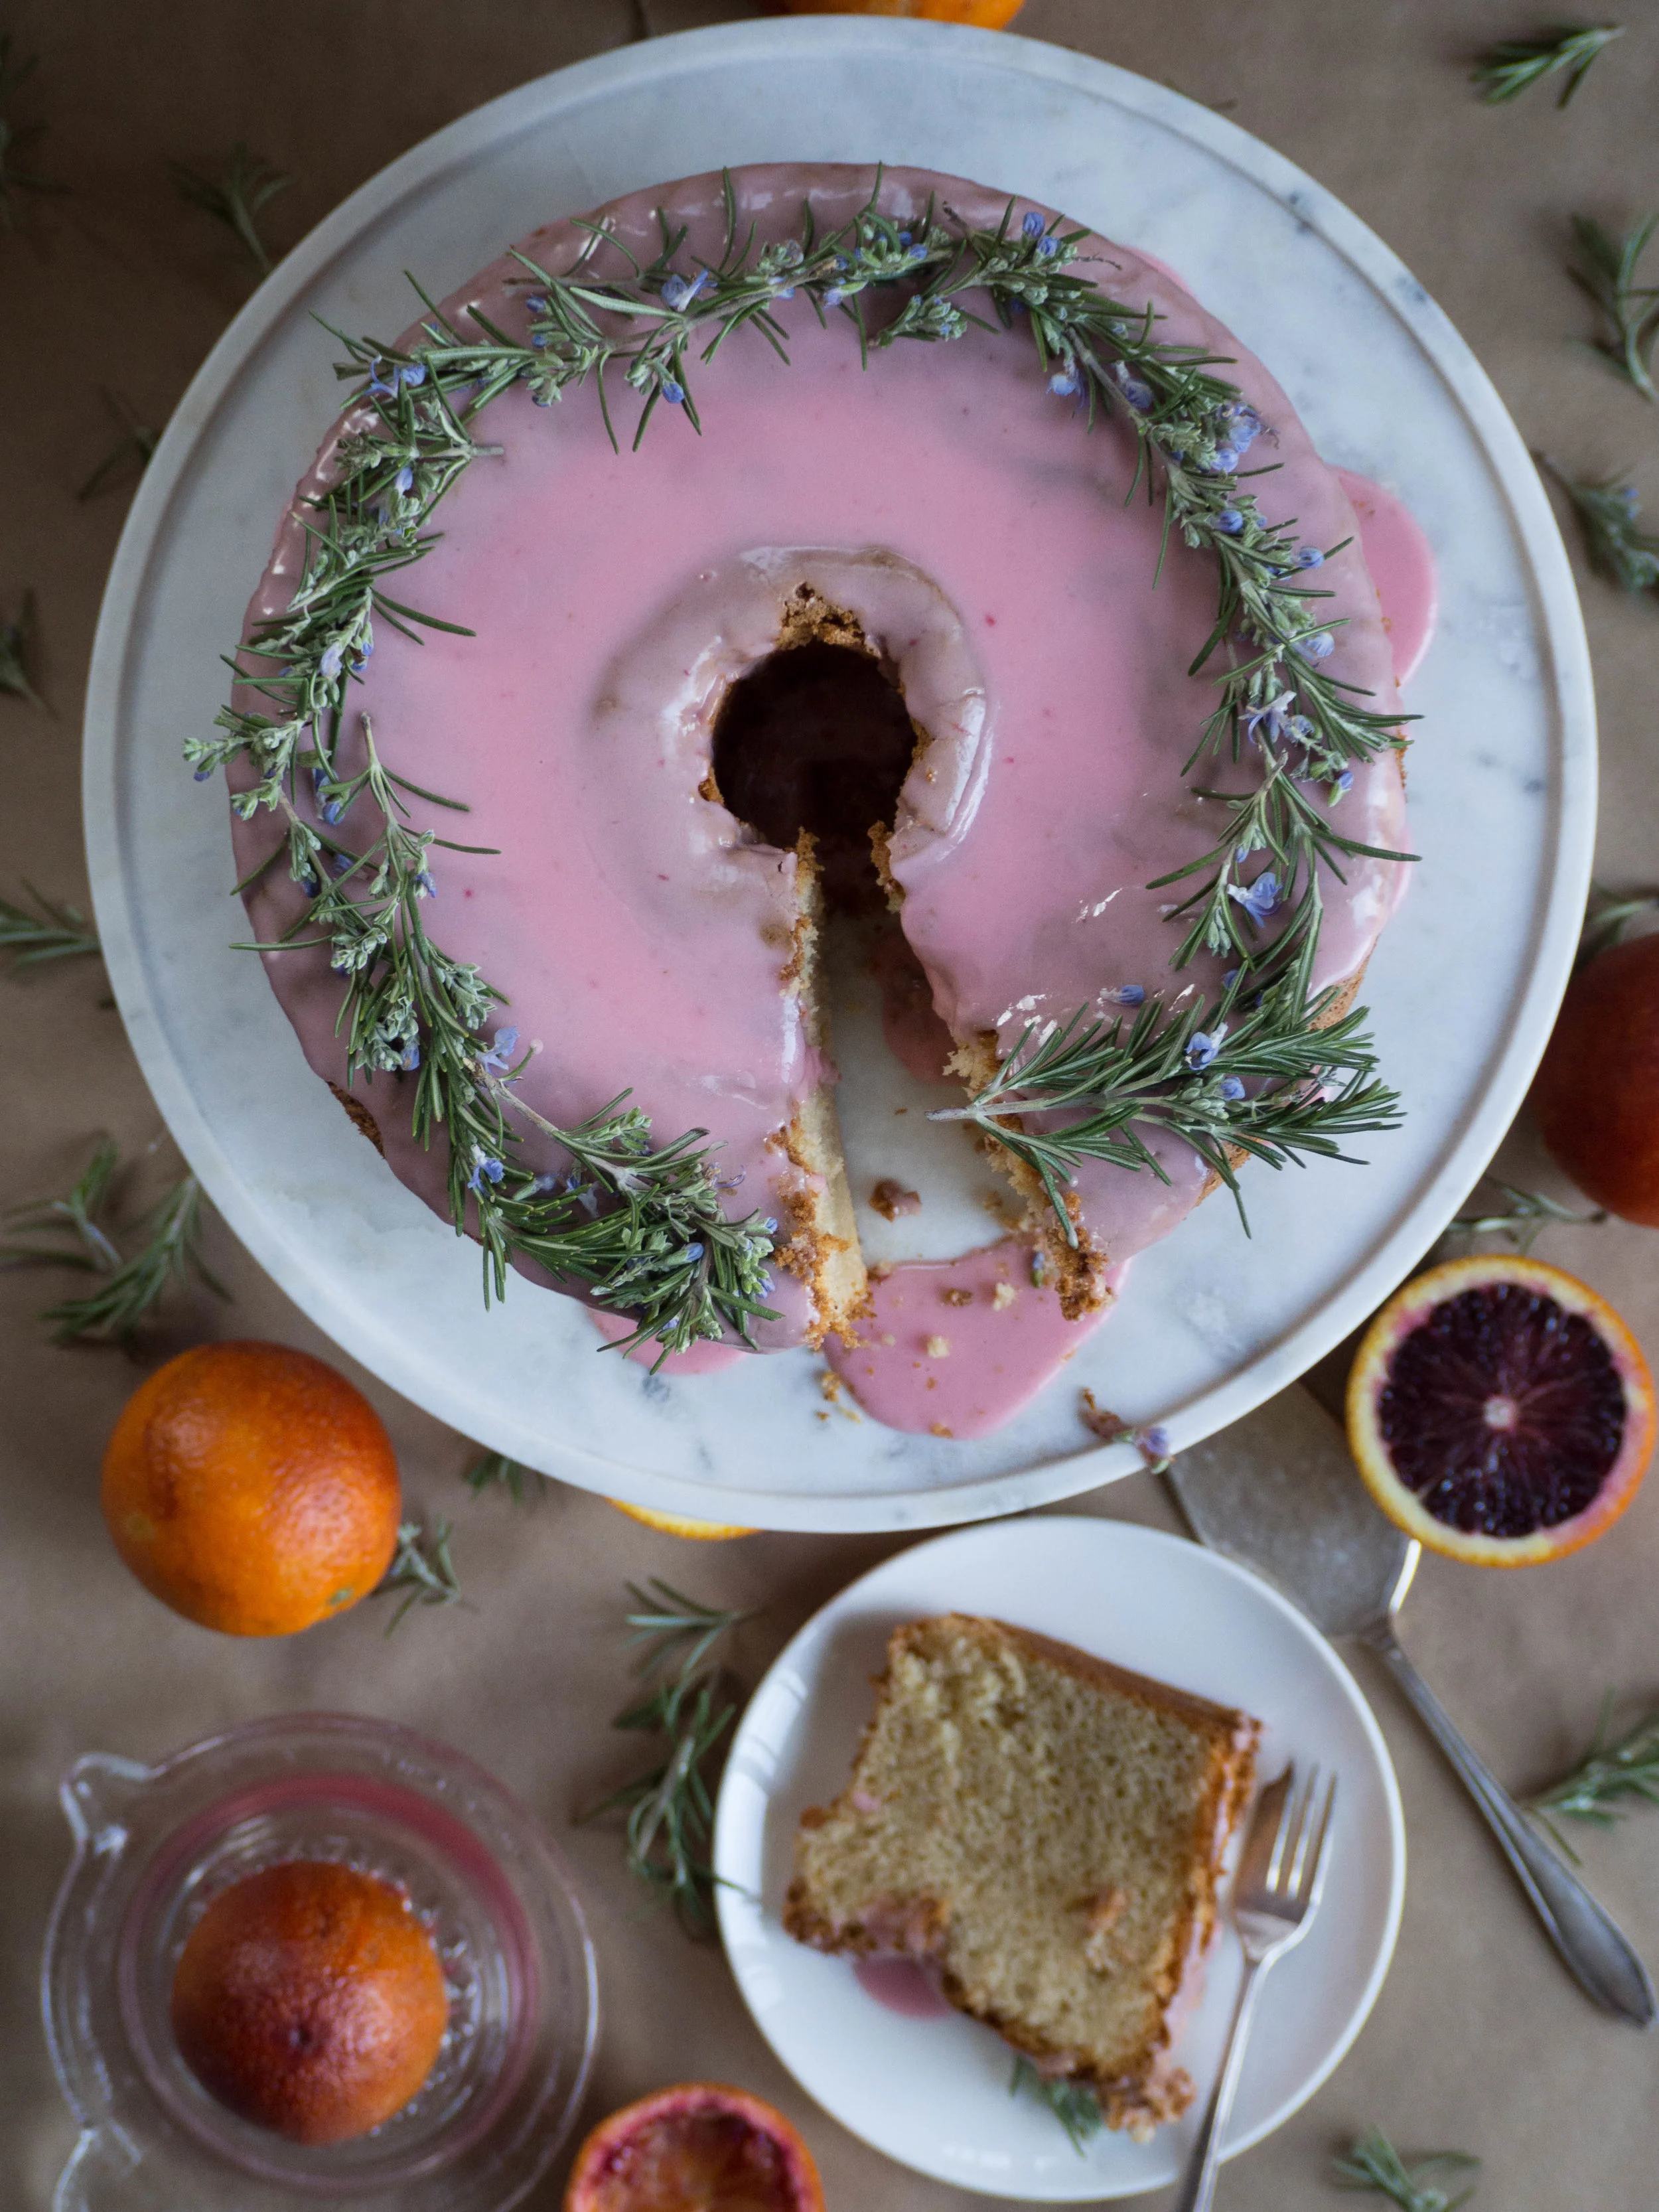
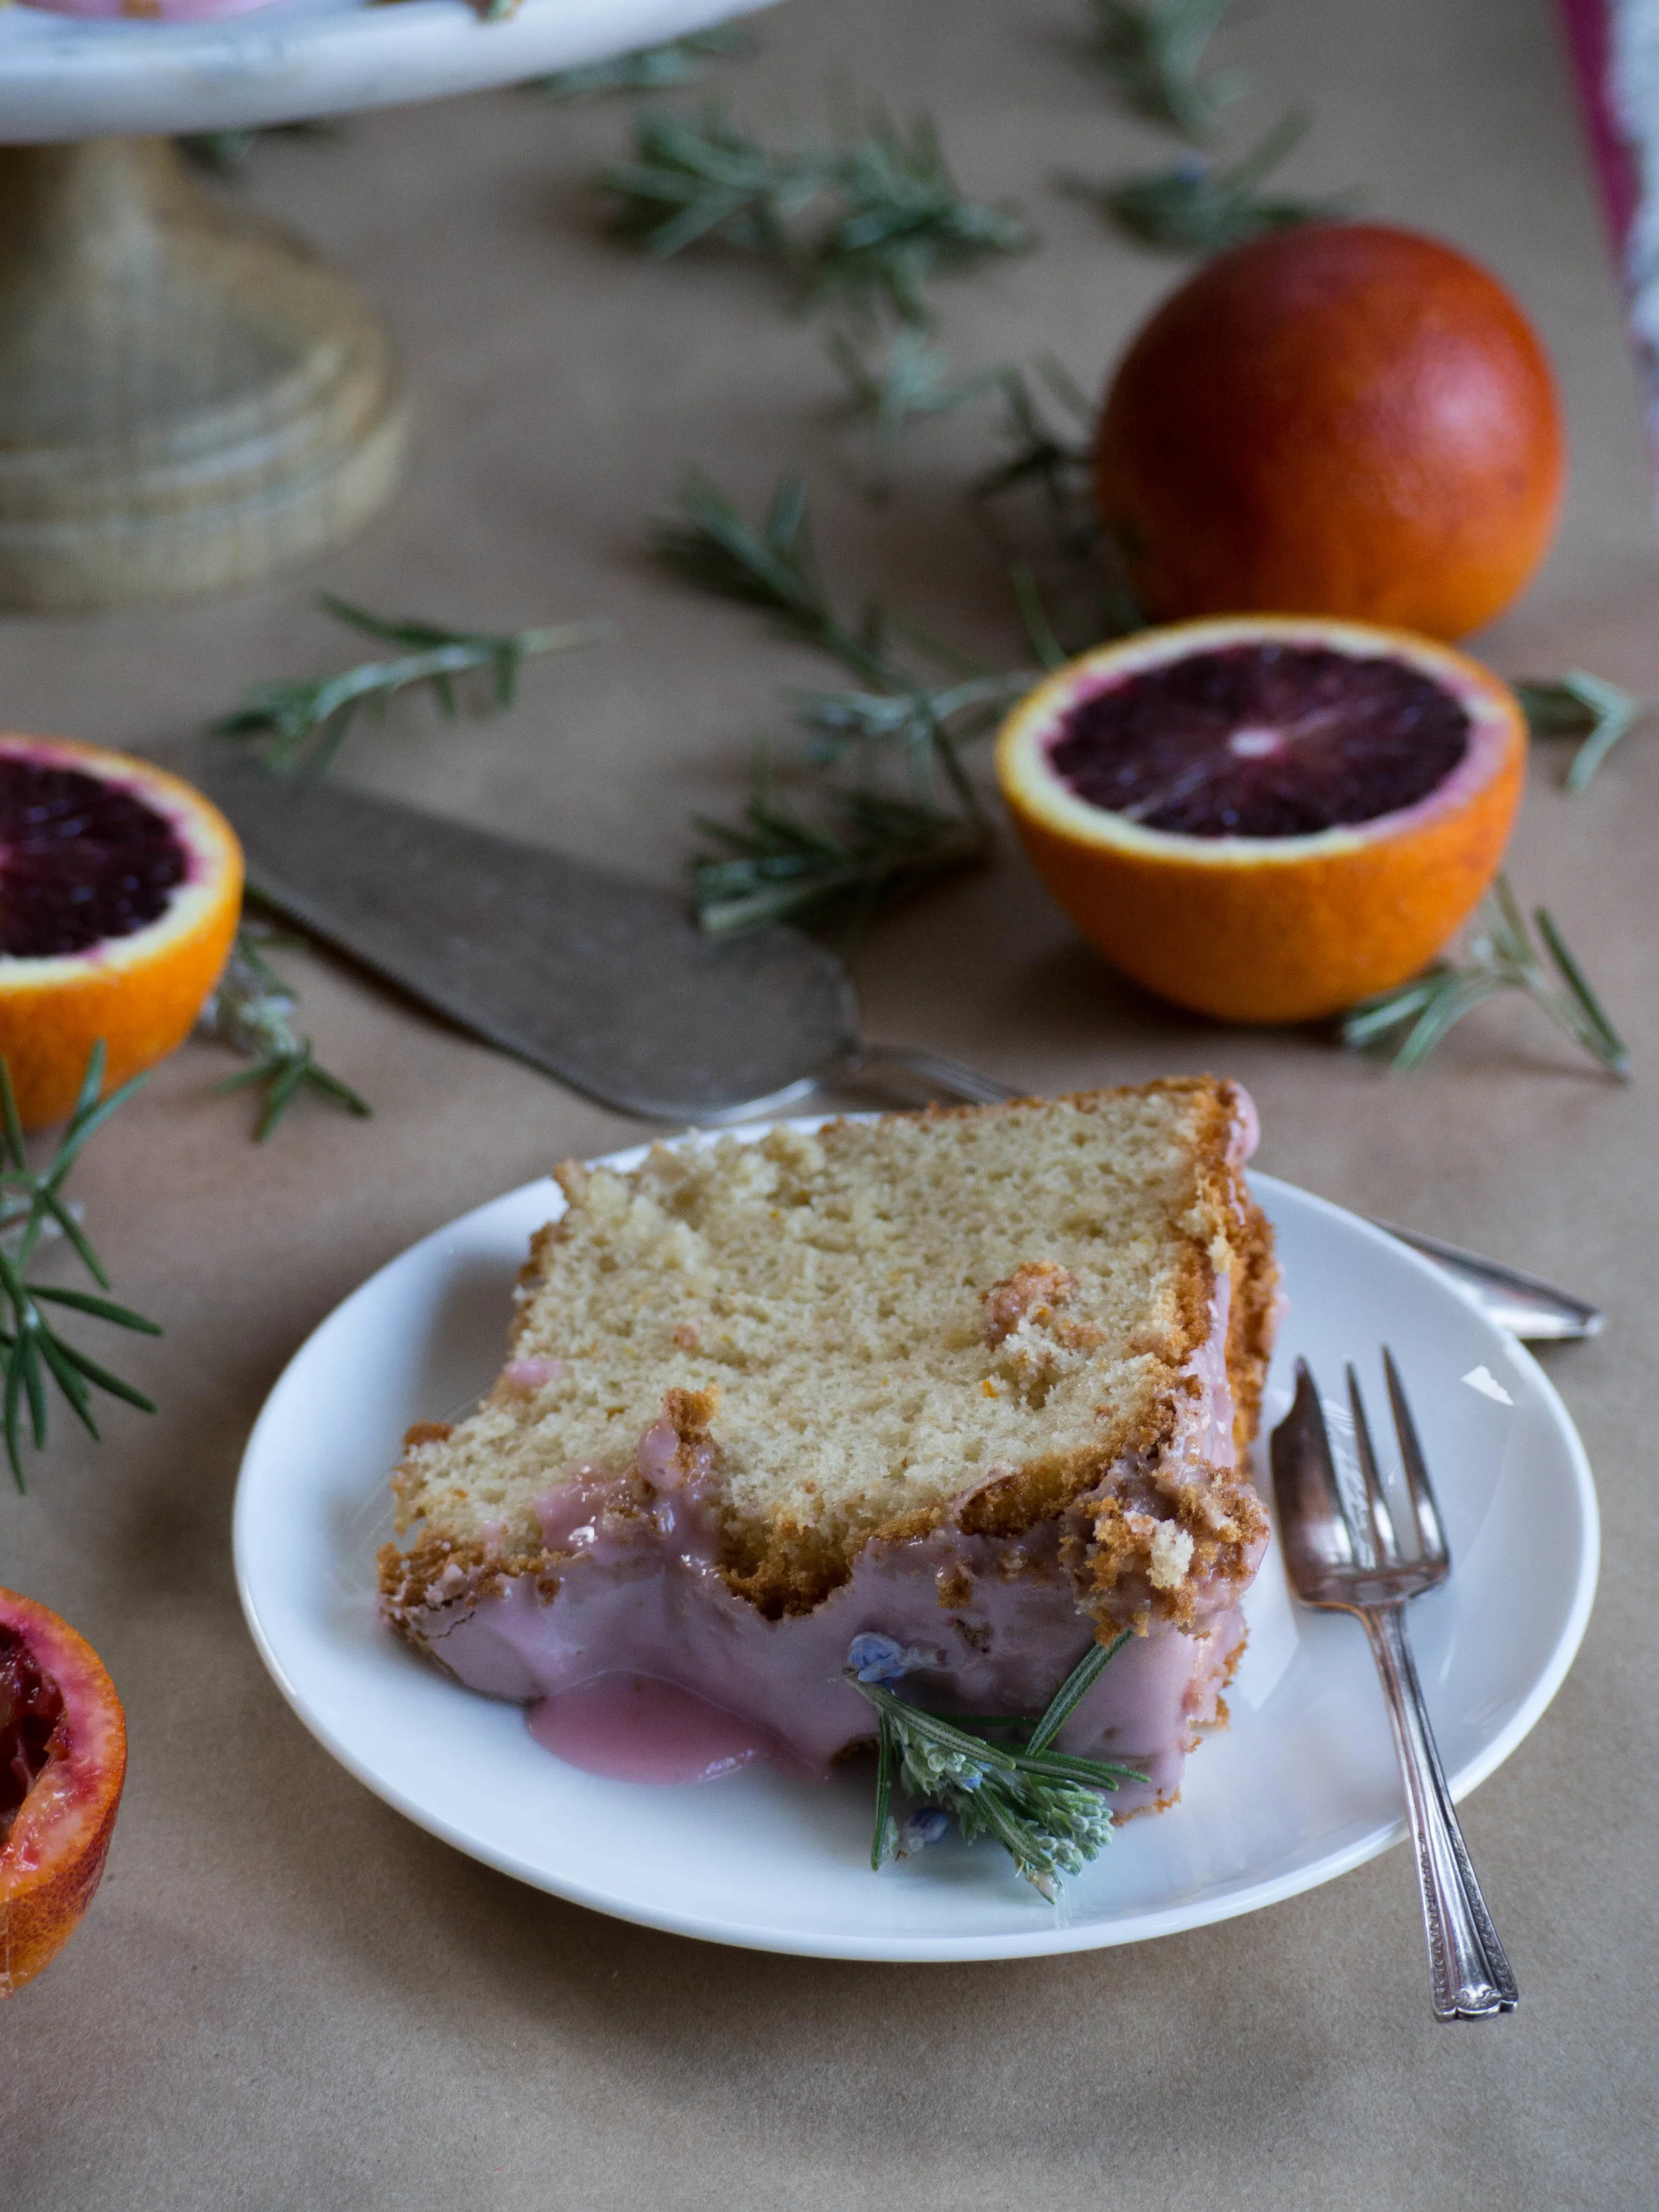
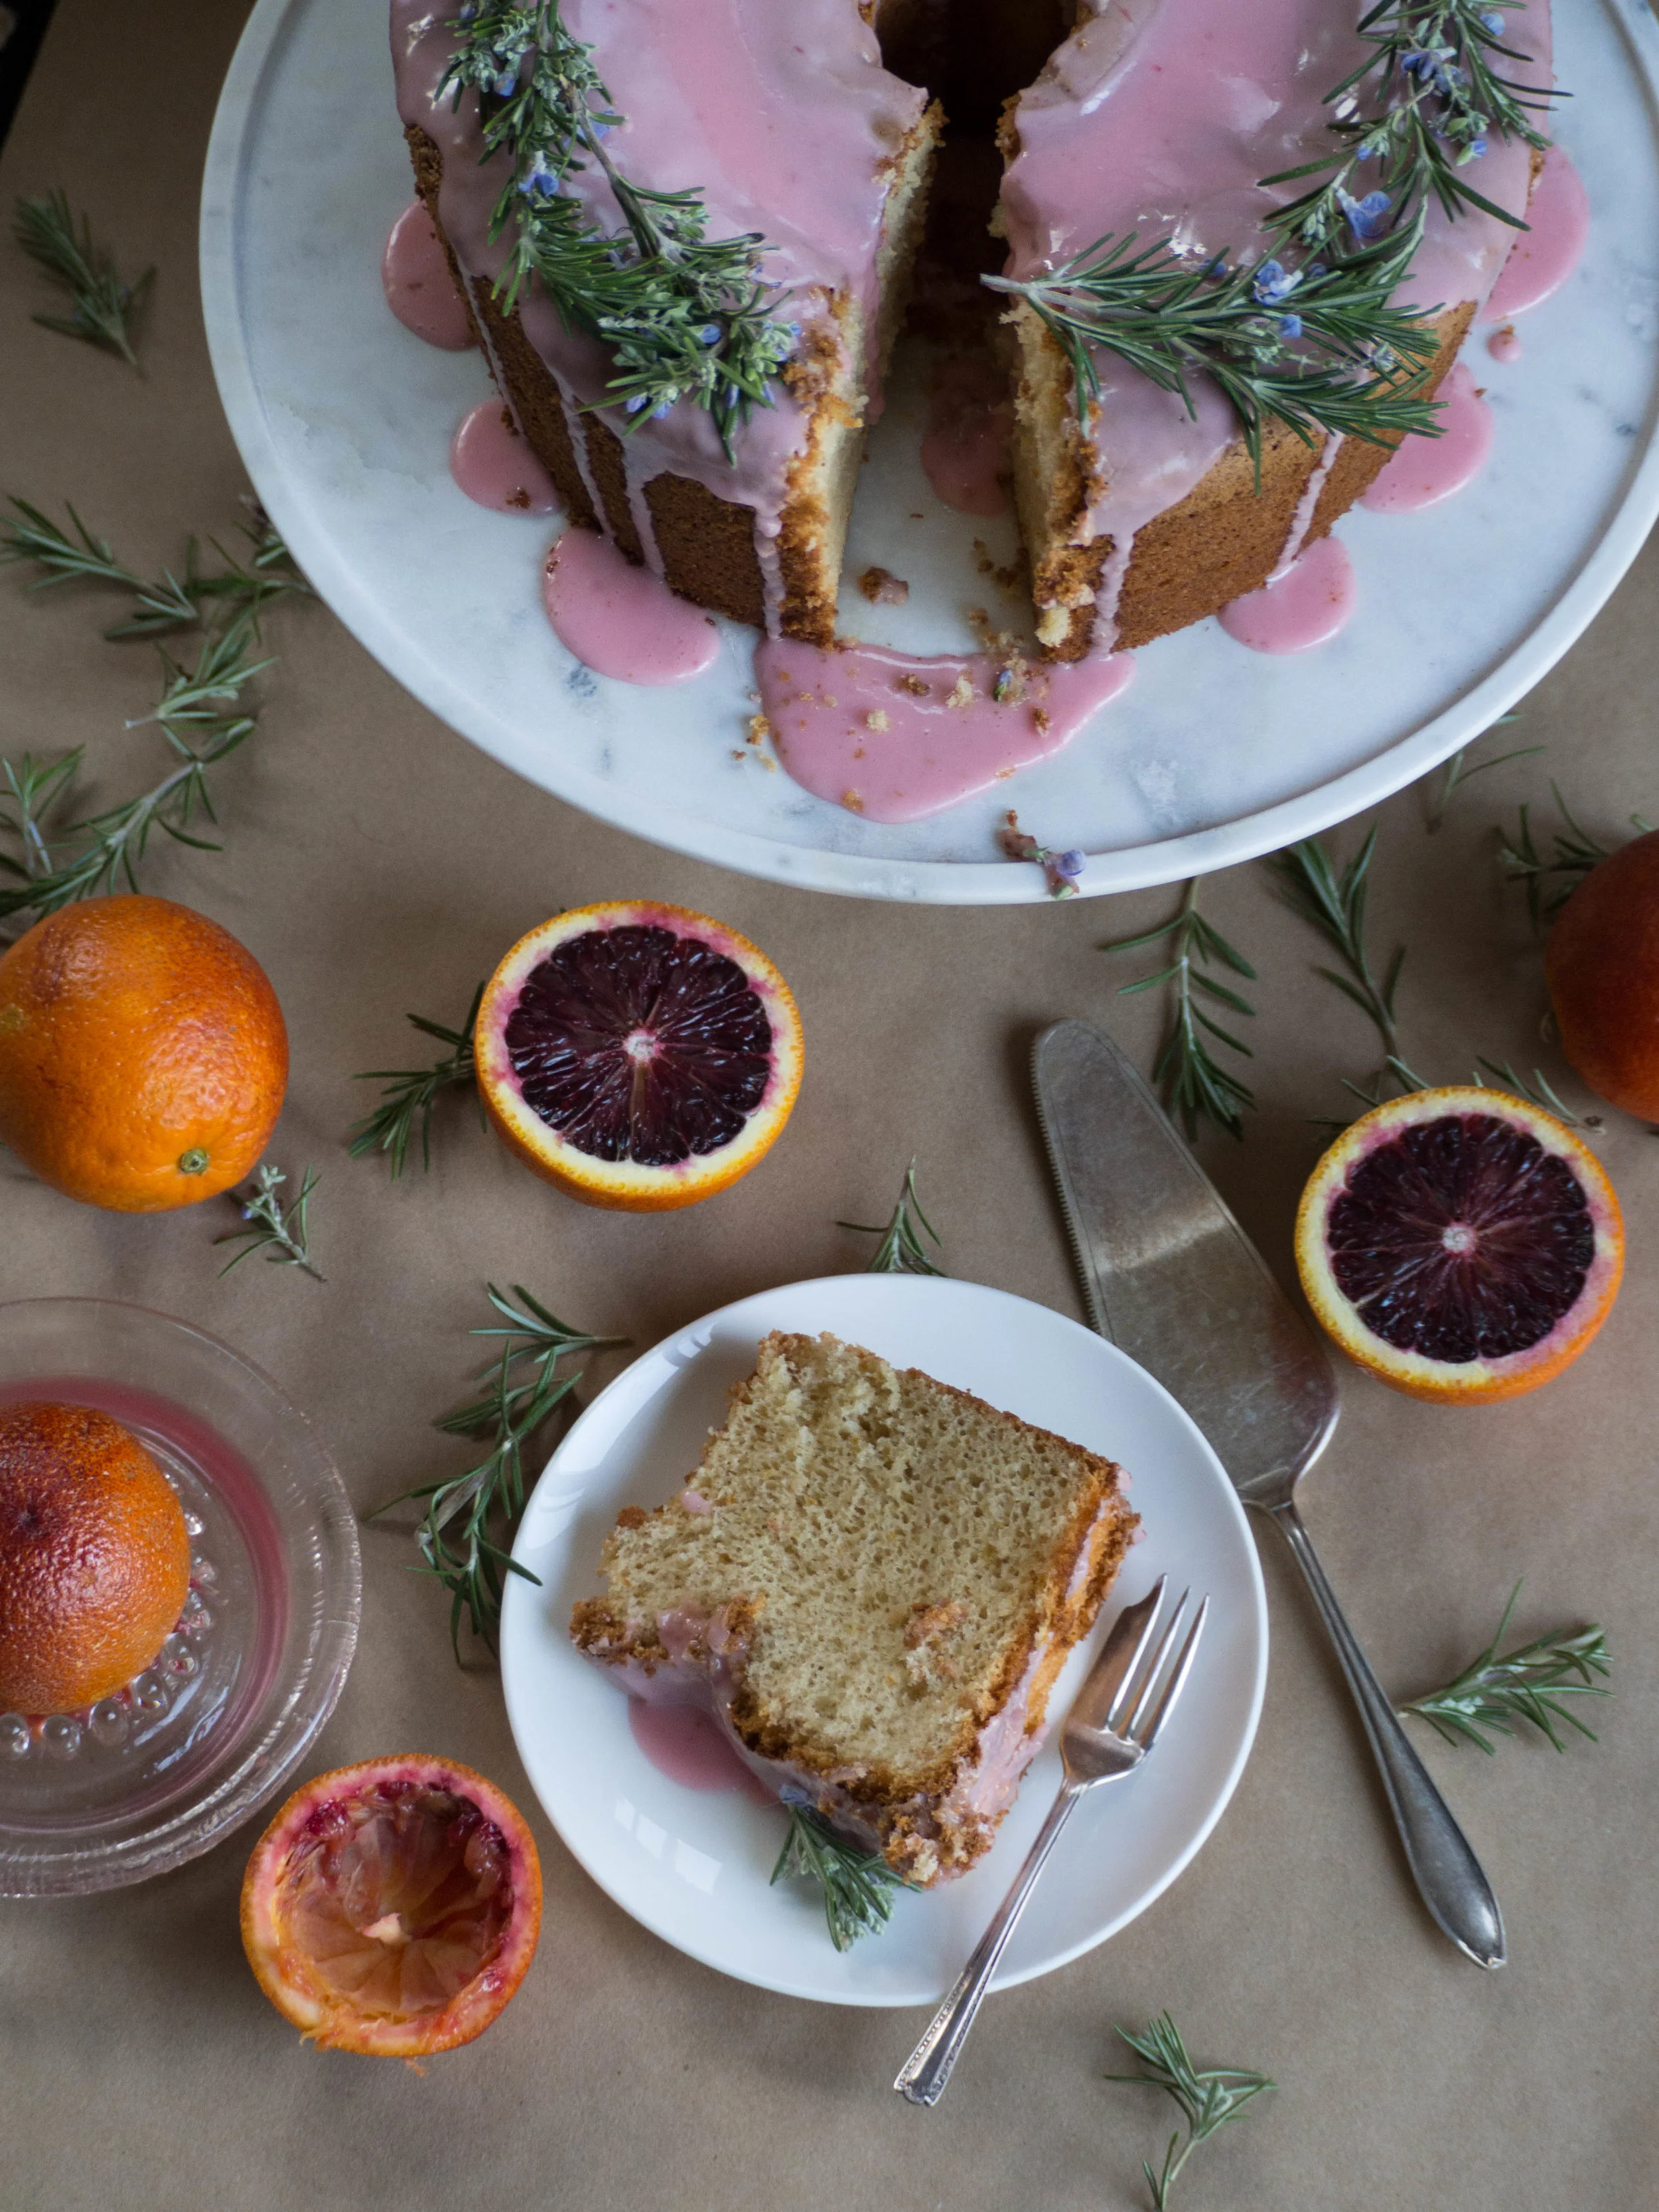
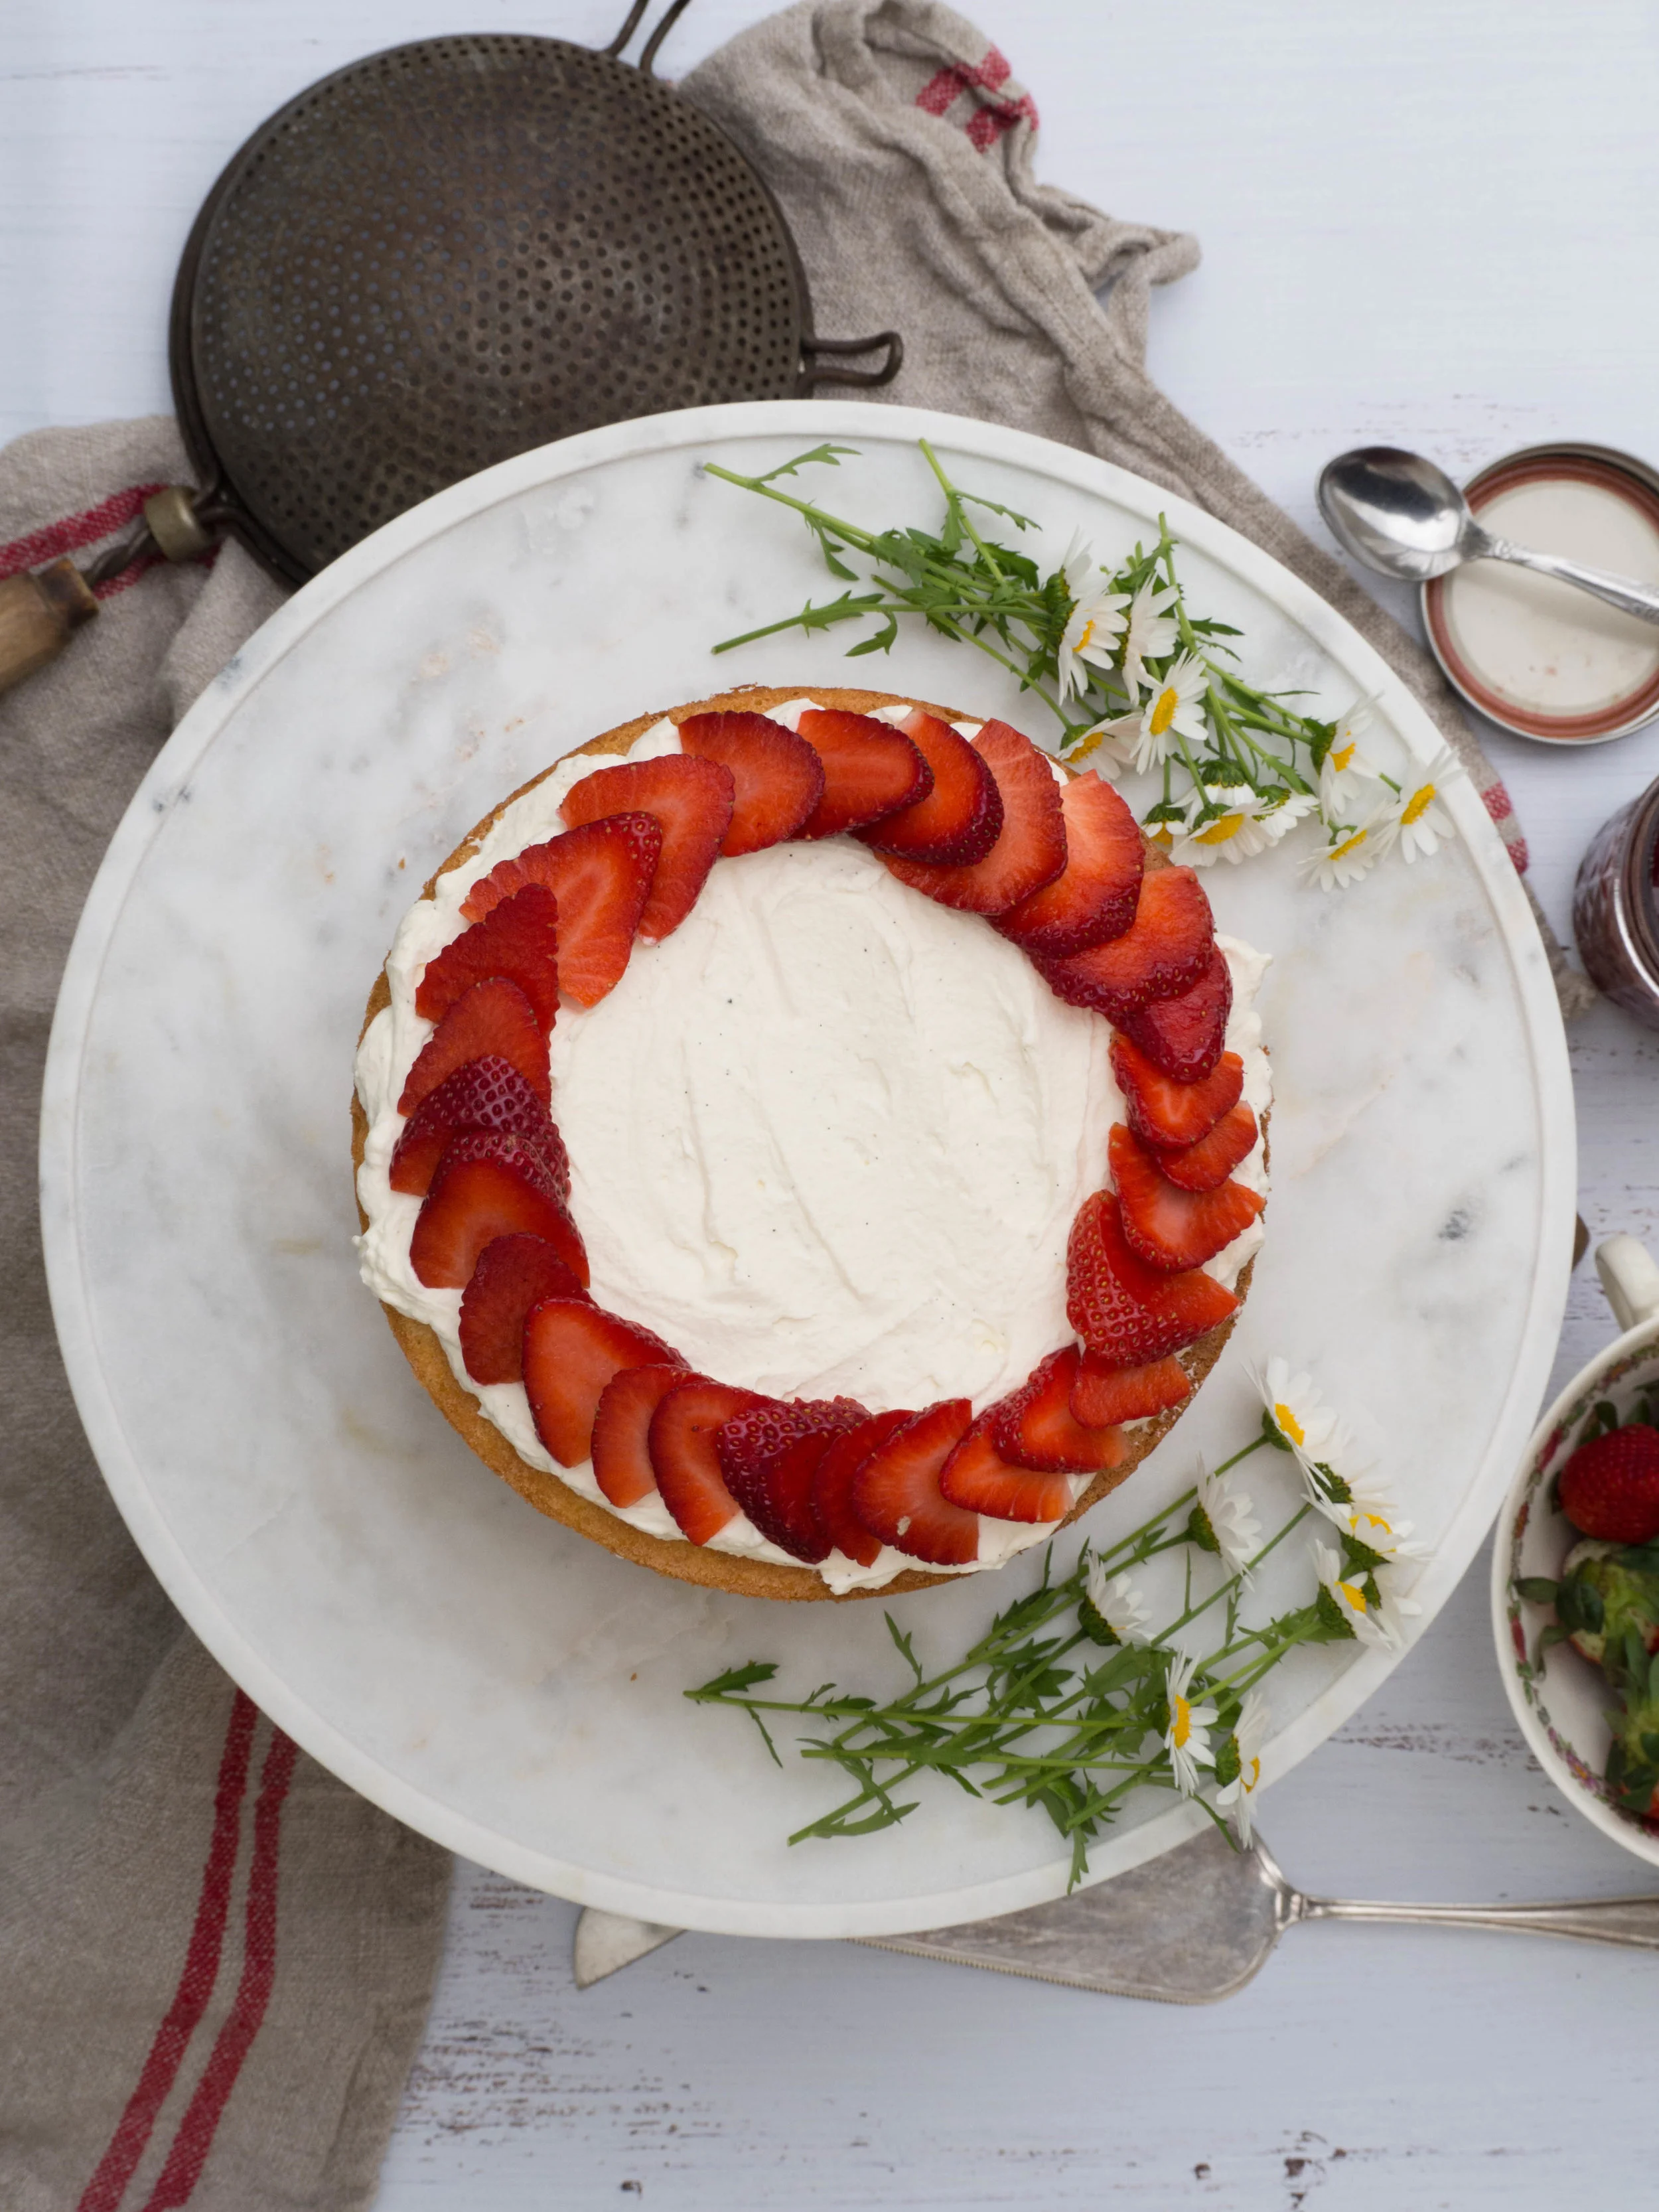
Happy New Year! I hope everyone has had a lovely start to 2017. I am kicking off my first blog post for 2017 and celebrating three years of blogging, with this Strawberry Earl Grey Cake with Homemade Strawberry Earl Grey Jam. This cake, and the accompanying jam, are inspired by a Strawberry & Earl Grey jam I bought in Fortnum & Mason three years ago. They also make Earl Grey Shortbread which I love and compounded my desire to get my hands on some bergamots or bergamot essence so I could recreate these biscuits and jam at home.
For about two years, I scoured gourmet food shops, online stores and kept an eye out pretty much wherever food is sold for bergamot essence. I didn’t hold out much hope for an actual fresh bergamot, but more on that in a moment.
It wasn’t until later last year I was listening to back episodes of my new found favourite podcast, Radio Cherry Bombe, that I finally found someone who made bergamot essence. One of the interviewees for this particular episode was Mandy Aftel. Mandy creates fragrances from natural essences and also has a line of Chef’s Essences within her business, Aftelier Perfumes.
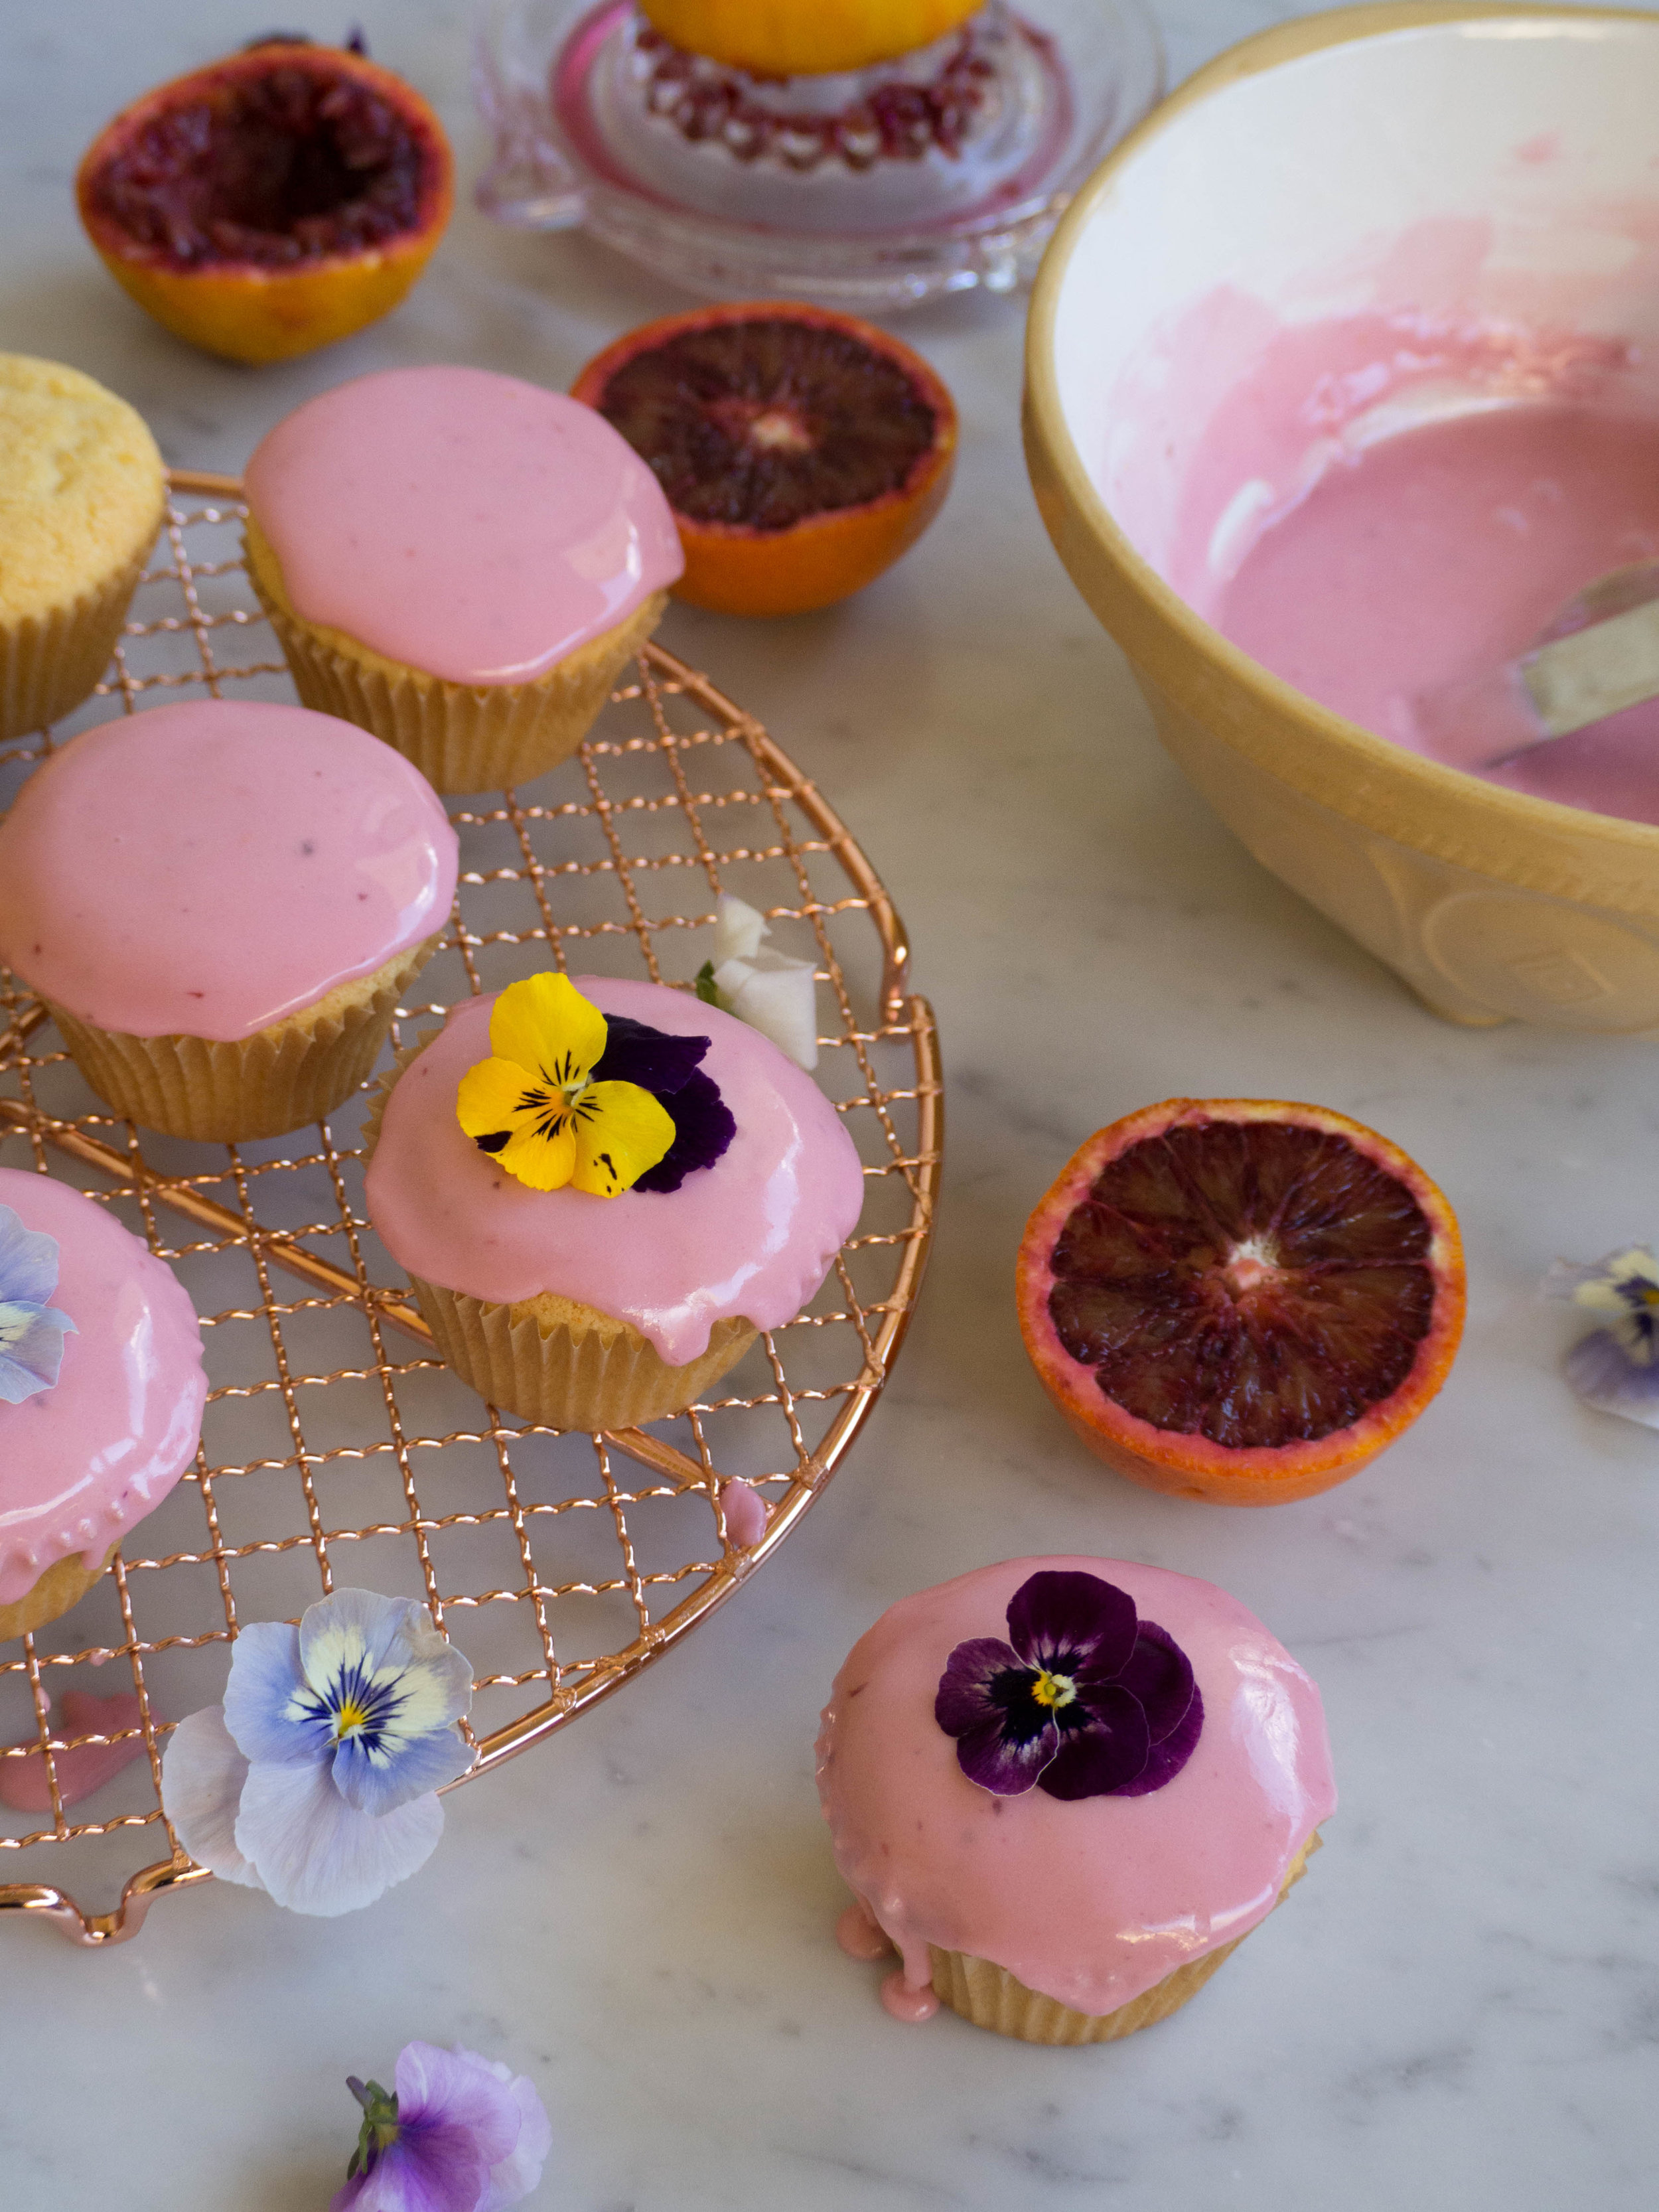
As soon as I heard Mandy talking about her Chef’s Essences, I quickly looked up her website (while I was on the train to work no less), and checked what flavours she creates. And success! Finally I had found not only someone who stocked bergamot essence, but also shipped to Australia! I was beyond excited, and purchased some that night when I got home. I also picked up some blood orange essence and raspberry essence as well - I mean if you are going to pay for shipping you might as well get a few things right?! I have used the blood orange essence in marshmallows as an addition to blood orange juice, and will share a recipe on the blog soon that uses the raspberry essence.
Not long after I found Aftelier Perfumes and received my coveted bergamot essence, I found a citrus tree supplier in Sydney who stocked bergamots! I was actually searching for nursery’s that sell blood orange trees, but happily stumbled across the bergamot as well! We now have a small bergamot tree, with three bergamots growing nicely, and a small blood orange tree which will hopefully fruit next year. If it were up to me alone we would have walked out with a quince, pomegranate and peach tree as well, but space in the garden not permitting we compromised on my favourite citrus instead.
So now all is right in the bergamot searching world, and the list of baked goods I wish to create with it continues to grow. Next on my list will be recreating the Fortnum & Mason Earl Grey Shortbread!

Recipe notes: The jam recipe is easily doubled. The bottled jam should keep for a year unopened so there is no harm in making more! A coarsely grated apple (I prefer pink lady) can also be added as part of the quantity of fruit. Apples naturally contain pectin so will help the jam set, and are a nice option if you don’t have pectin or jam sugar.
The bergamot in both the jam and the cake can be either left out completely or substituted for vanilla. For the jam, either stir in a teaspoon or two of vanilla bean paste at the end of the cooking time or cut a vanilla bean in half and add at the beginning of the recipe then remove when bottling the jam. For the cake use either 1 tsp of vanilla extract or vanilla bean paste, or even a little lemon zest (or bergamot zest if you have any fresh bergamots!) in place of the bergamot essence.
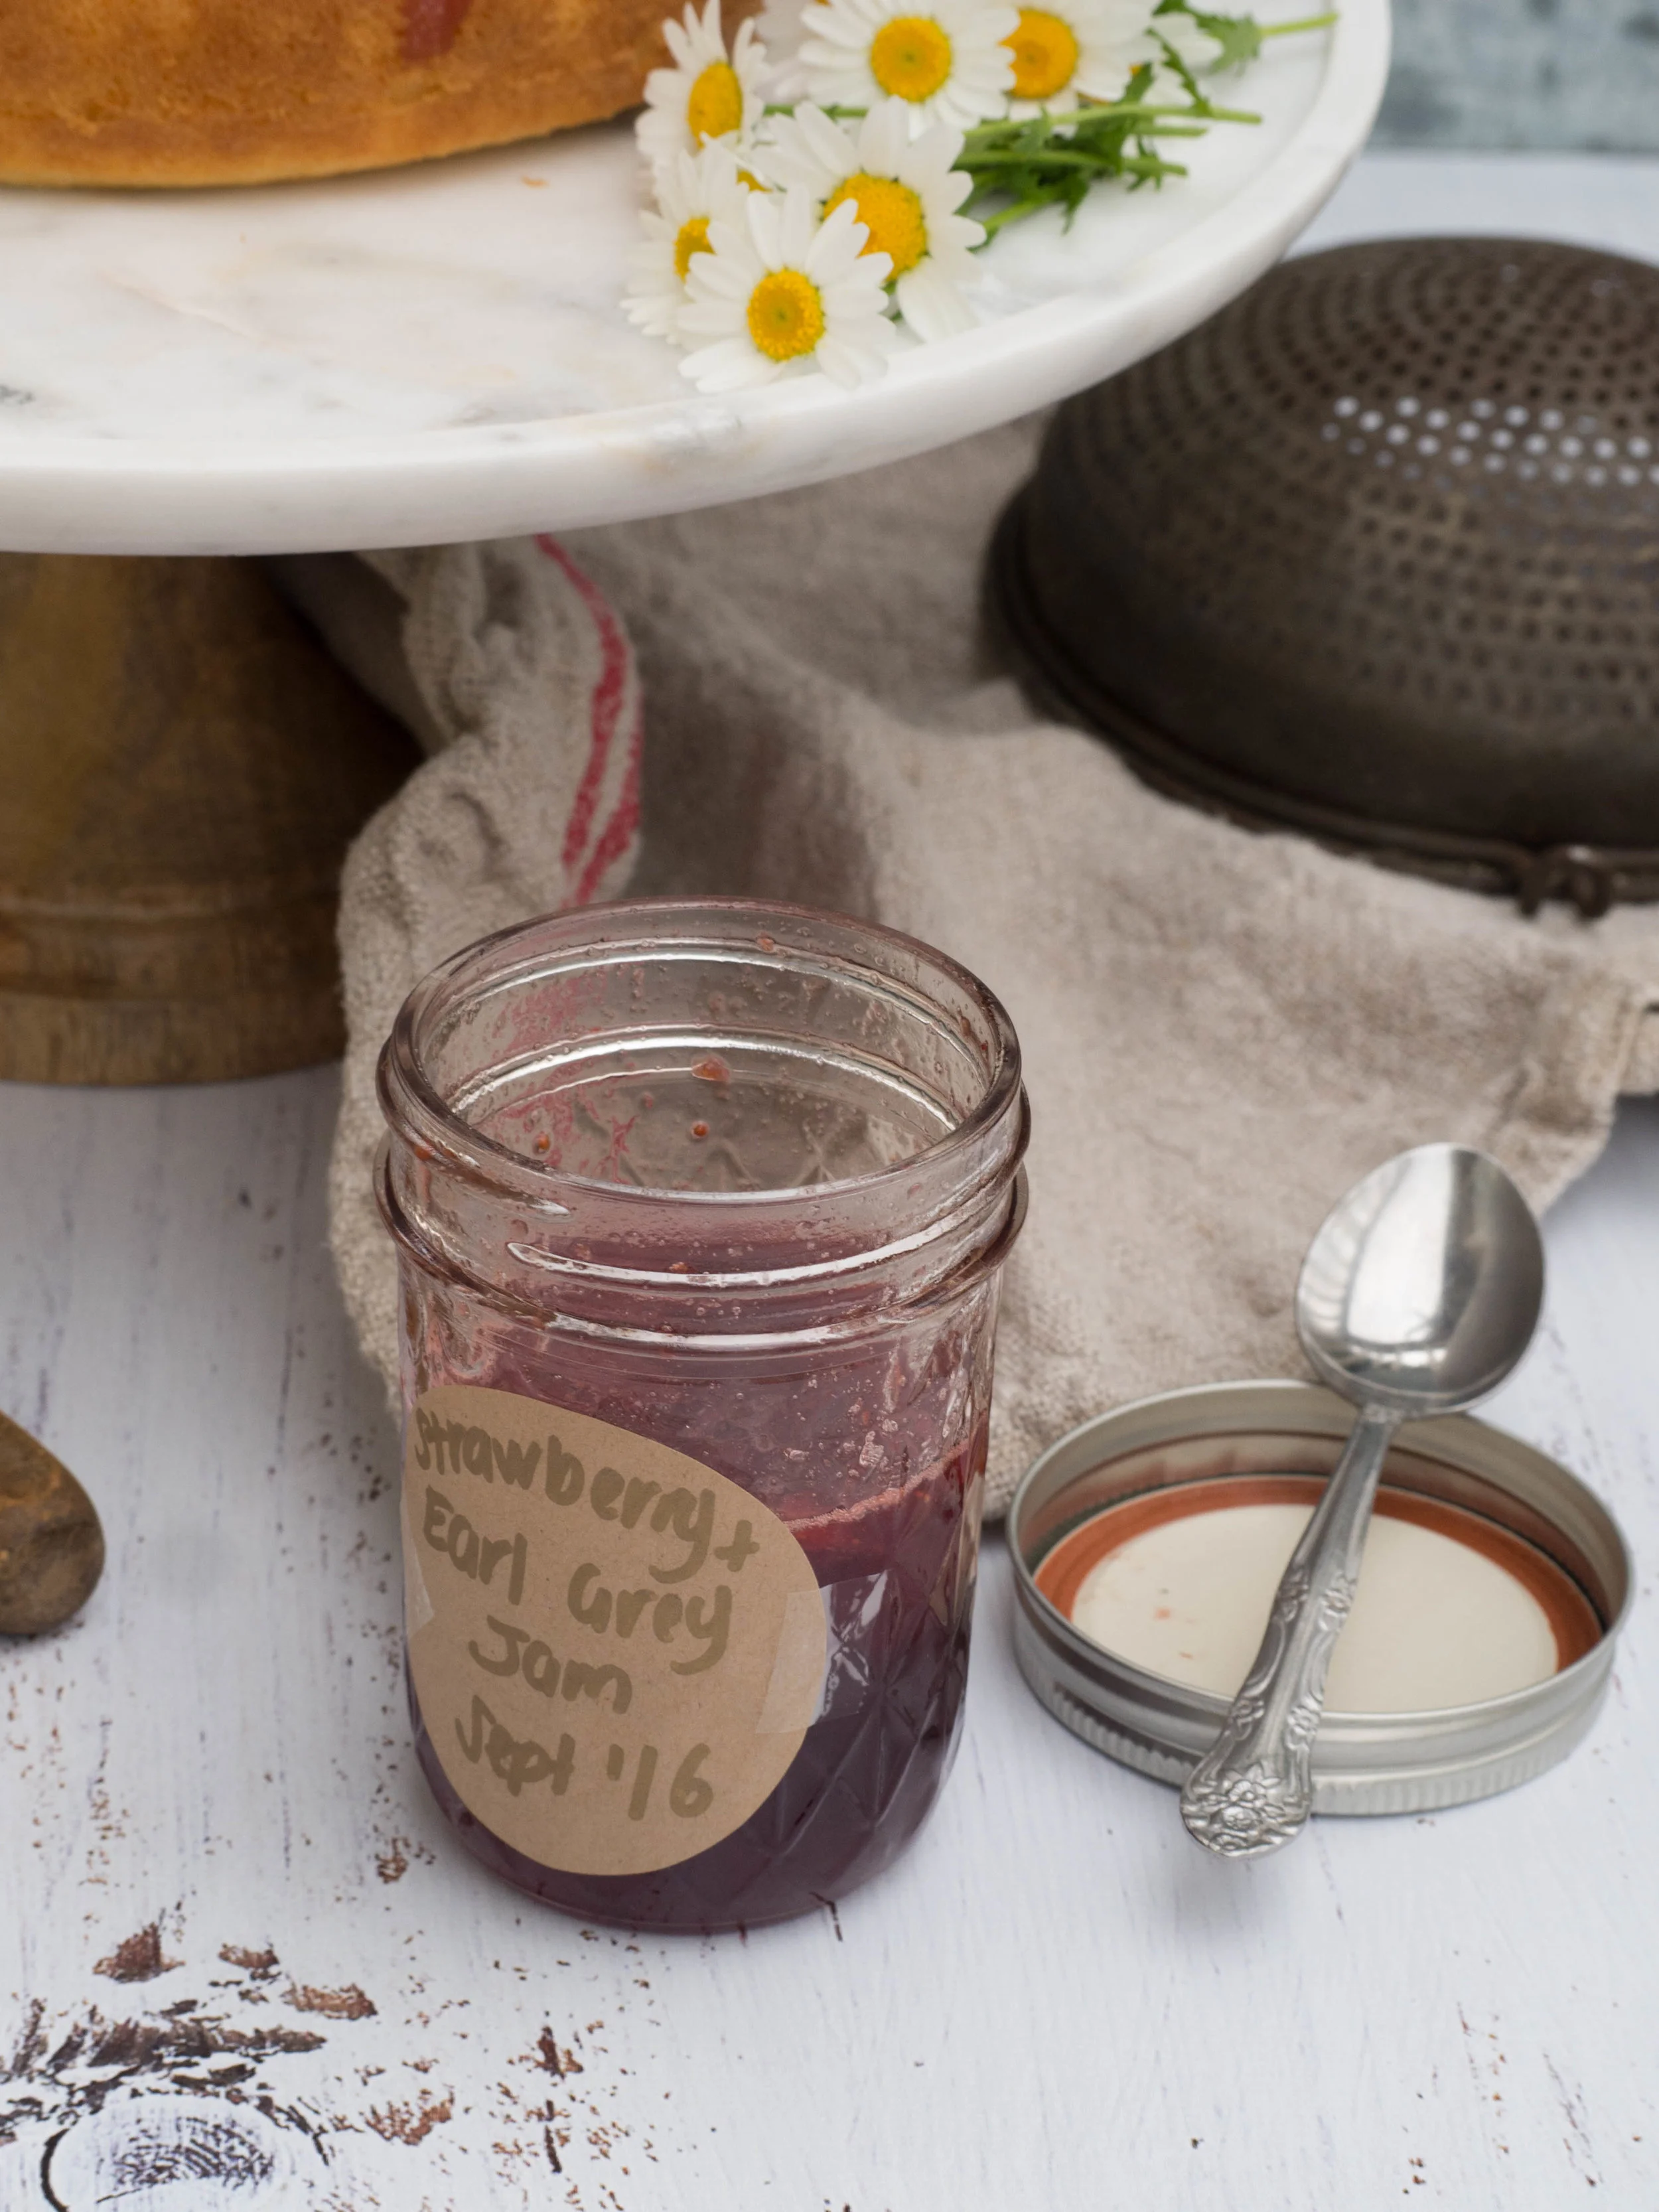
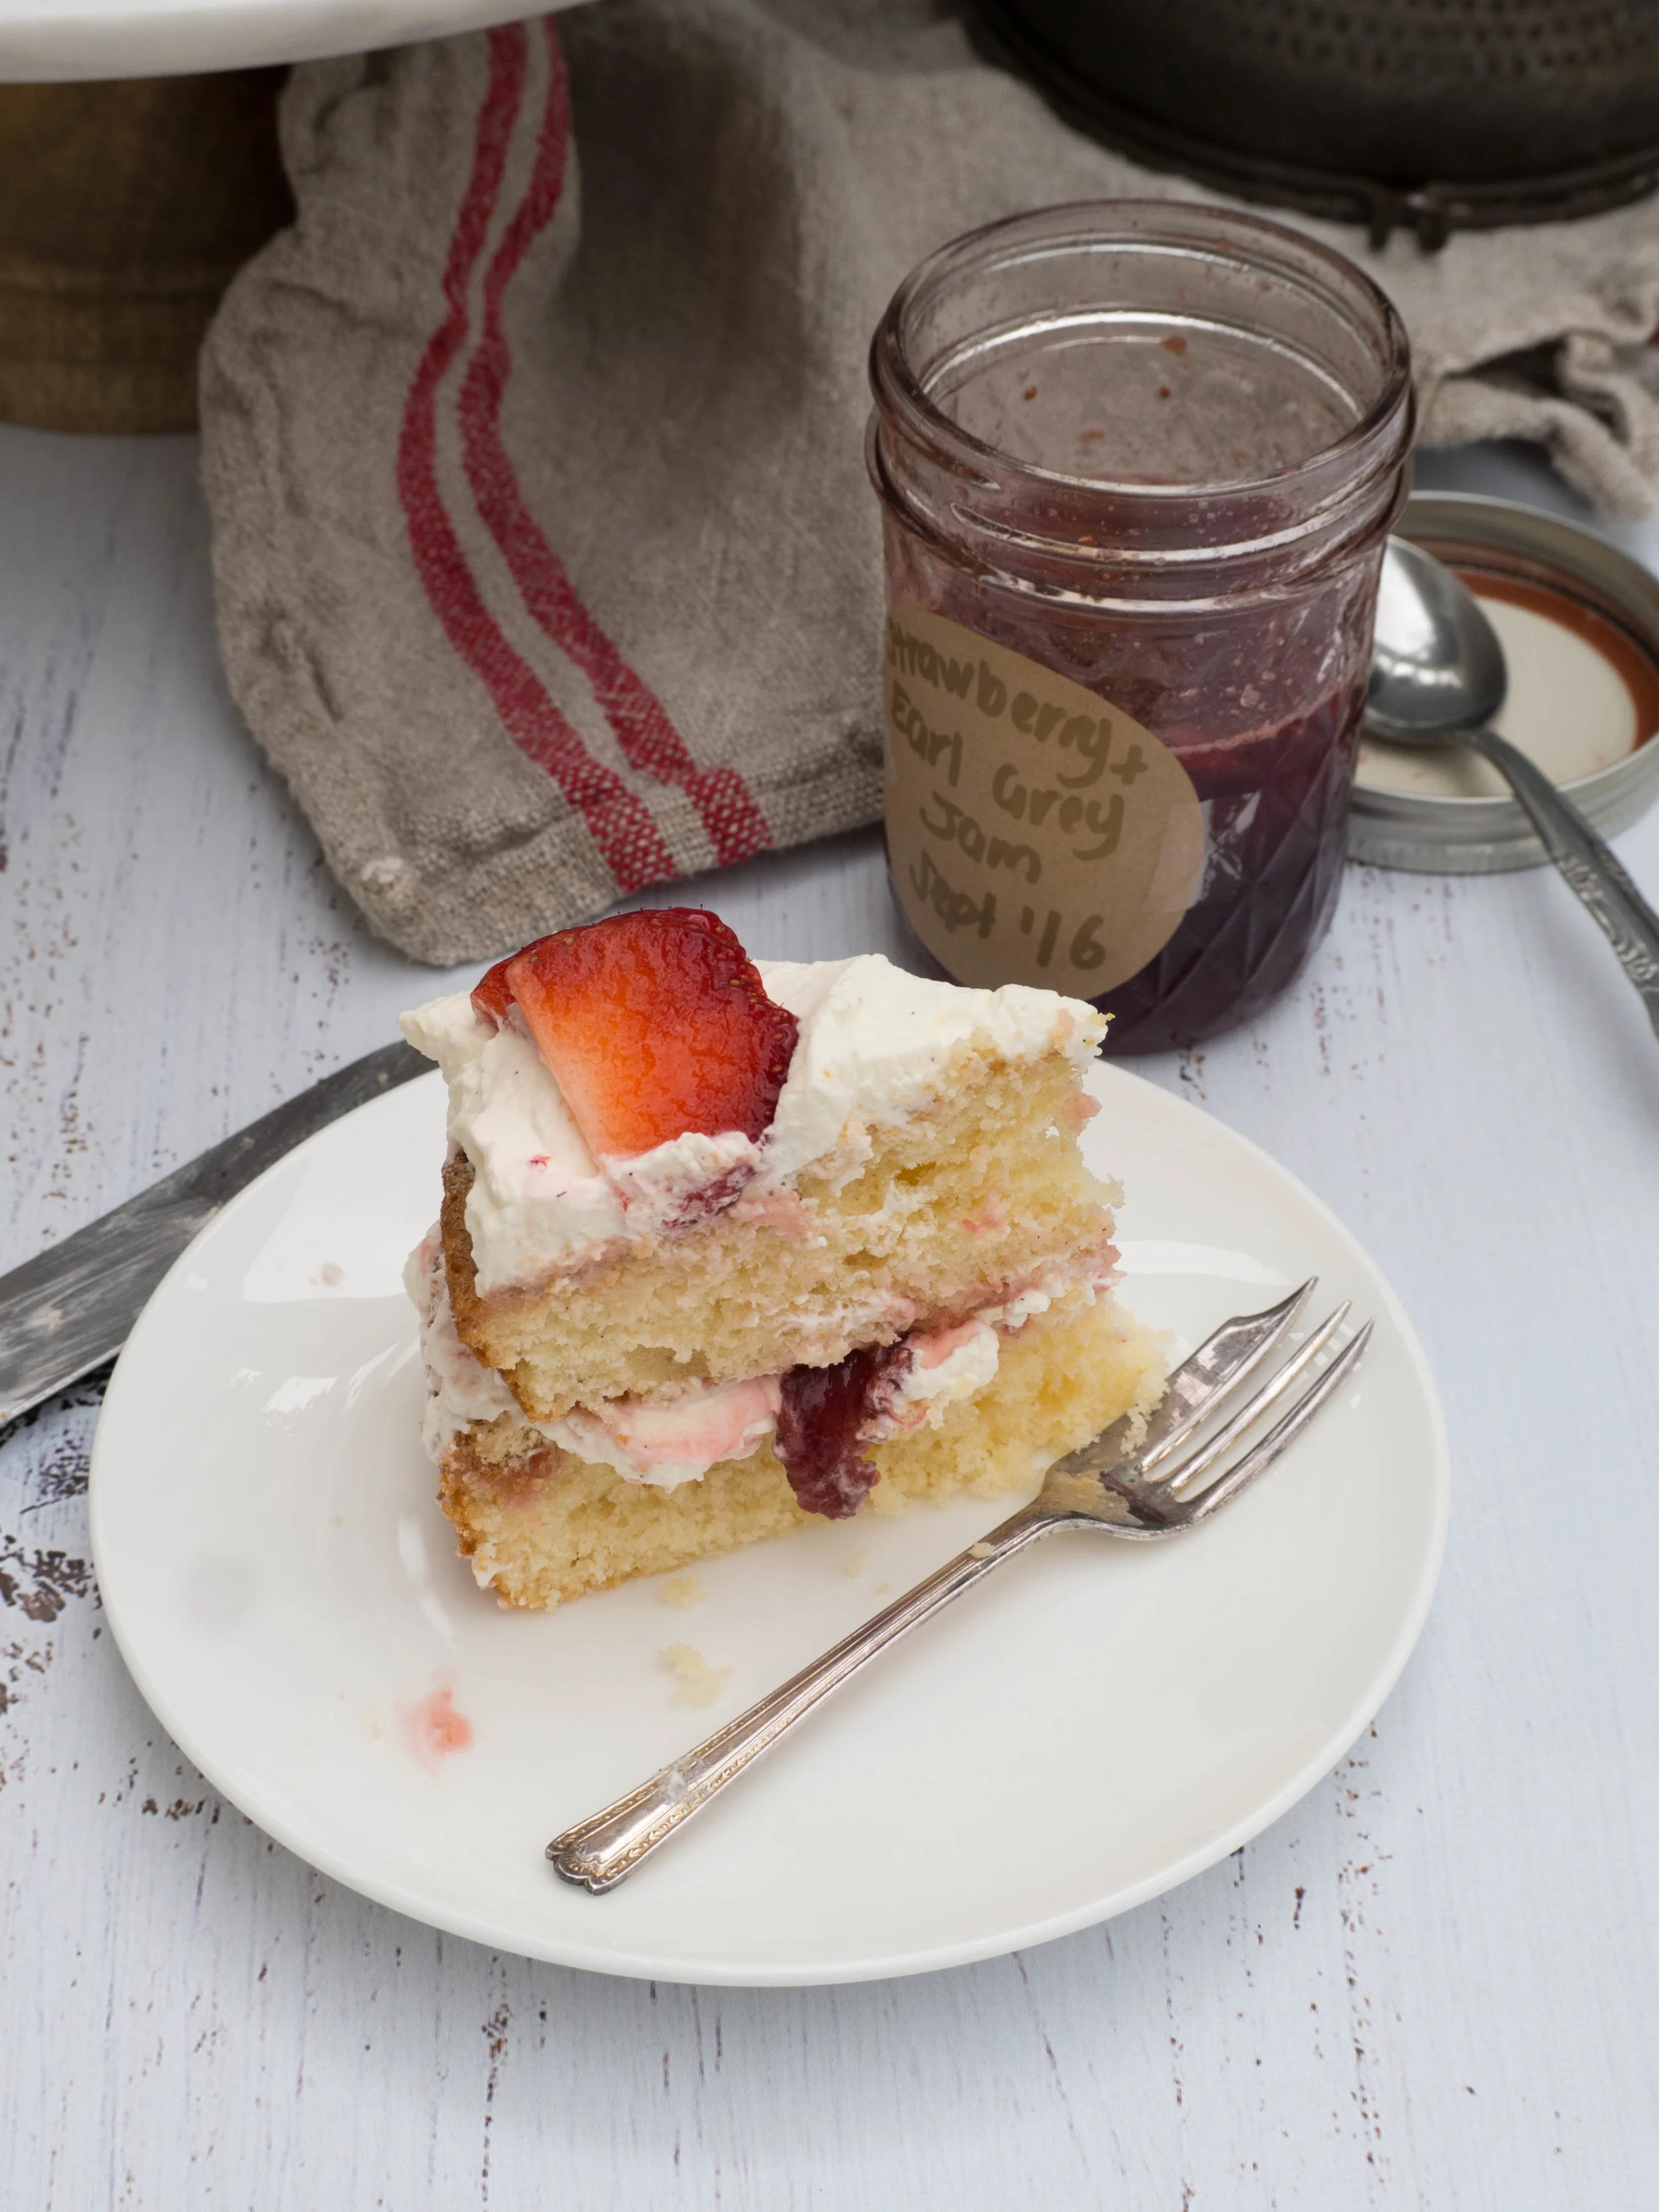
Strawberry Earl Grey Jam
Ingredients:
500g strawberries, hulled and roughly chopped
40 ml lemon juice, plus extra
440 g jam sugar (or the same of white sugar with about 2 tbsp pectin added)
3-4 drops bergamot essence, or 1 tbsp earl grey tea leaves tied in muslin
Method:
Begin by placing two small plates in the freezer. You will need these later to test if the jam is jelling and ready to bottle.
Then, pre-heat the oven to 90-100 degrees Celsius, wash four or five small/medium jam jars and lids in hot soapy water, then place the jars upside down on an oven shelf. Allow the lids to air dry. Leave the jars in the oven for at least 20 minutes.
Whilst the jam jars are being sterilised, start making the jam. Using a large heavy based saucepan (preferably enamel, stainless steel or aluminium), mix all the ingredients together, including the muslin wrapped tea if using or 1-2 drops of the bergamot essence if using. Place on the stove and stir over high heat without boiling, until the sugar dissolves, then bring to the boil. Reduce the heat and allow the jam mixture to simmer uncovered for 15-20 minutes without stirring. The jam mixture should have reduced by the 15-20 minute mark (particularly if you are using jam sugar) and will also appear to have thickened. If necessary stir the jam a little ensure it is cooking evenly.
After 15-20 minutes test the jam to see if it has reached jelling point. To test the jelling point of the jam, use one of the chilled plates and drop a small amount of the jam onto it. Leave for a couple of minutes, then push your finger through the jam. If a skin has formed over the jam and you can now see it wrinkling, the jam is ready. If it is not ready, leave to cook for a few more minutes and/or add some extra lemon juice or pectin. Then use the remaining chilled plates to test if the jam has jelled. Check the earl grey flavour at this point, if you need more add another drop or two of the bergamot essence if using.
Once the jam has reached jelling point, remove the sterilised jars from the oven and place onto a flat surface covered with an old tea towel (so much easier than cleaning sticky jam of your bench!). Using a wide mouthed funnel or jam funnel, pour the hot jam into the hot sterilised jars. Fill right to the top and seal immediately. Leave to cool, and store in a cool dark place. This jam should last about 1 year stored correctly and unopened. Once opened keep in the fridge.
For jam making tips please see this previous post.
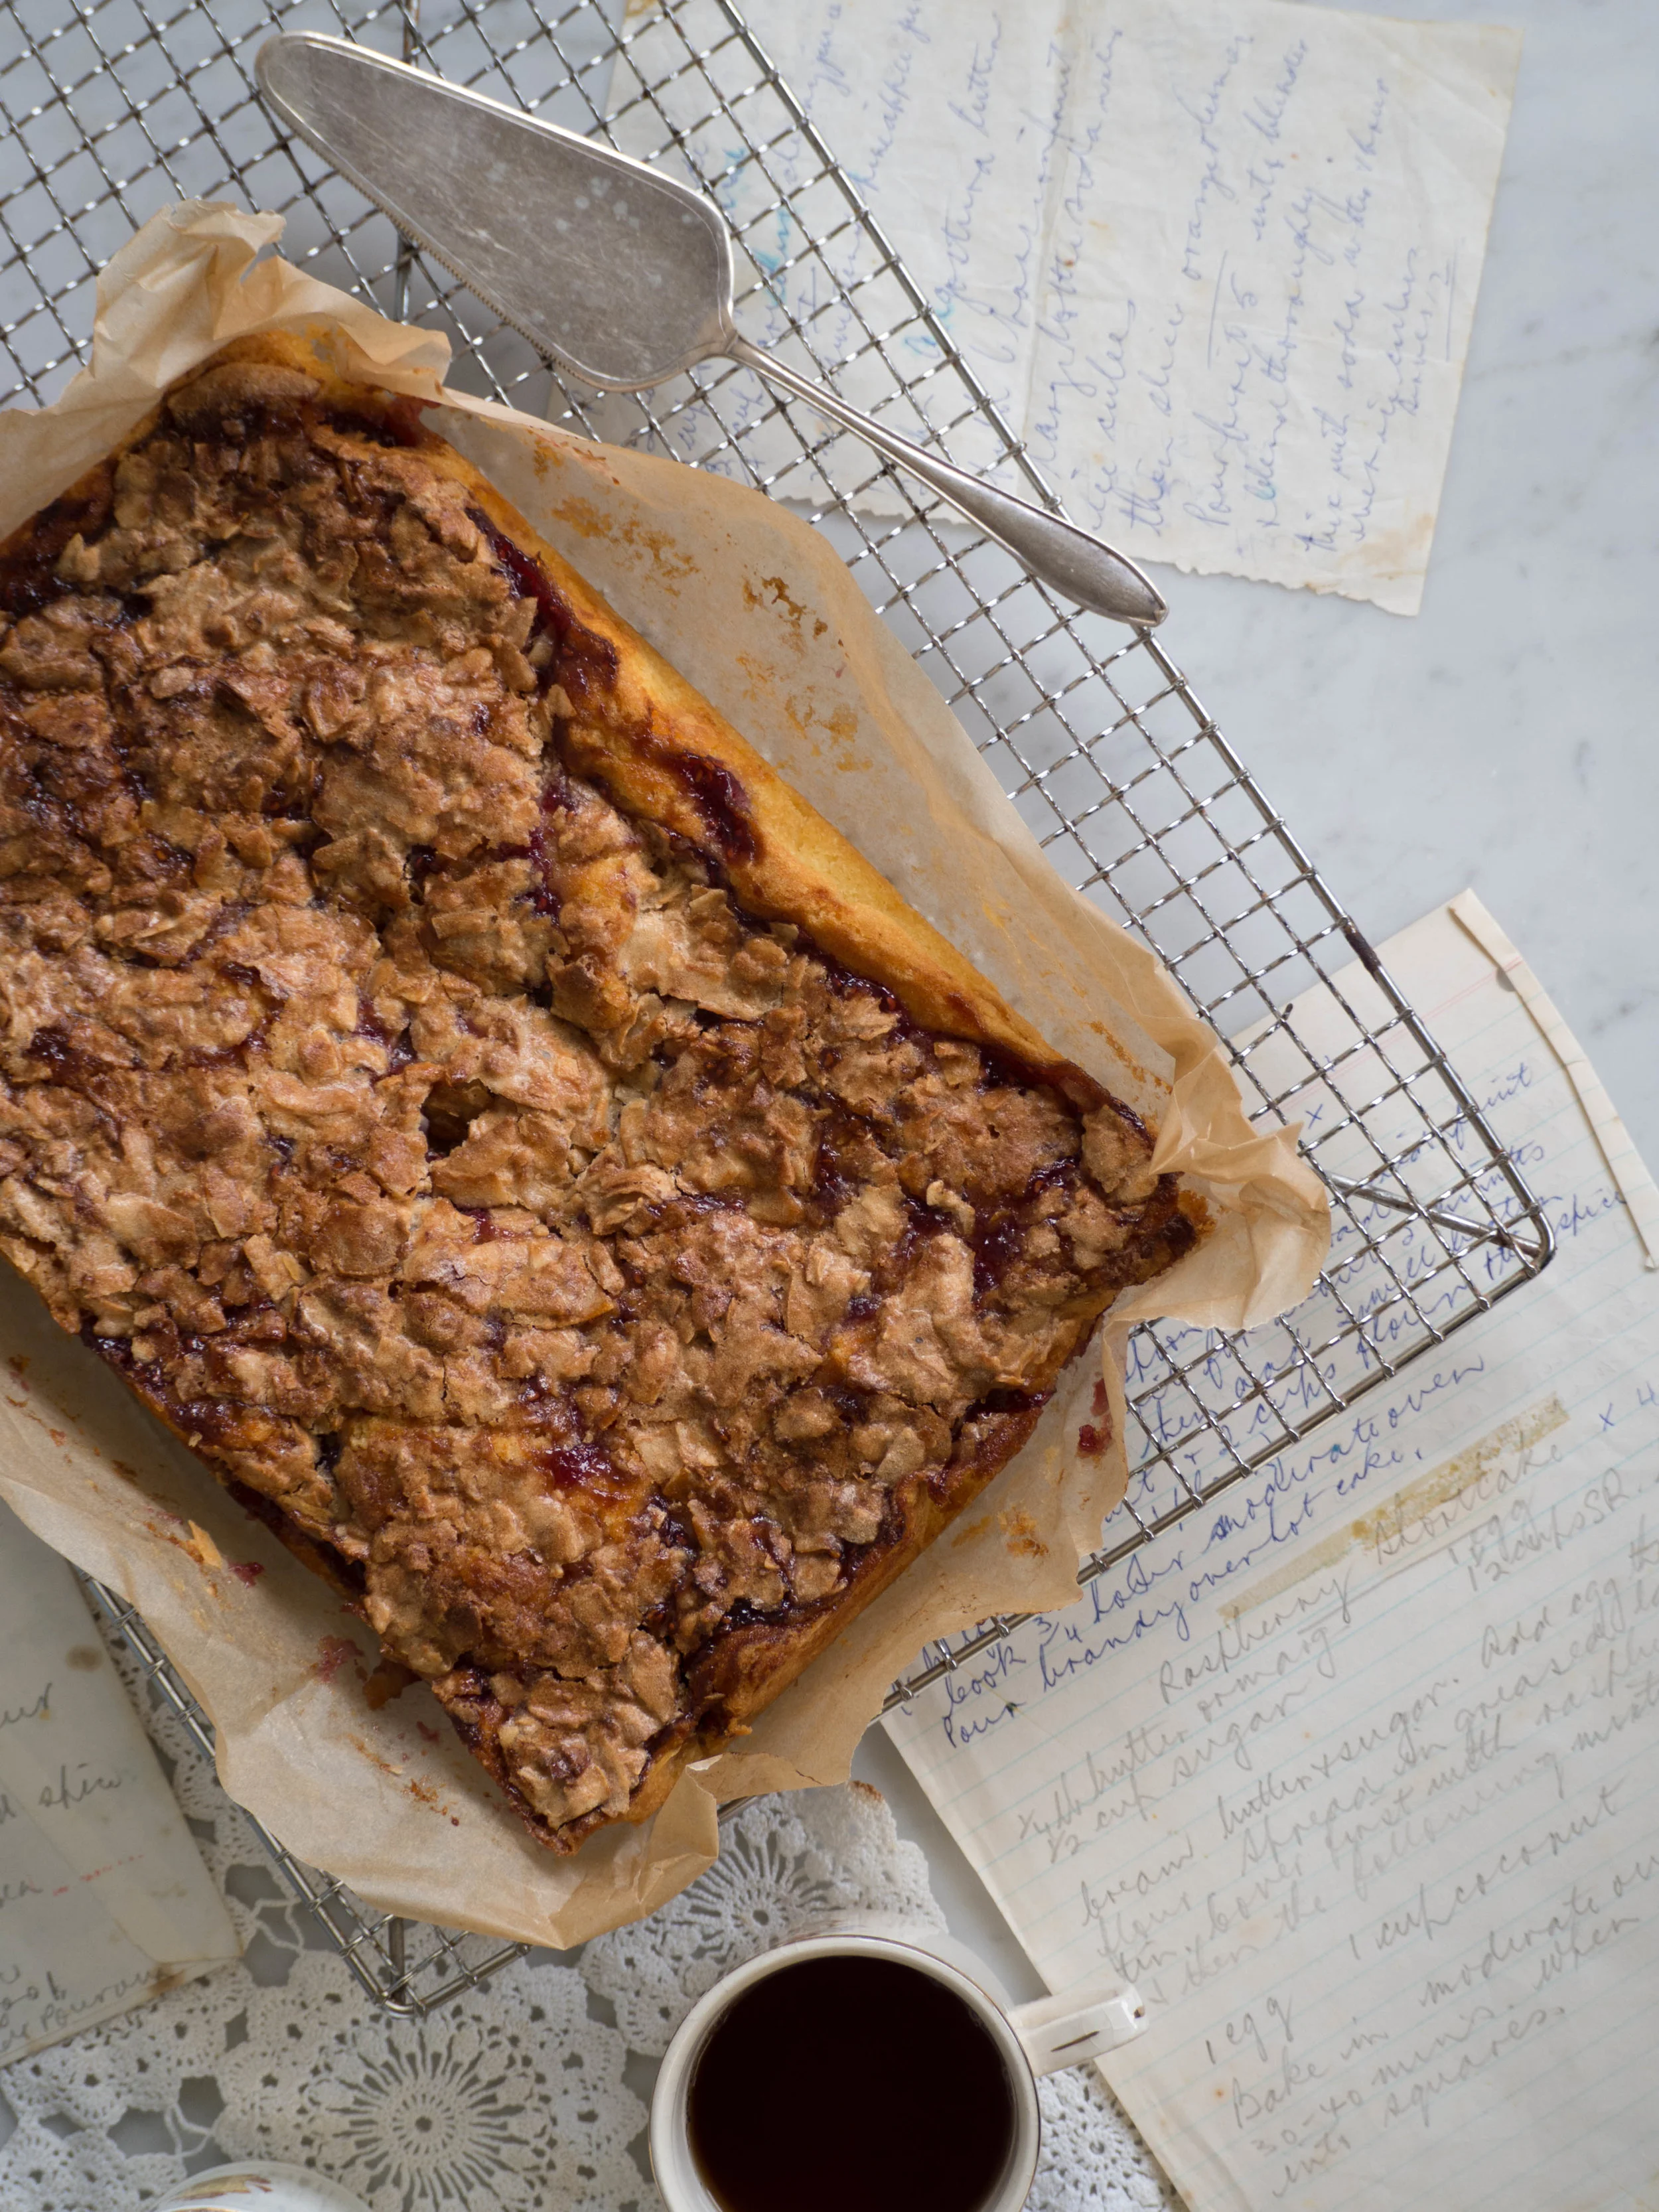
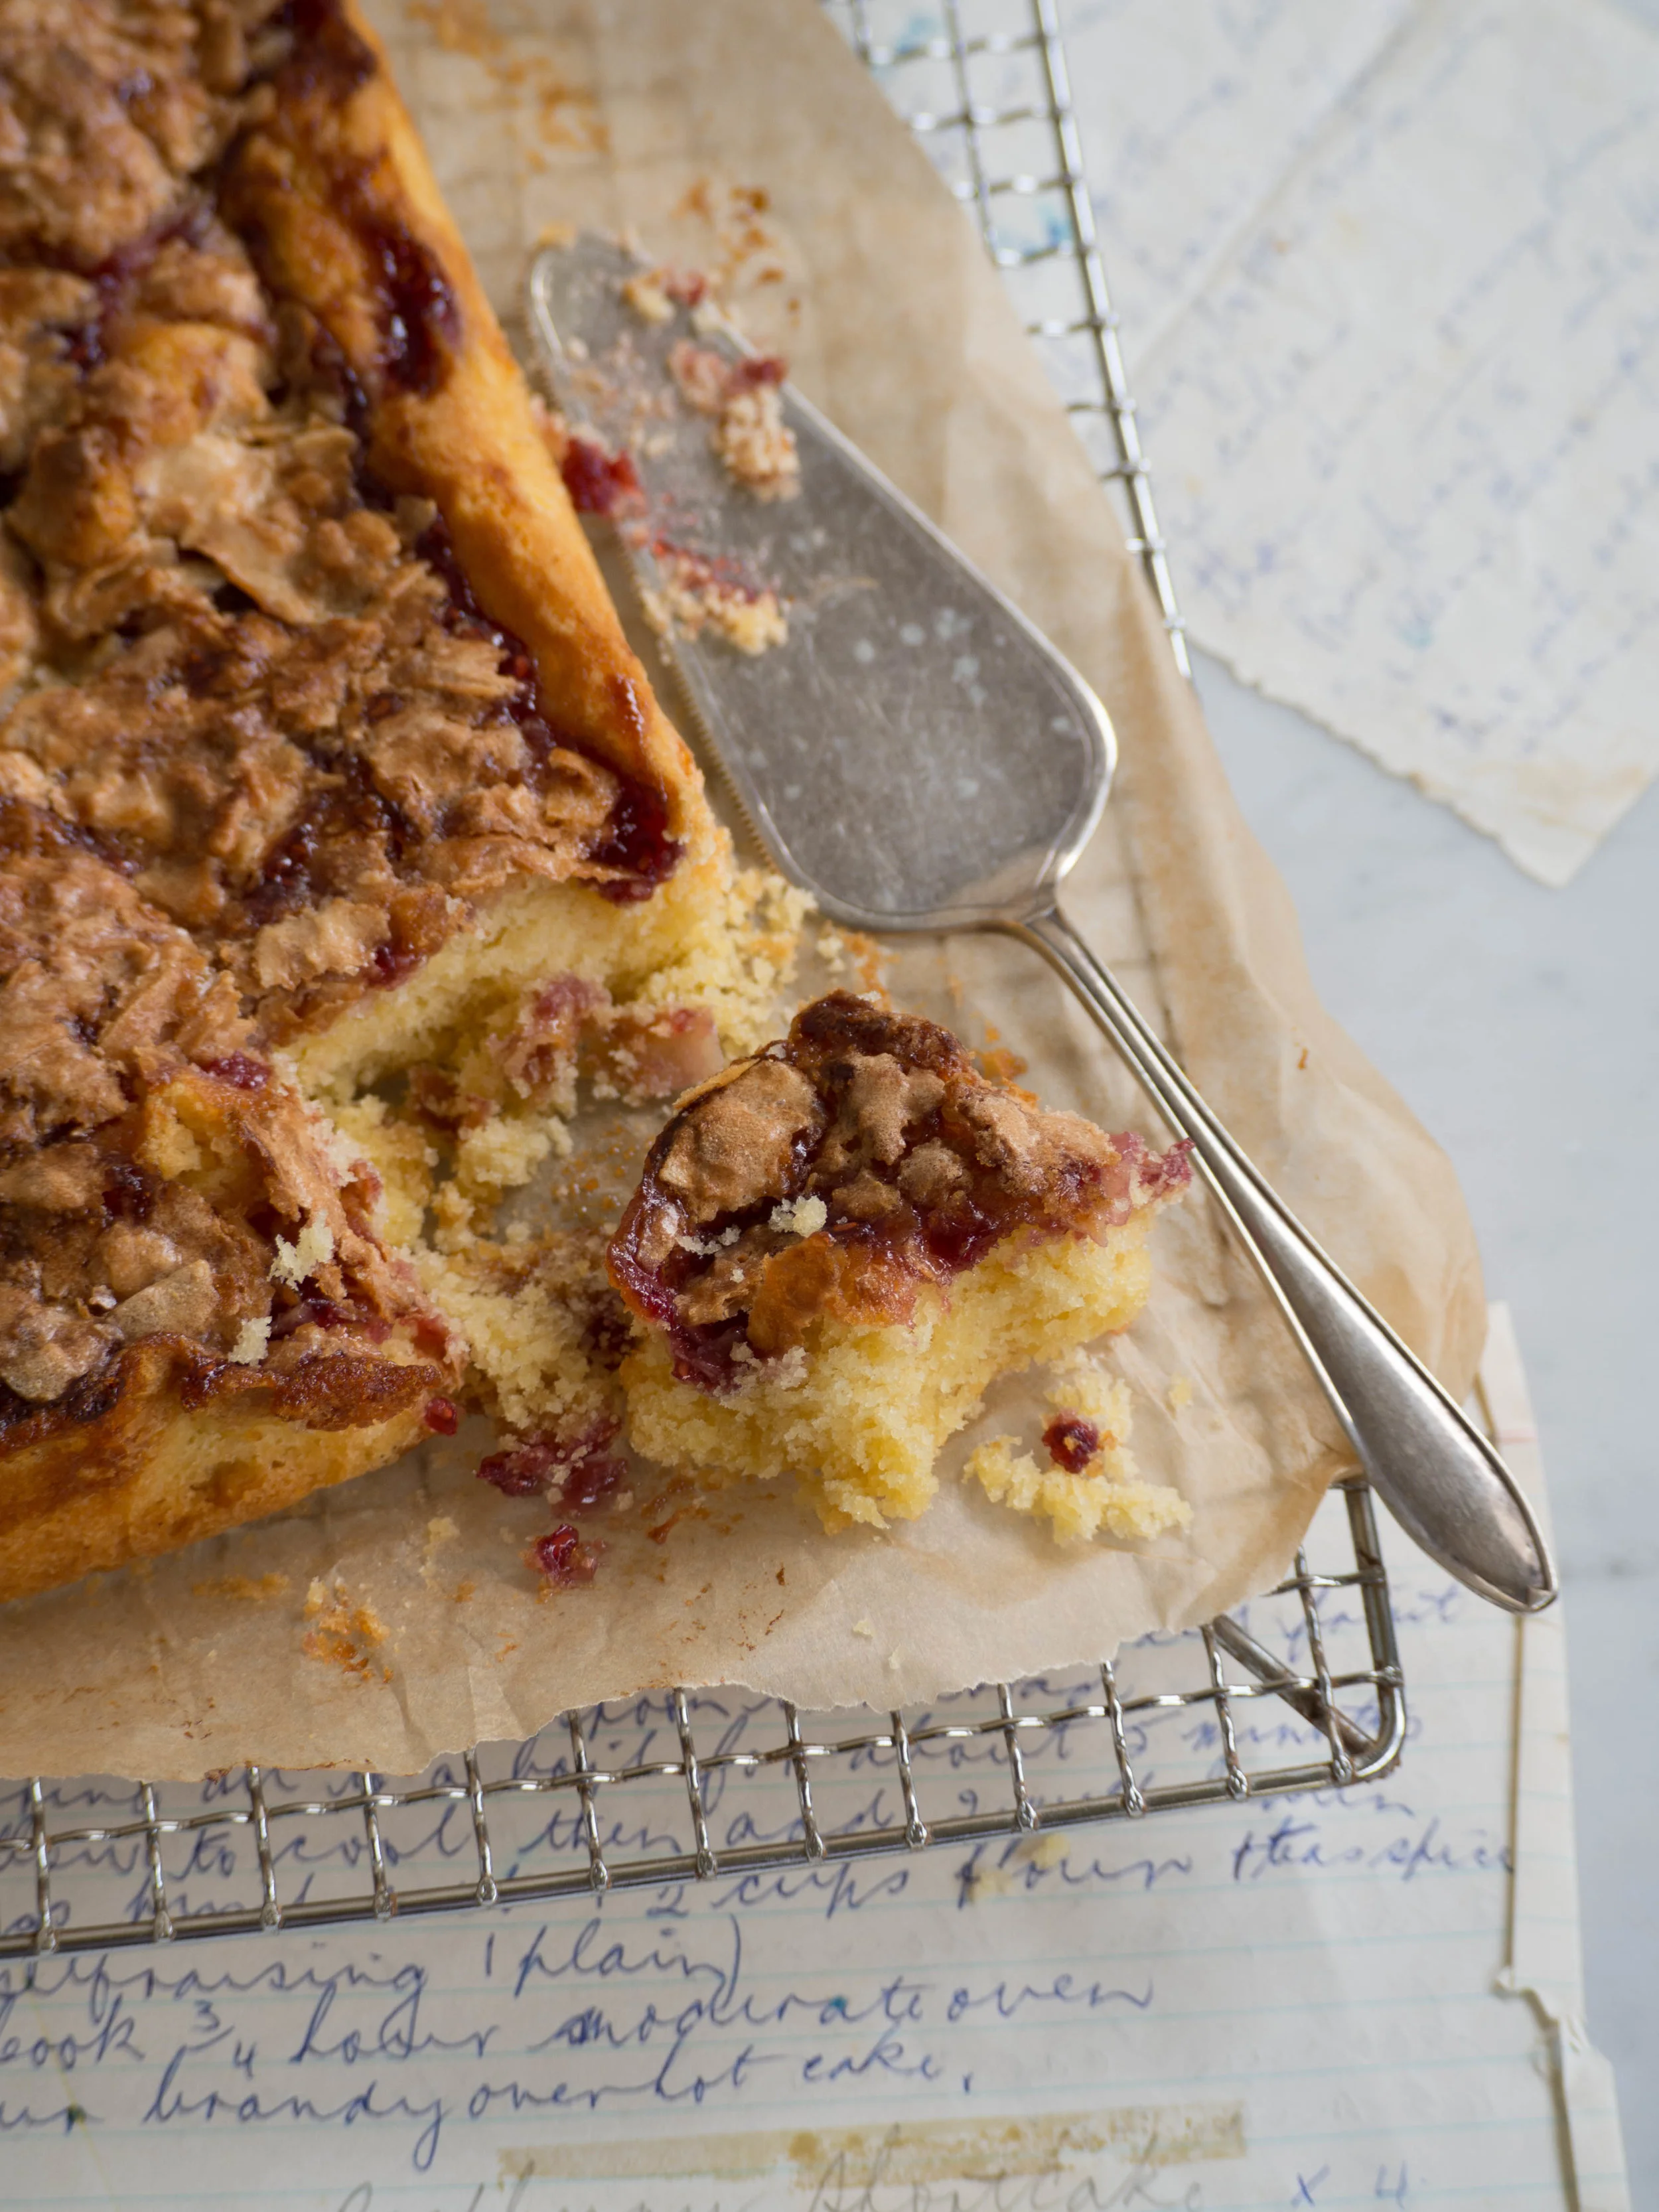
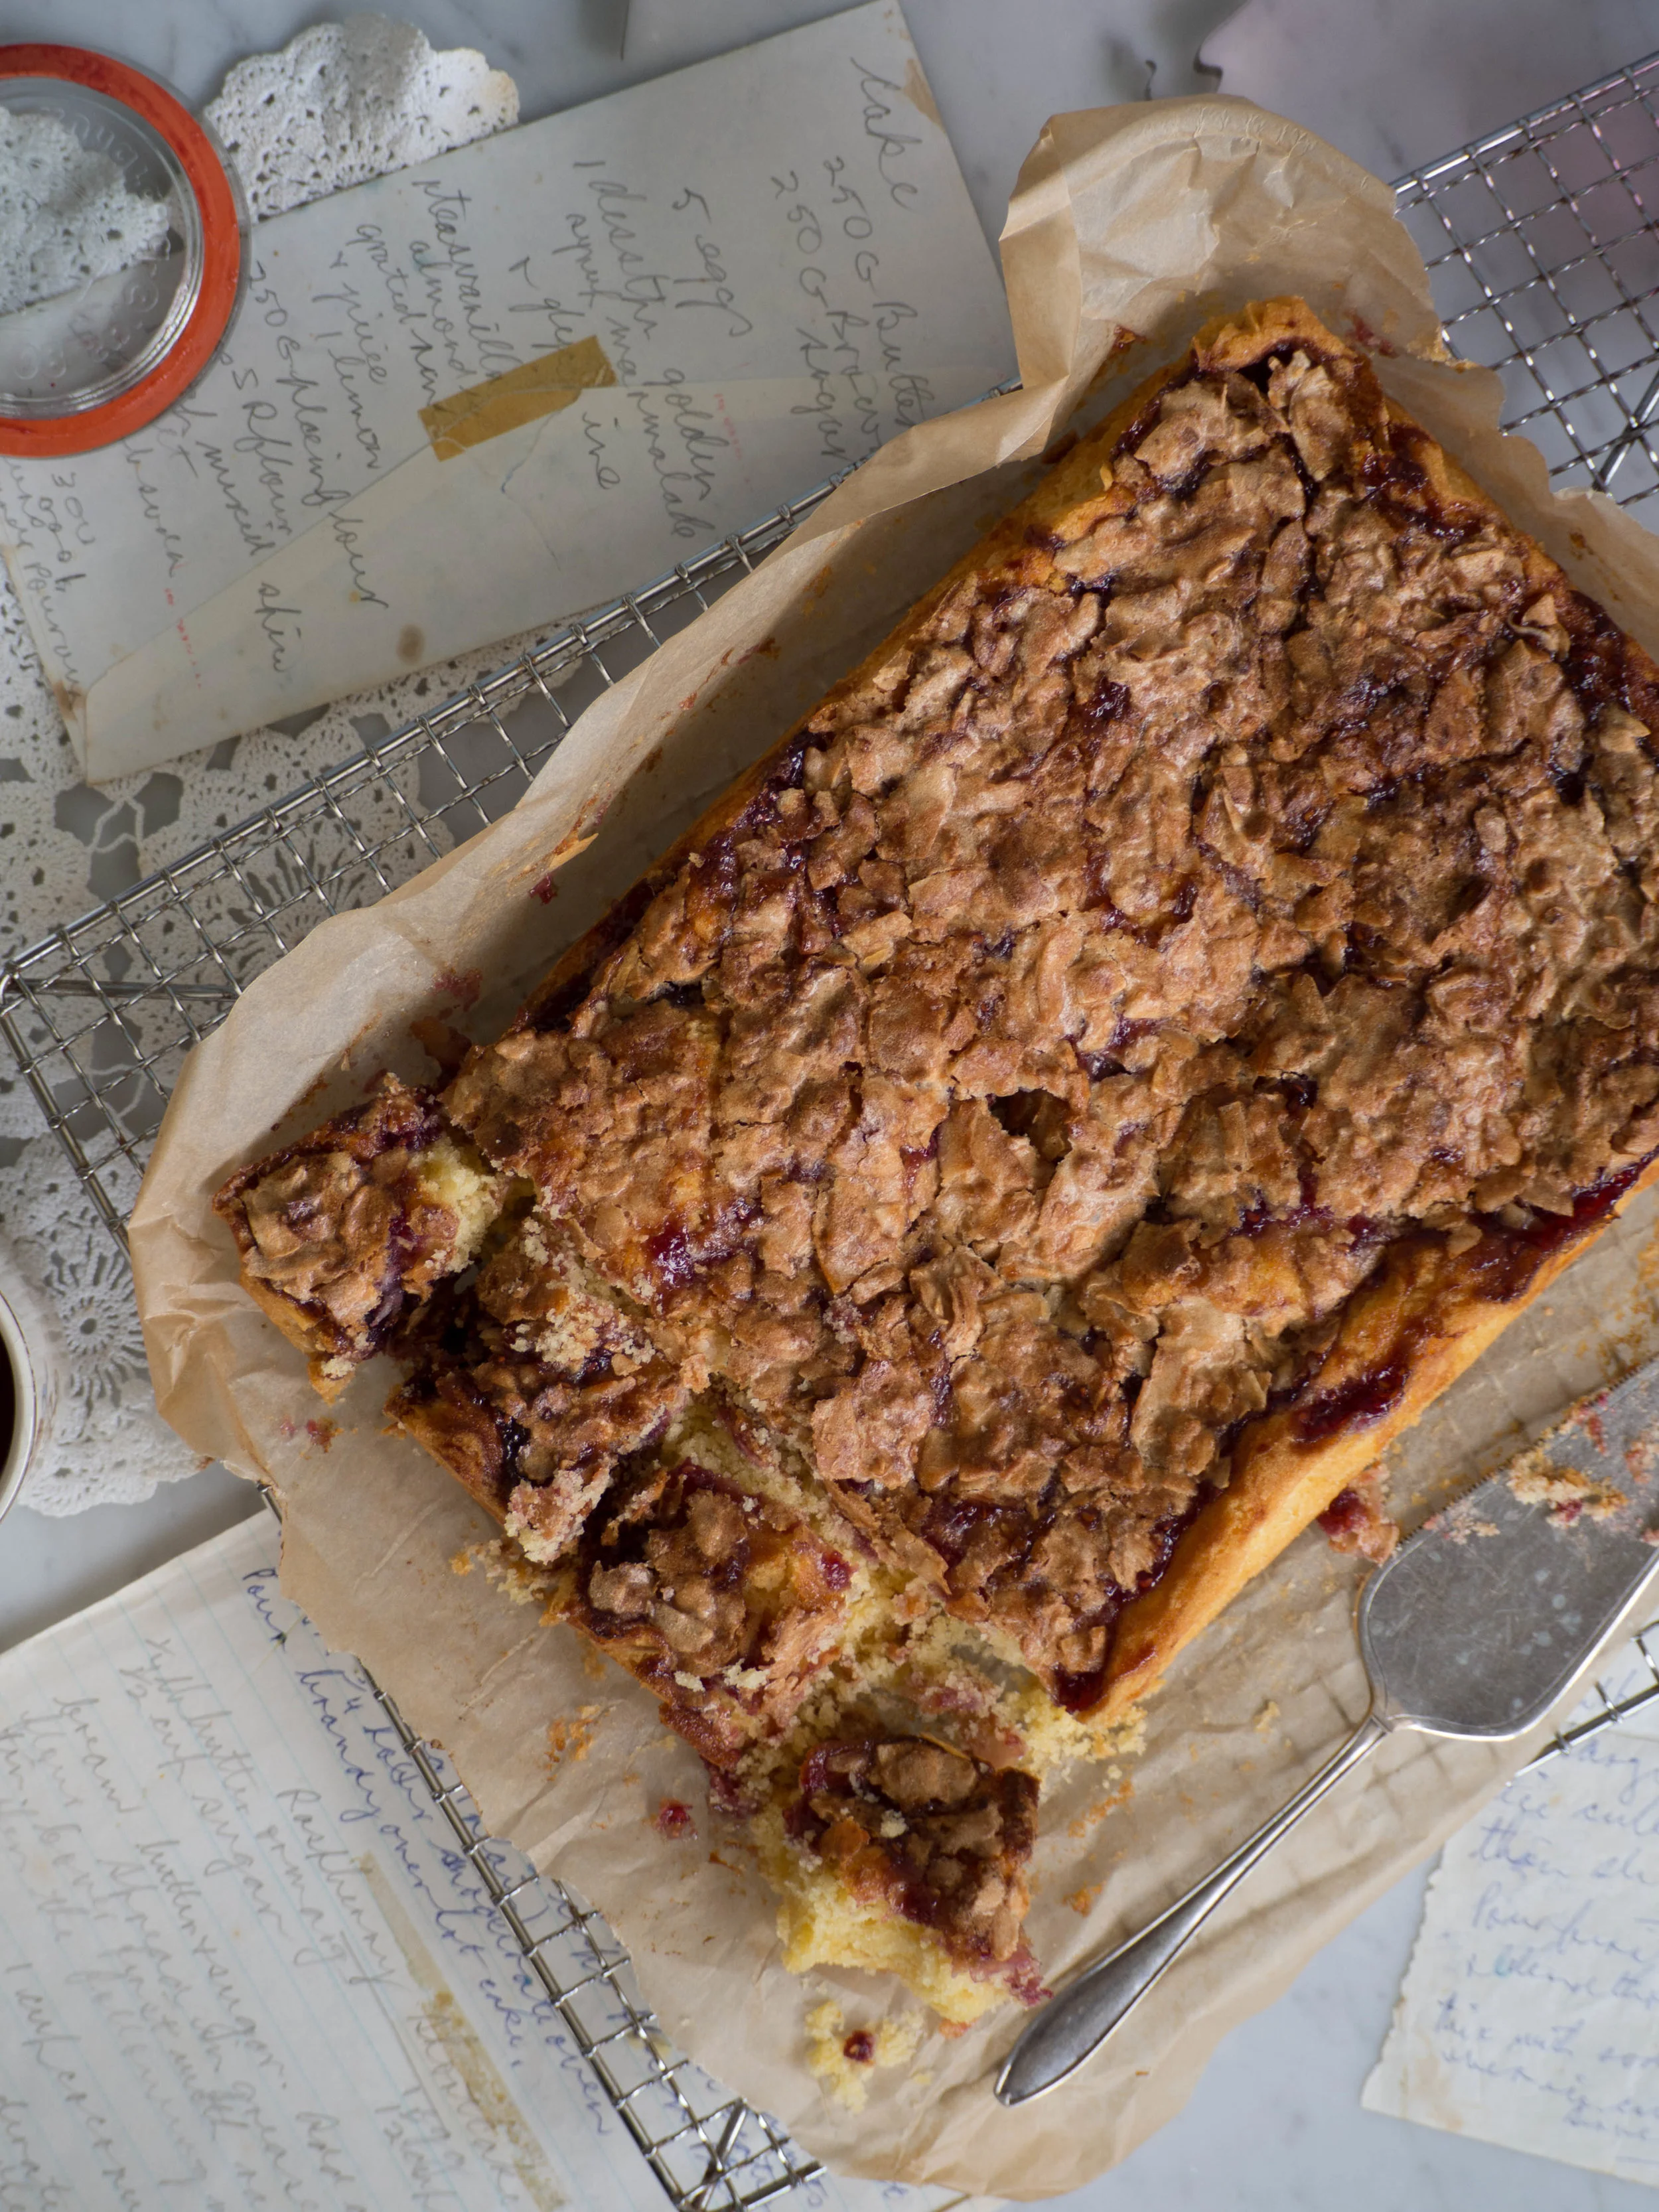
Strawberry Earl Grey Cake
Ingredients:
125 g canola based (or other flavourless) margarine or softened unsalted butter
165 g golden caster sugar (raw caster sugar)
1-3 drops bergamot essence
2 eggs
250 g self-raising flour
105 ml milk
300 ml pouring cream
1/2 tsp vanilla bean paste
strawberry early grey jam
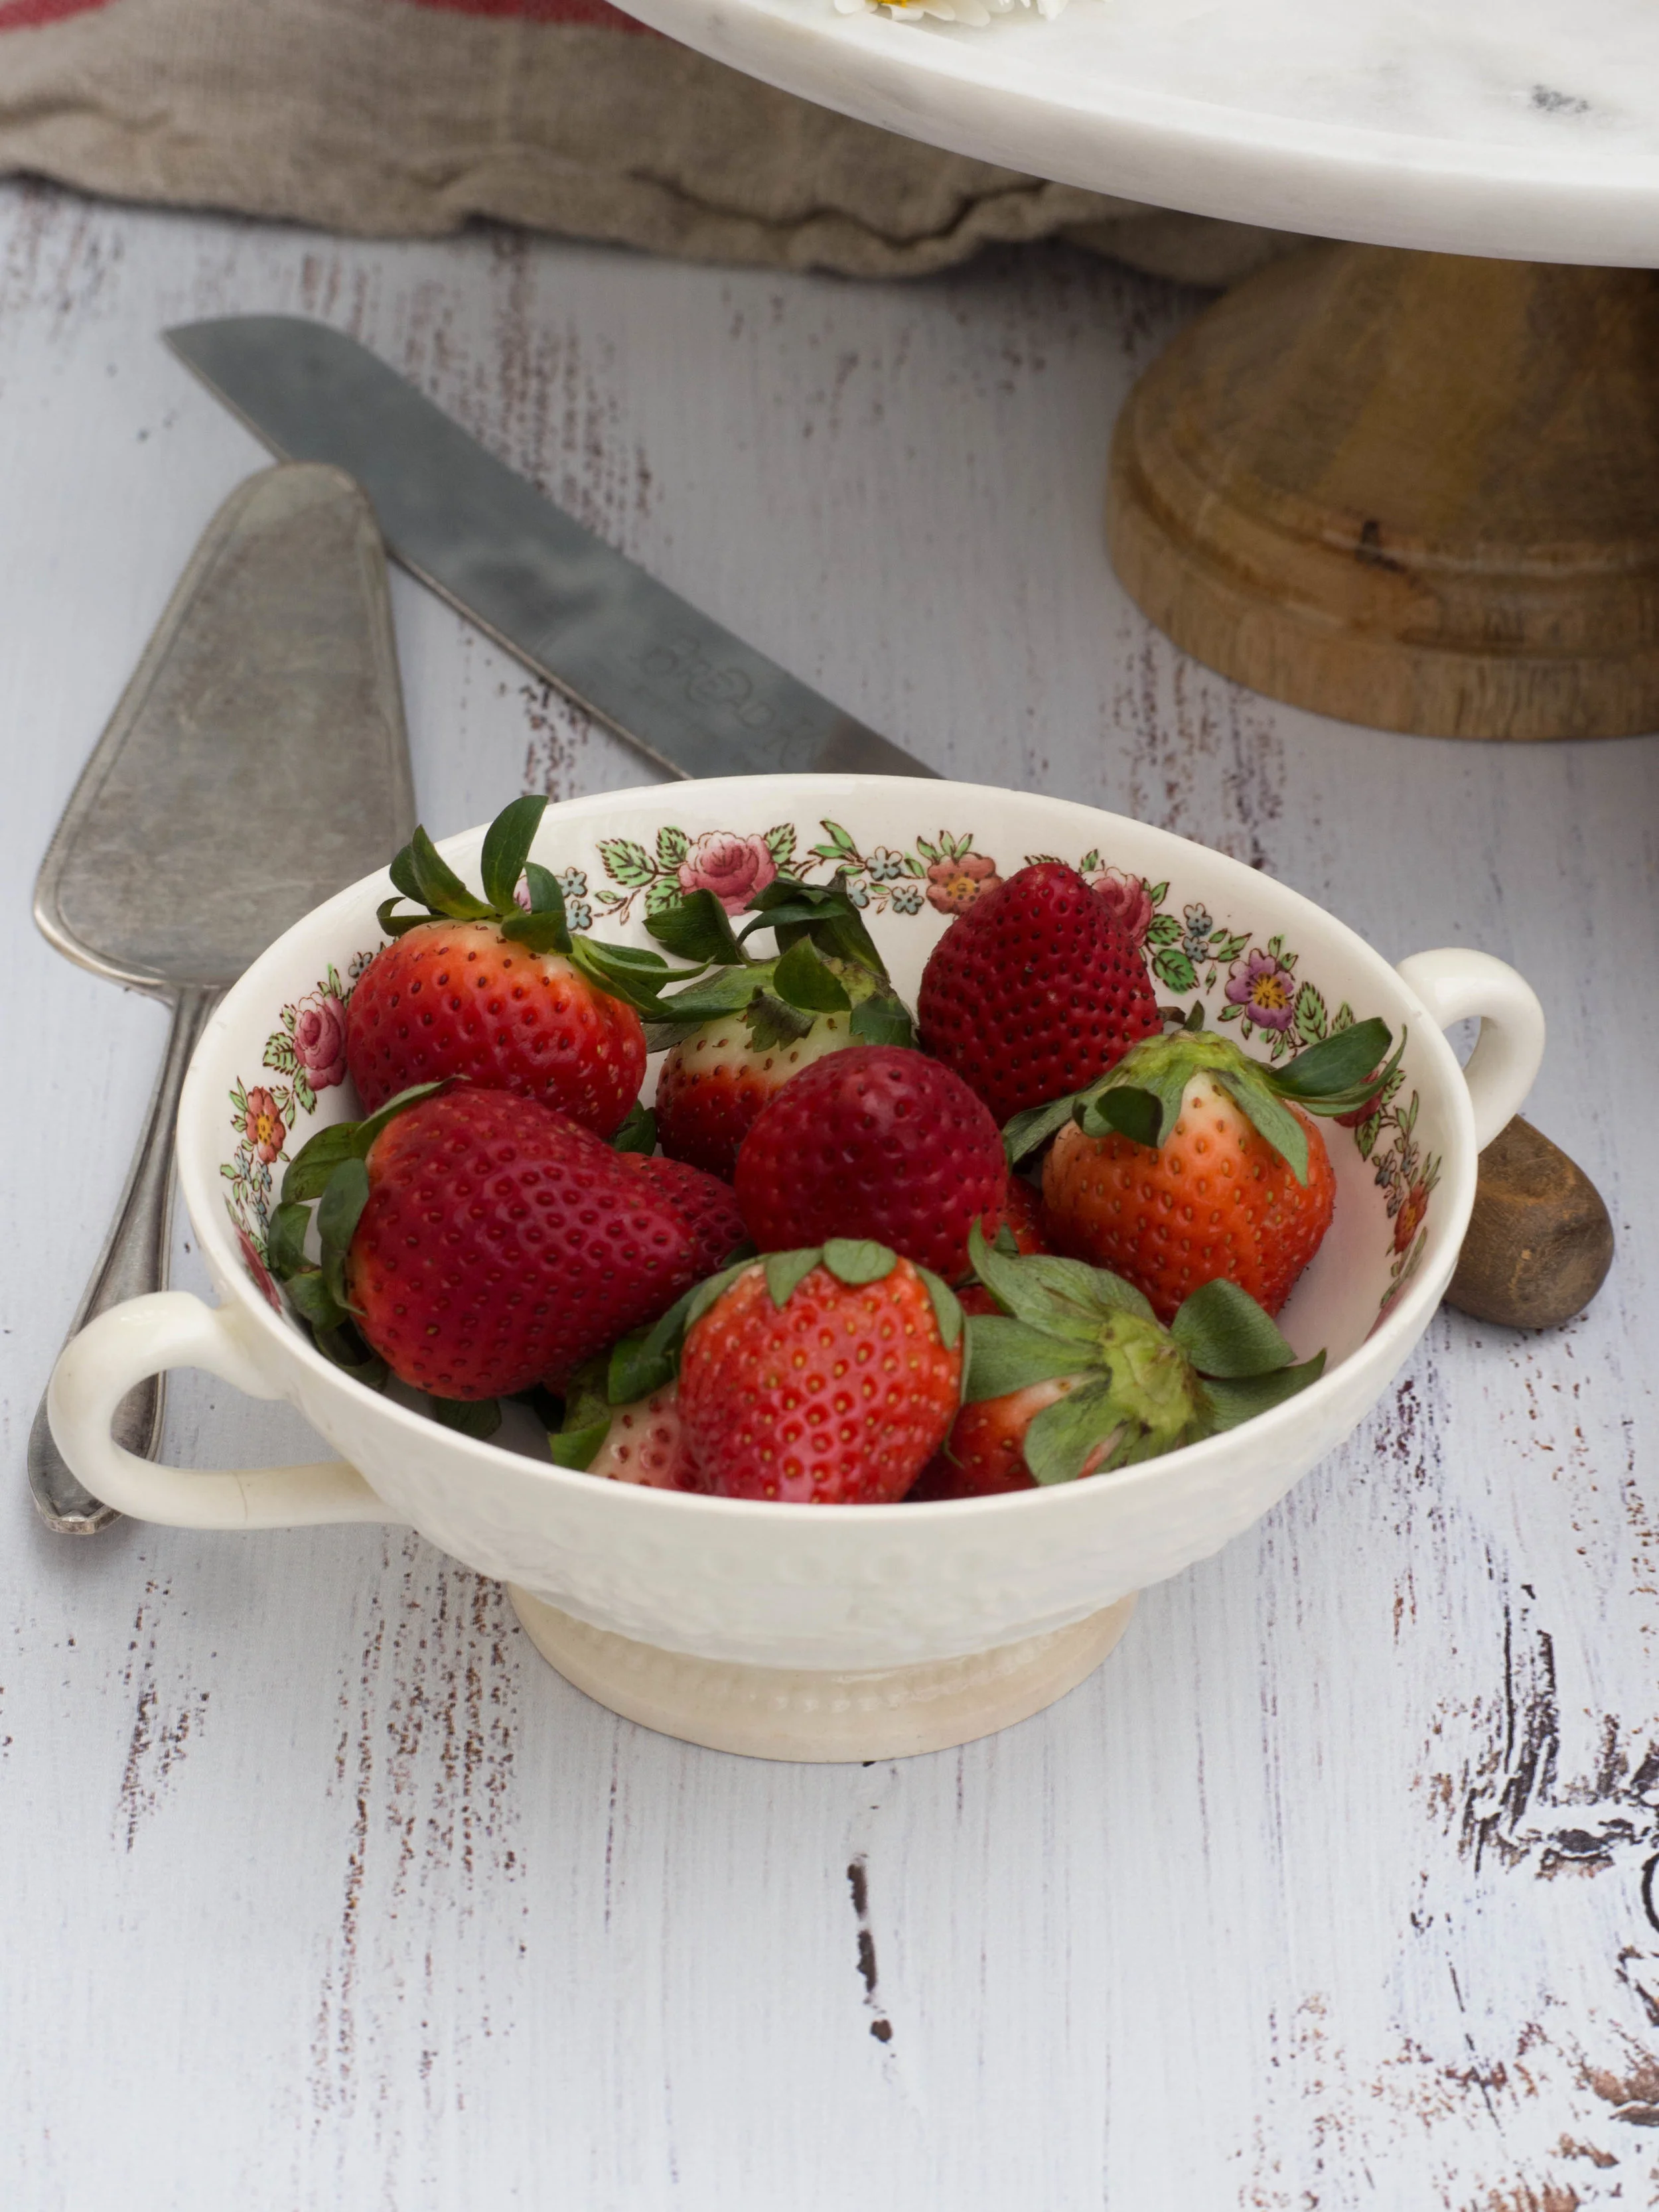
extra strawberries to serve
Method:
Pre-heat oven to 160 degrees Celsius, and line two 18 cm round spring form or loose bottomed cake tins.
In the bowl of an electric mixer, beat the margarine/butter, sugar and 2 drops of bergamot essence until light and fluffy.
Beat in the eggs one at a time, then add half the flour and half the milk and mix. Add the remaining flour and milk and mix on medium speed until well combined. Taste the batter at this point if you want to check the bergamot flavour - add a drop more if you want the flavour to be stronger and briefly mix into the batter.
Divide the mixture evenly into each cake tin and smooth the top. Bake for about 40-50 minutes or until the cake is lightly golden in colour, springs back when touched lightly and a skewer comes out clean.
Cool in the tin for a few minutes then transfer to a cooling rack and leave until completely cooled.
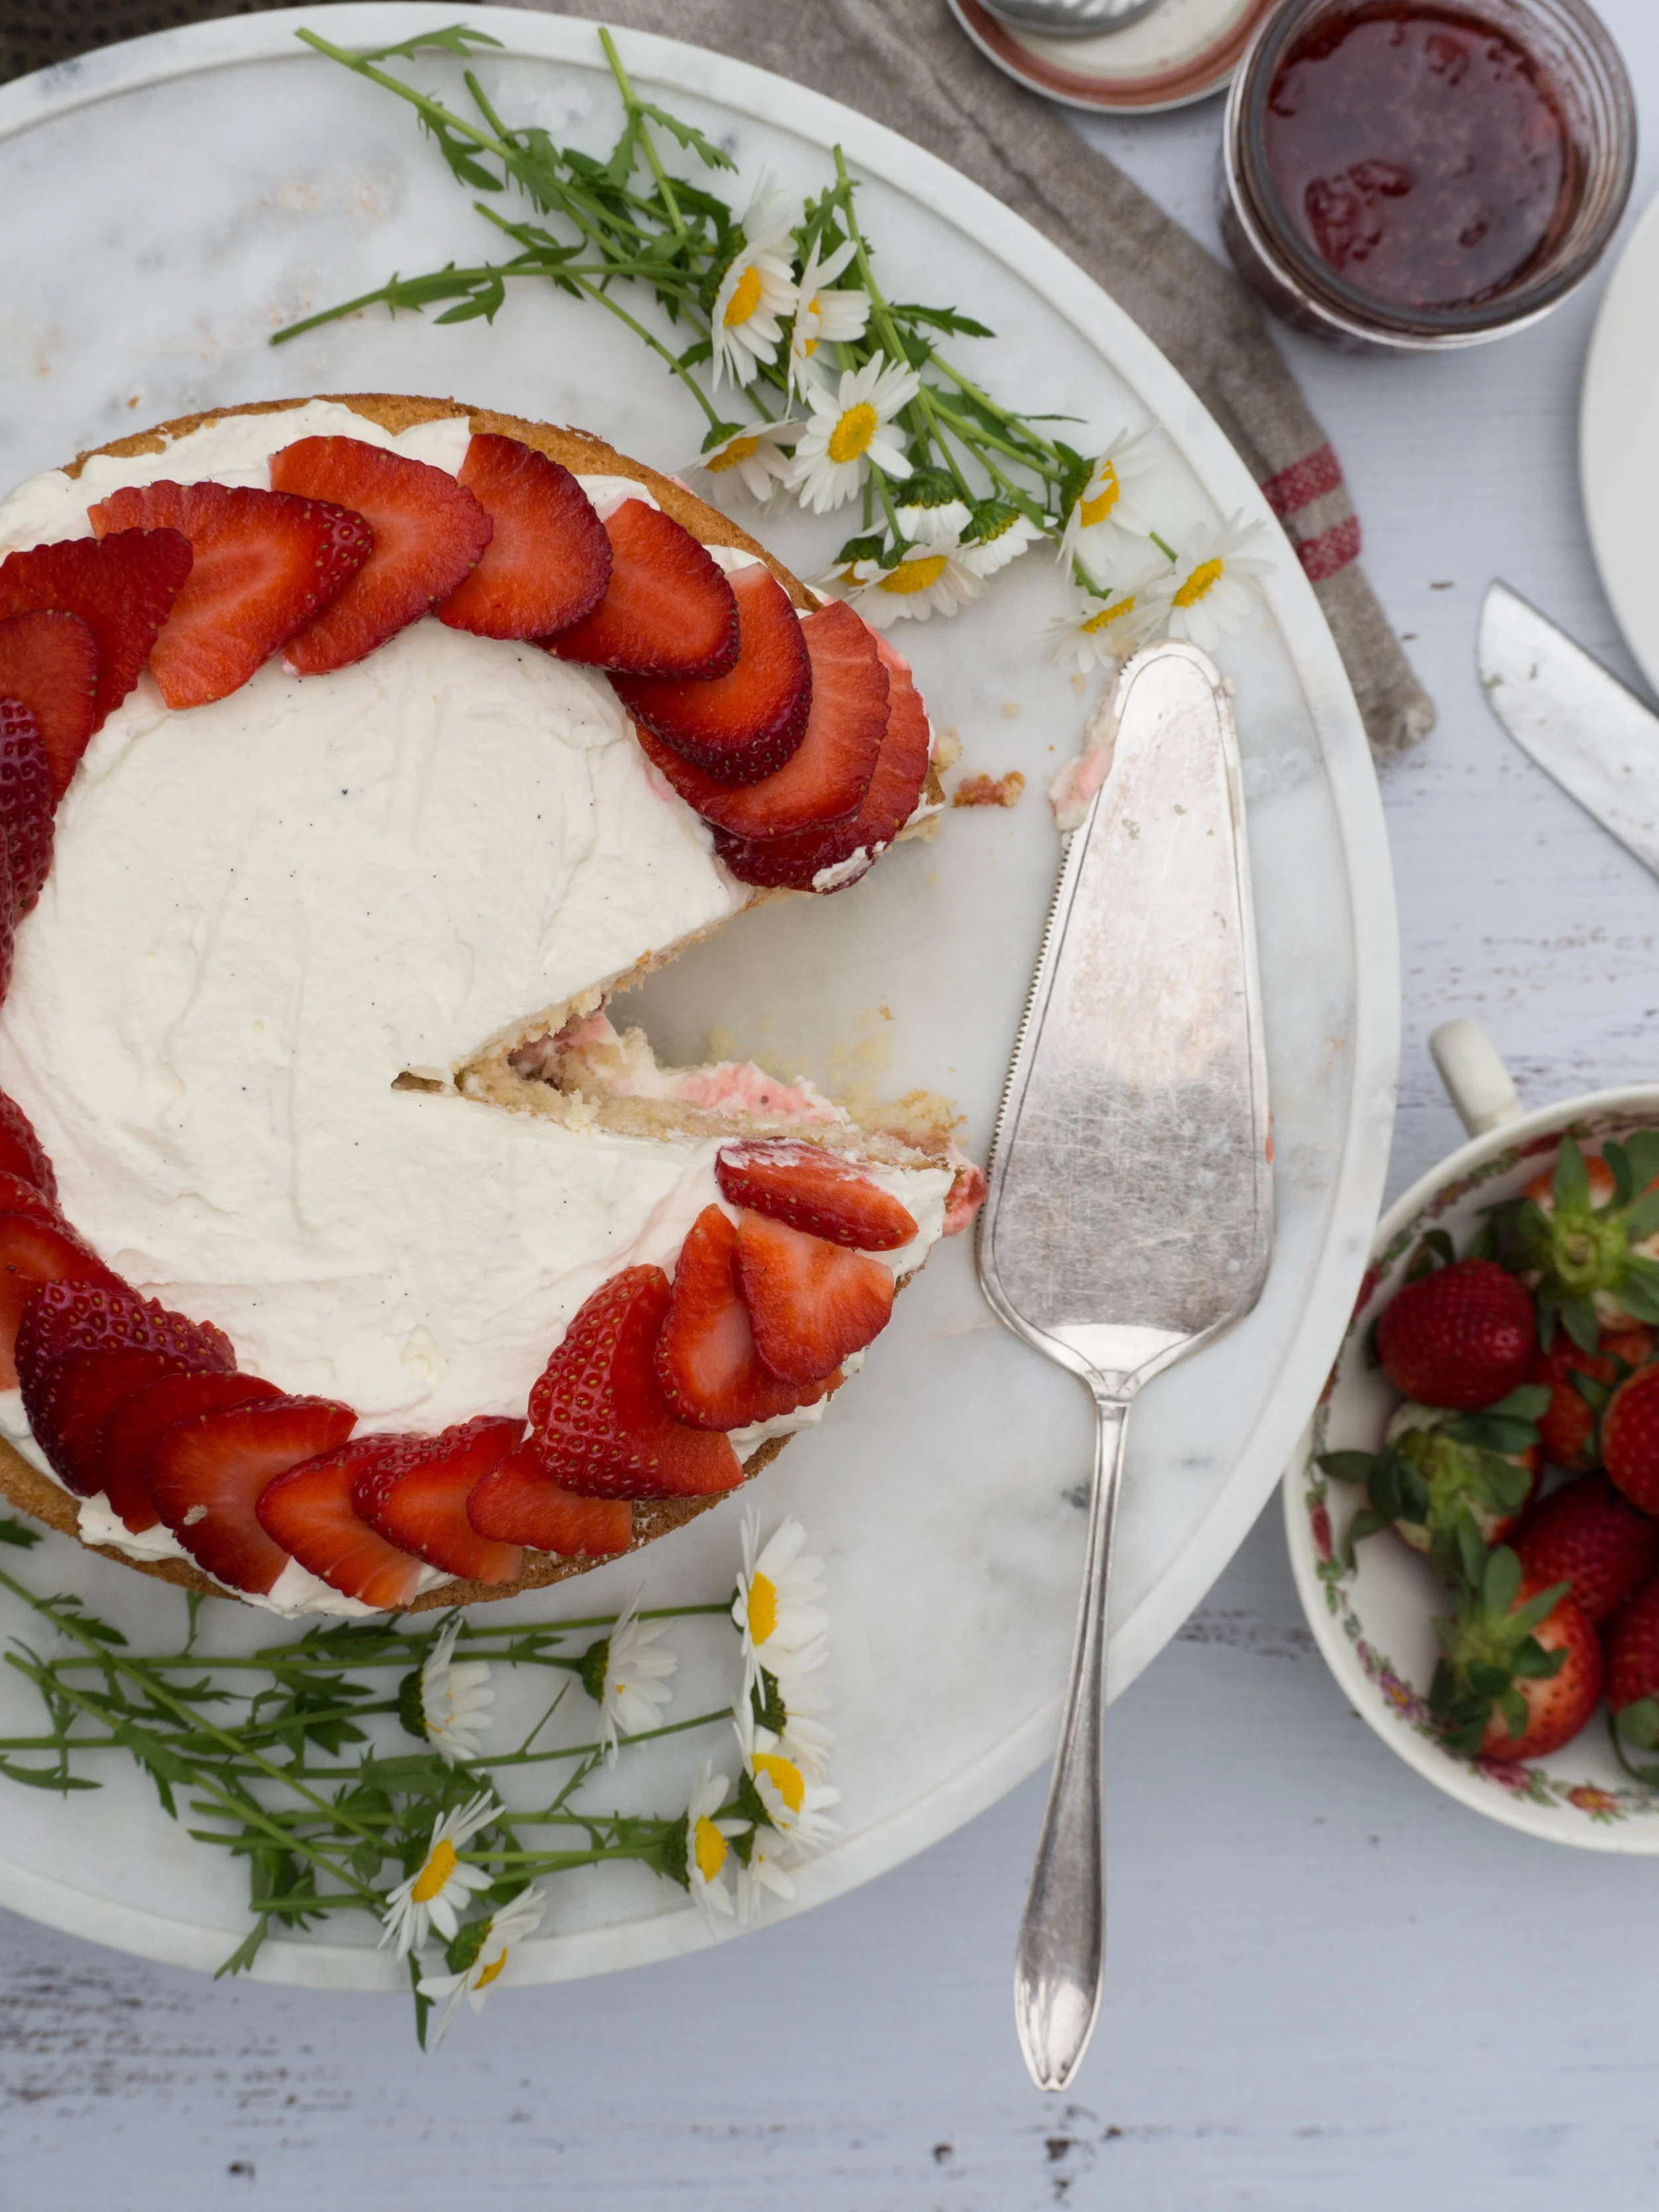
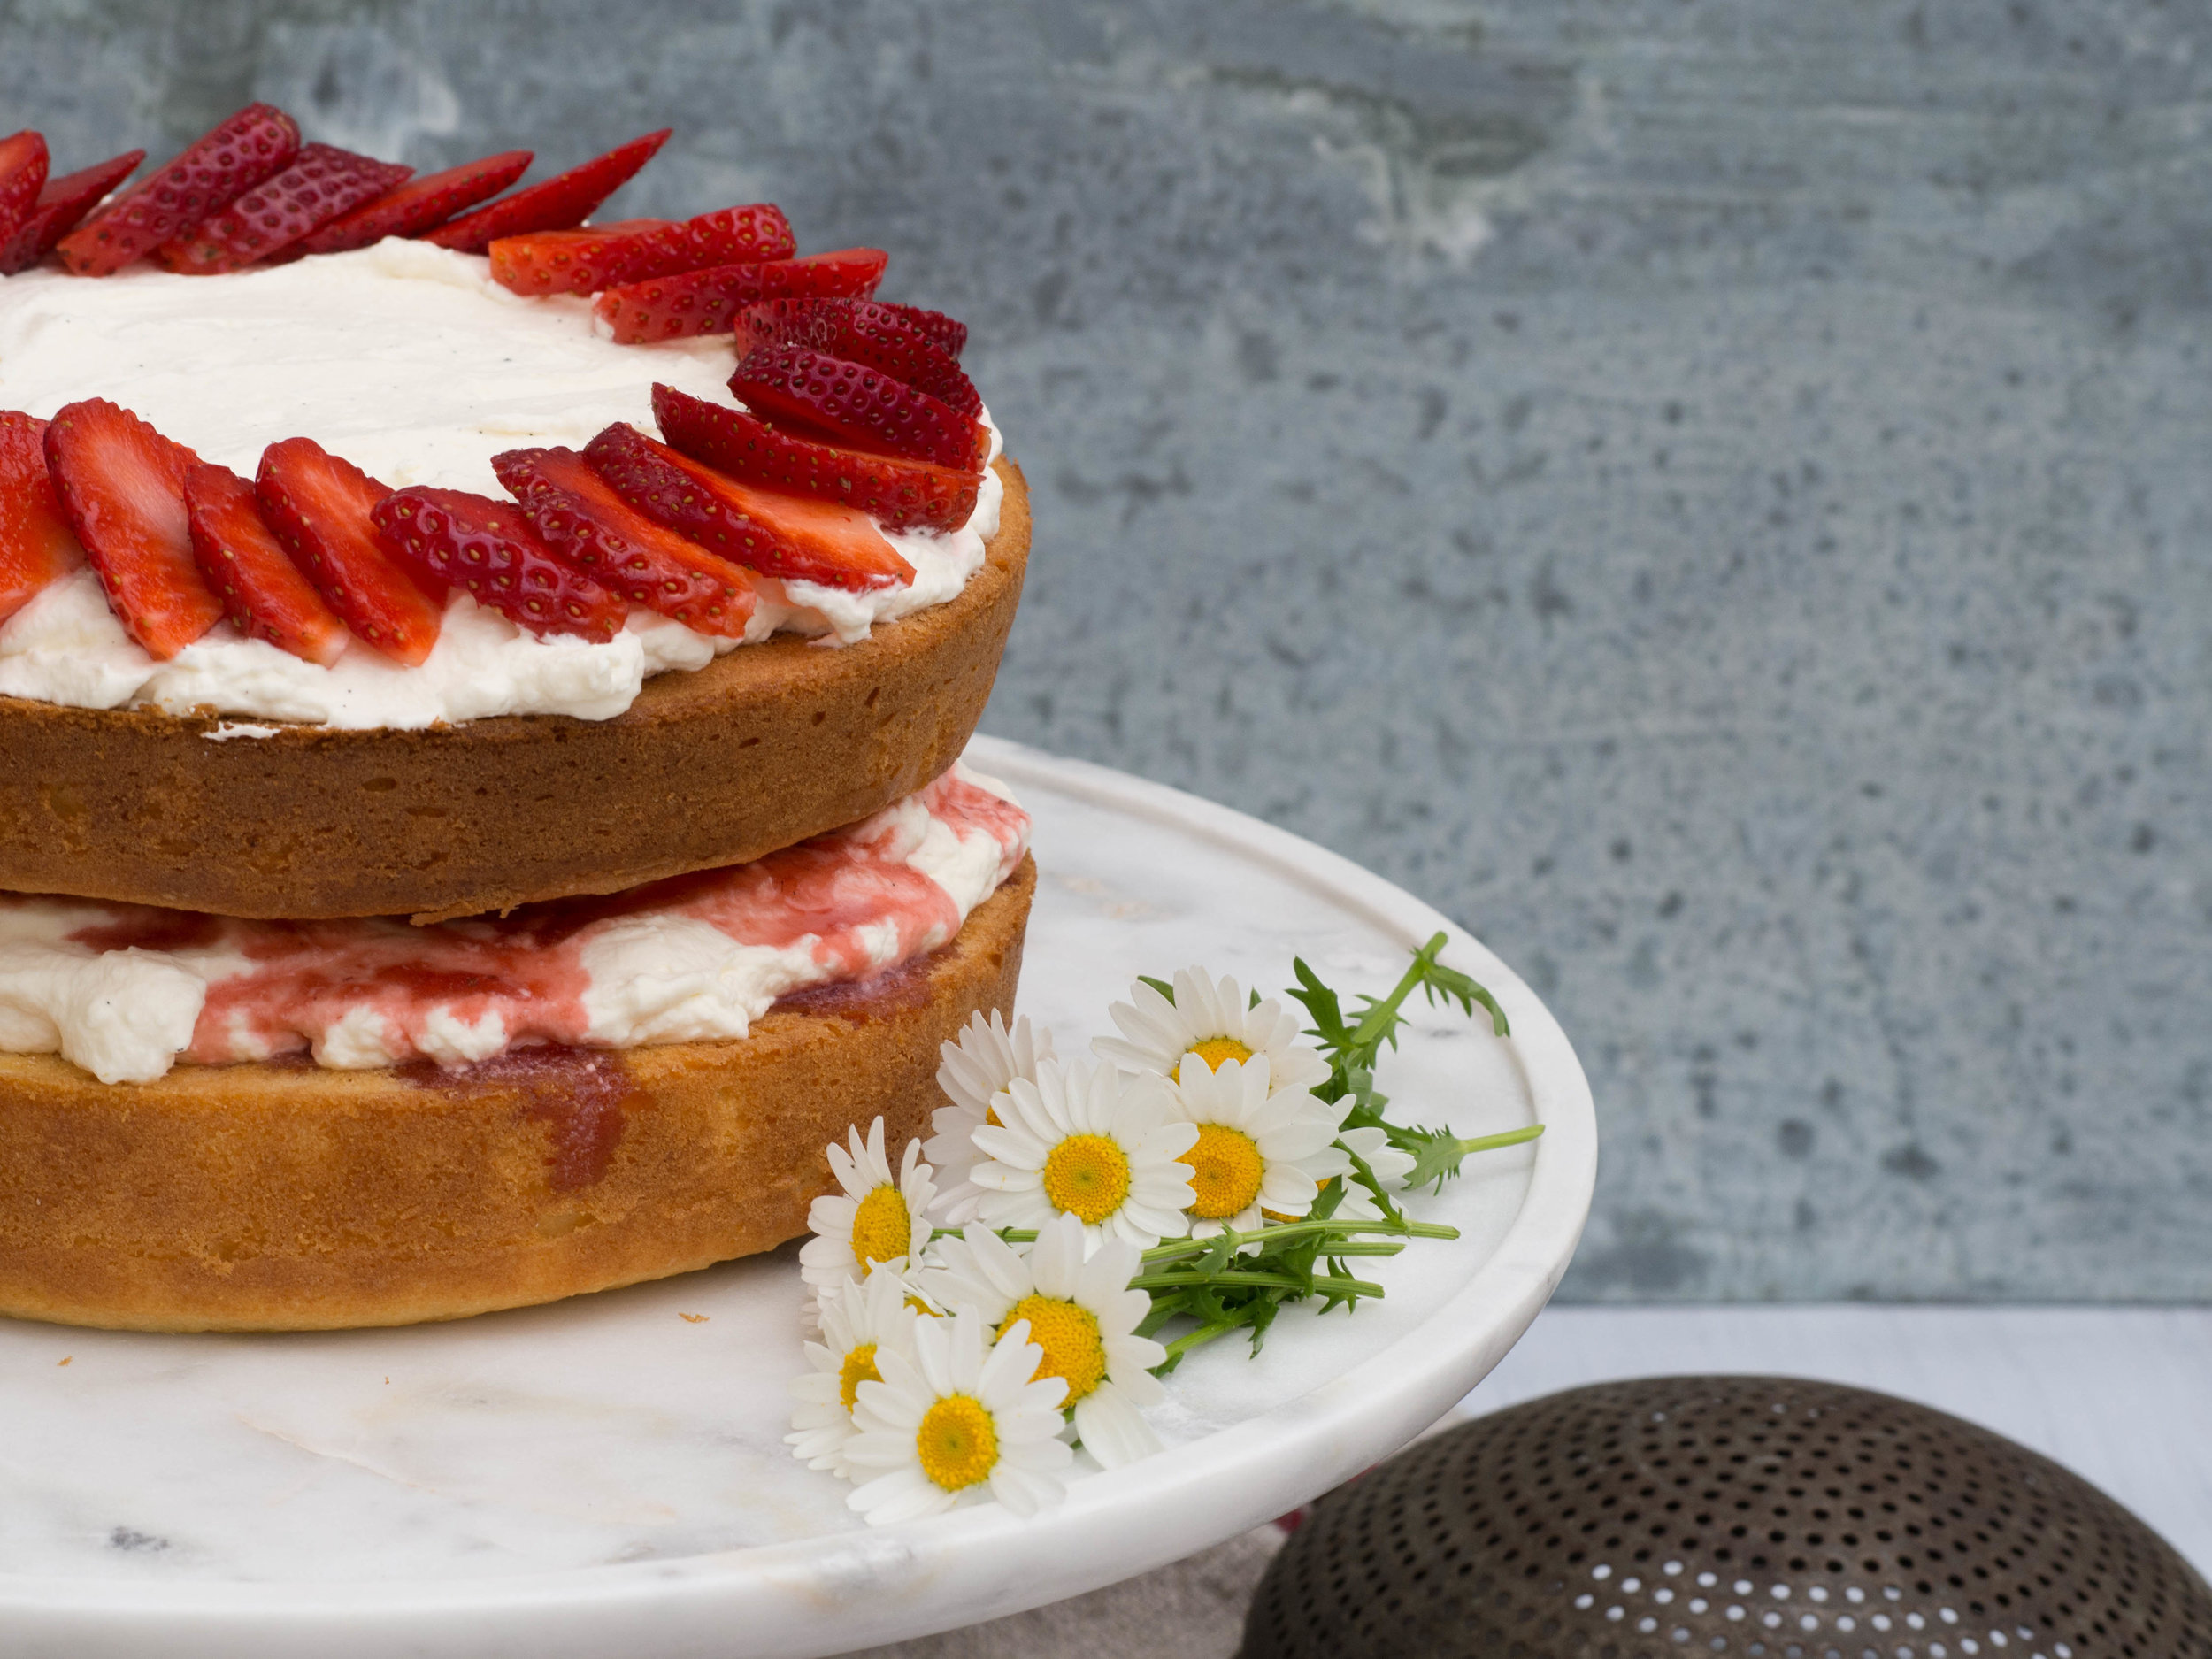
Once the cakes have cooled completely, whip the cream with the vanilla until soft peaks form. Place one cake on a serving plate or cake stand and spread some of the strawberry earl grey jam over the top - start with 1-2 tbsp and go from there.
The thickness and consistency of your jam will determine how much you use. The thicker and more set it is the more you can use without it running down the sides. Spread 1/2 to 3/4 of the cream over the jam and top with the remaining cake. Gently spread the remaining cream over the top of the finished cake and decorate with fresh strawberries.