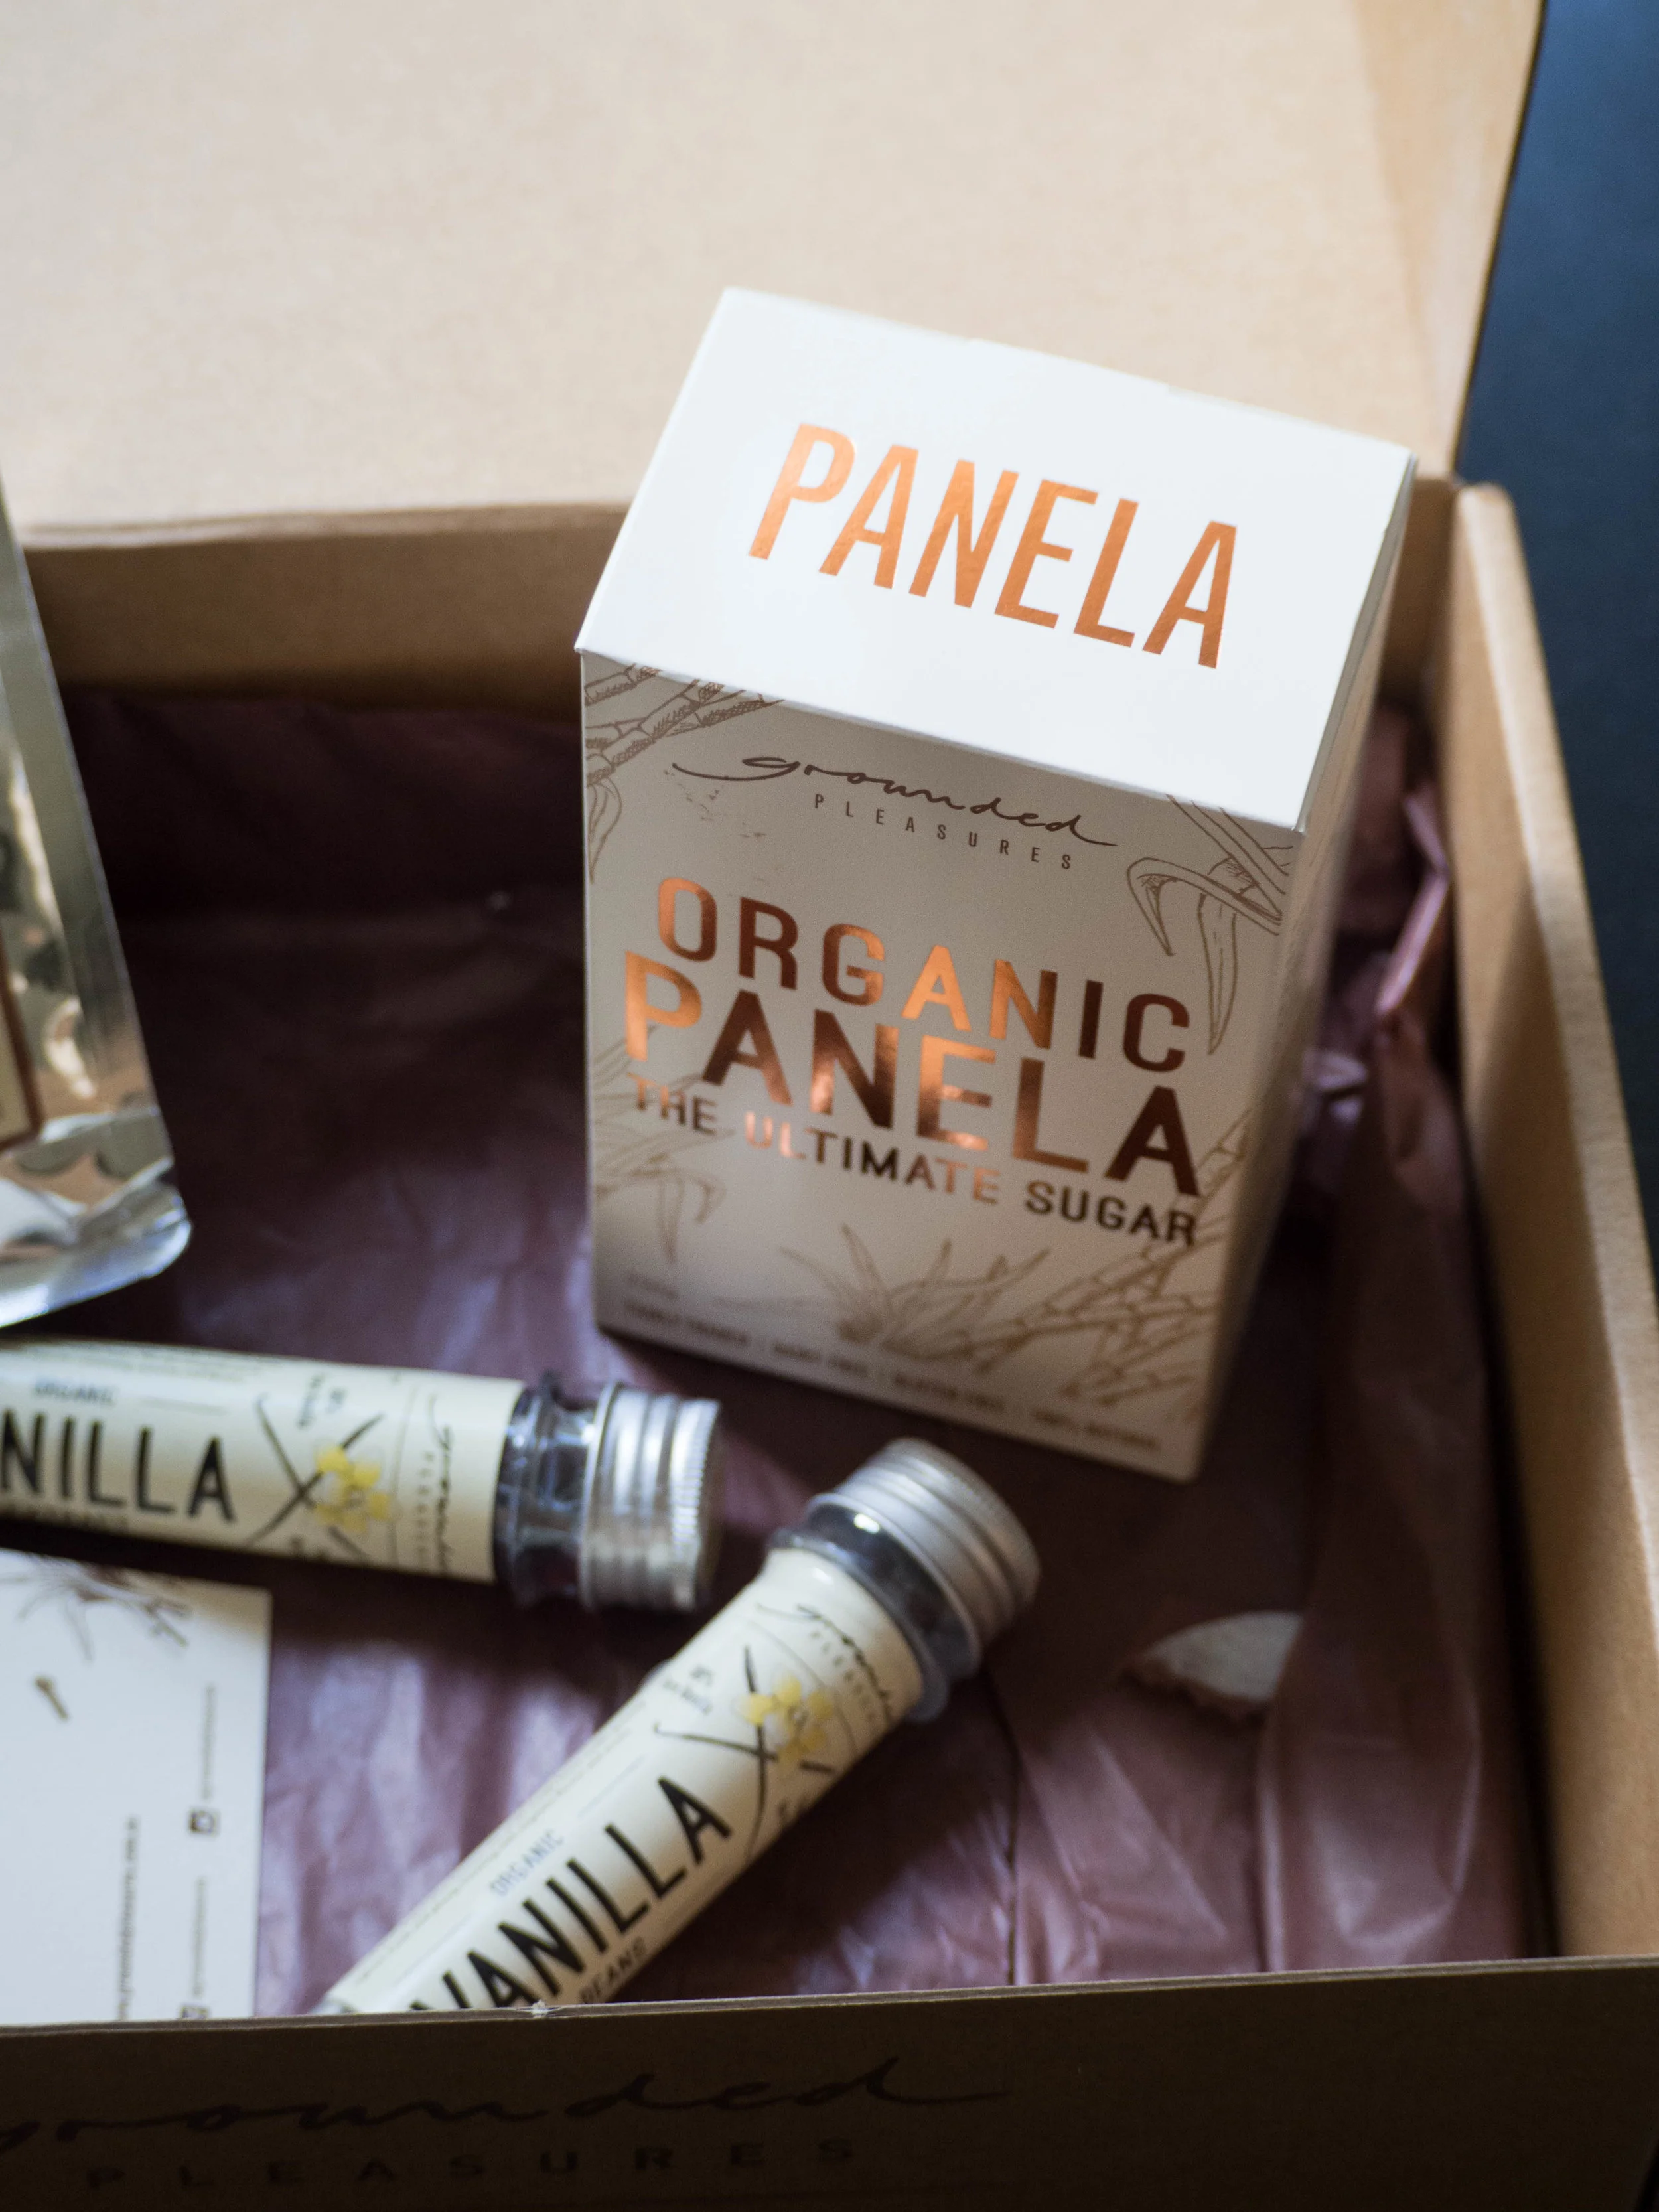
I have been working on this recipe for a little while. It first came about because I got some of the Grounded Pleasures Real White Drinking Chocolate. And recently the lovely Sophie from Grounded Pleasures has gifted me some of their fantastic products, including their Real White Drinking Chocolate, so it was definitely time to revisit the recipe and try to perfect it before the cold weather really sets in and and making ice cream seems a little out of place.
For some reason I was not content with just making Grounded Pleasures' Real White Drinking Chocolate into hot chocolate (although I highly recommend doing so, a really good white drinking chocolate like this one seemed so hard to come by until now!), I wanted to see if it worked in other things too. At the time I had been making ice cream a fair bit, and enjoying it immensely. So it felt only natural to make a white chocolate ice cream using the Grounded Pleasures Real White Drinking Chocolate.
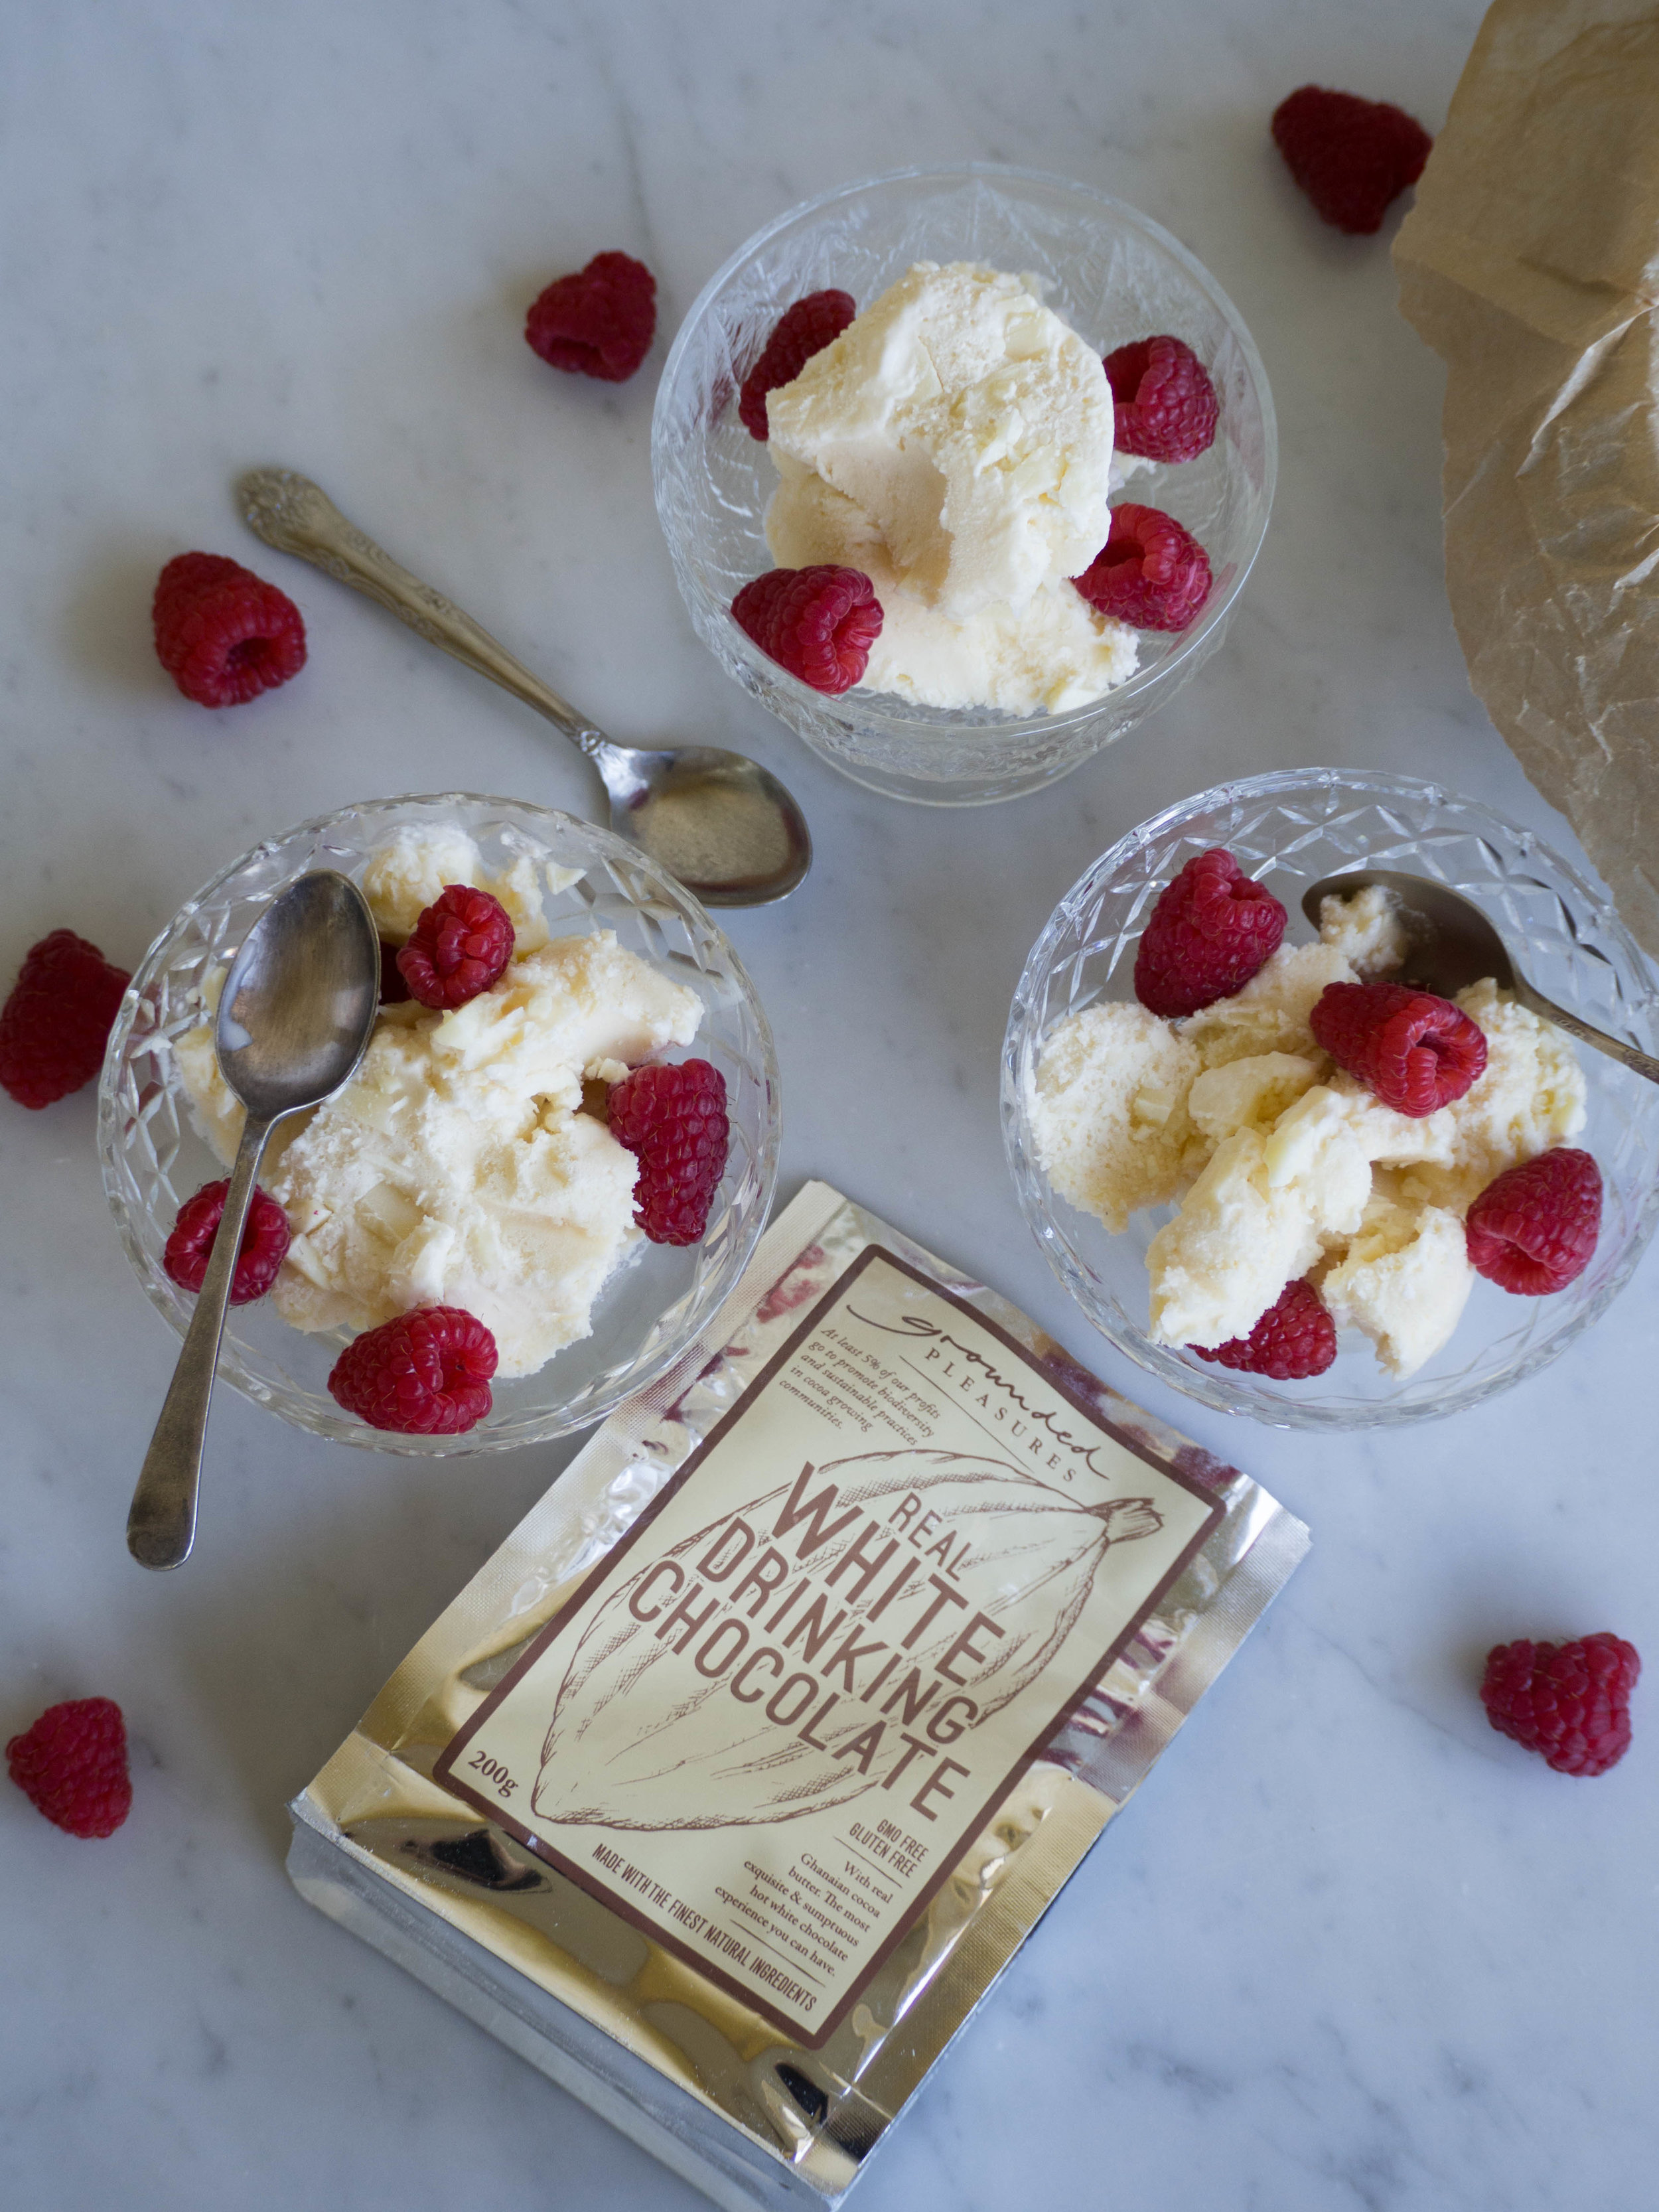
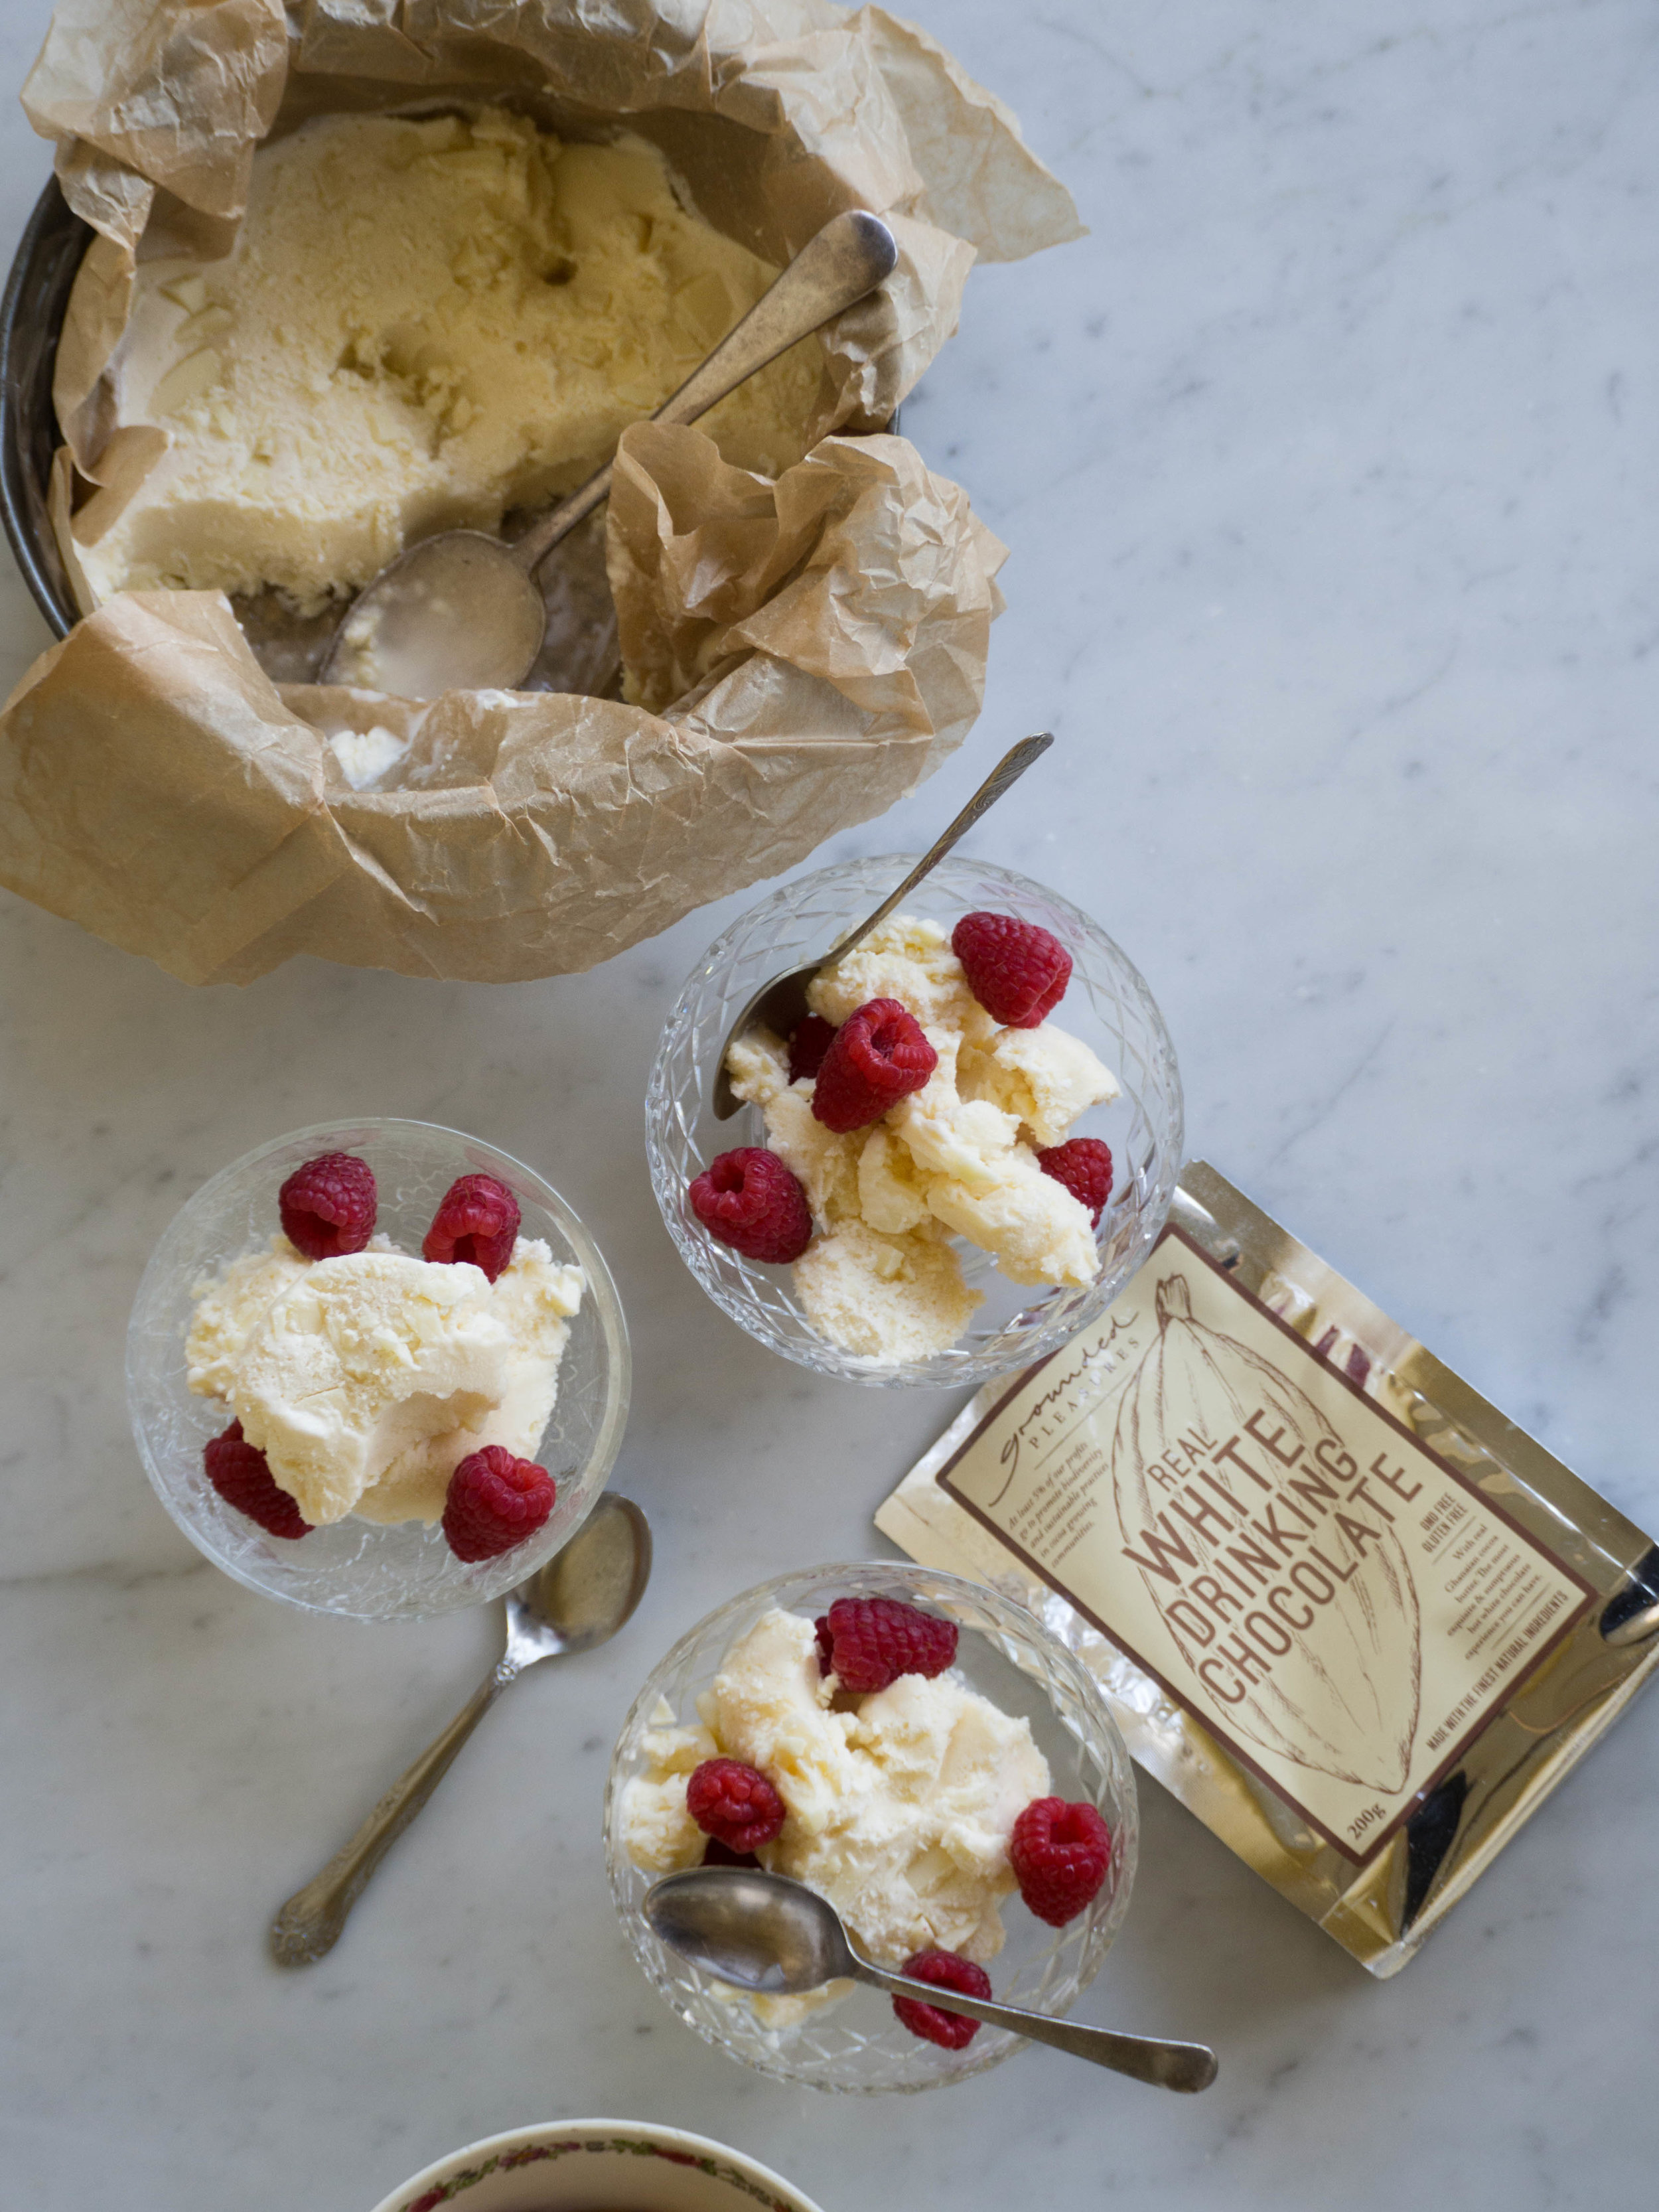
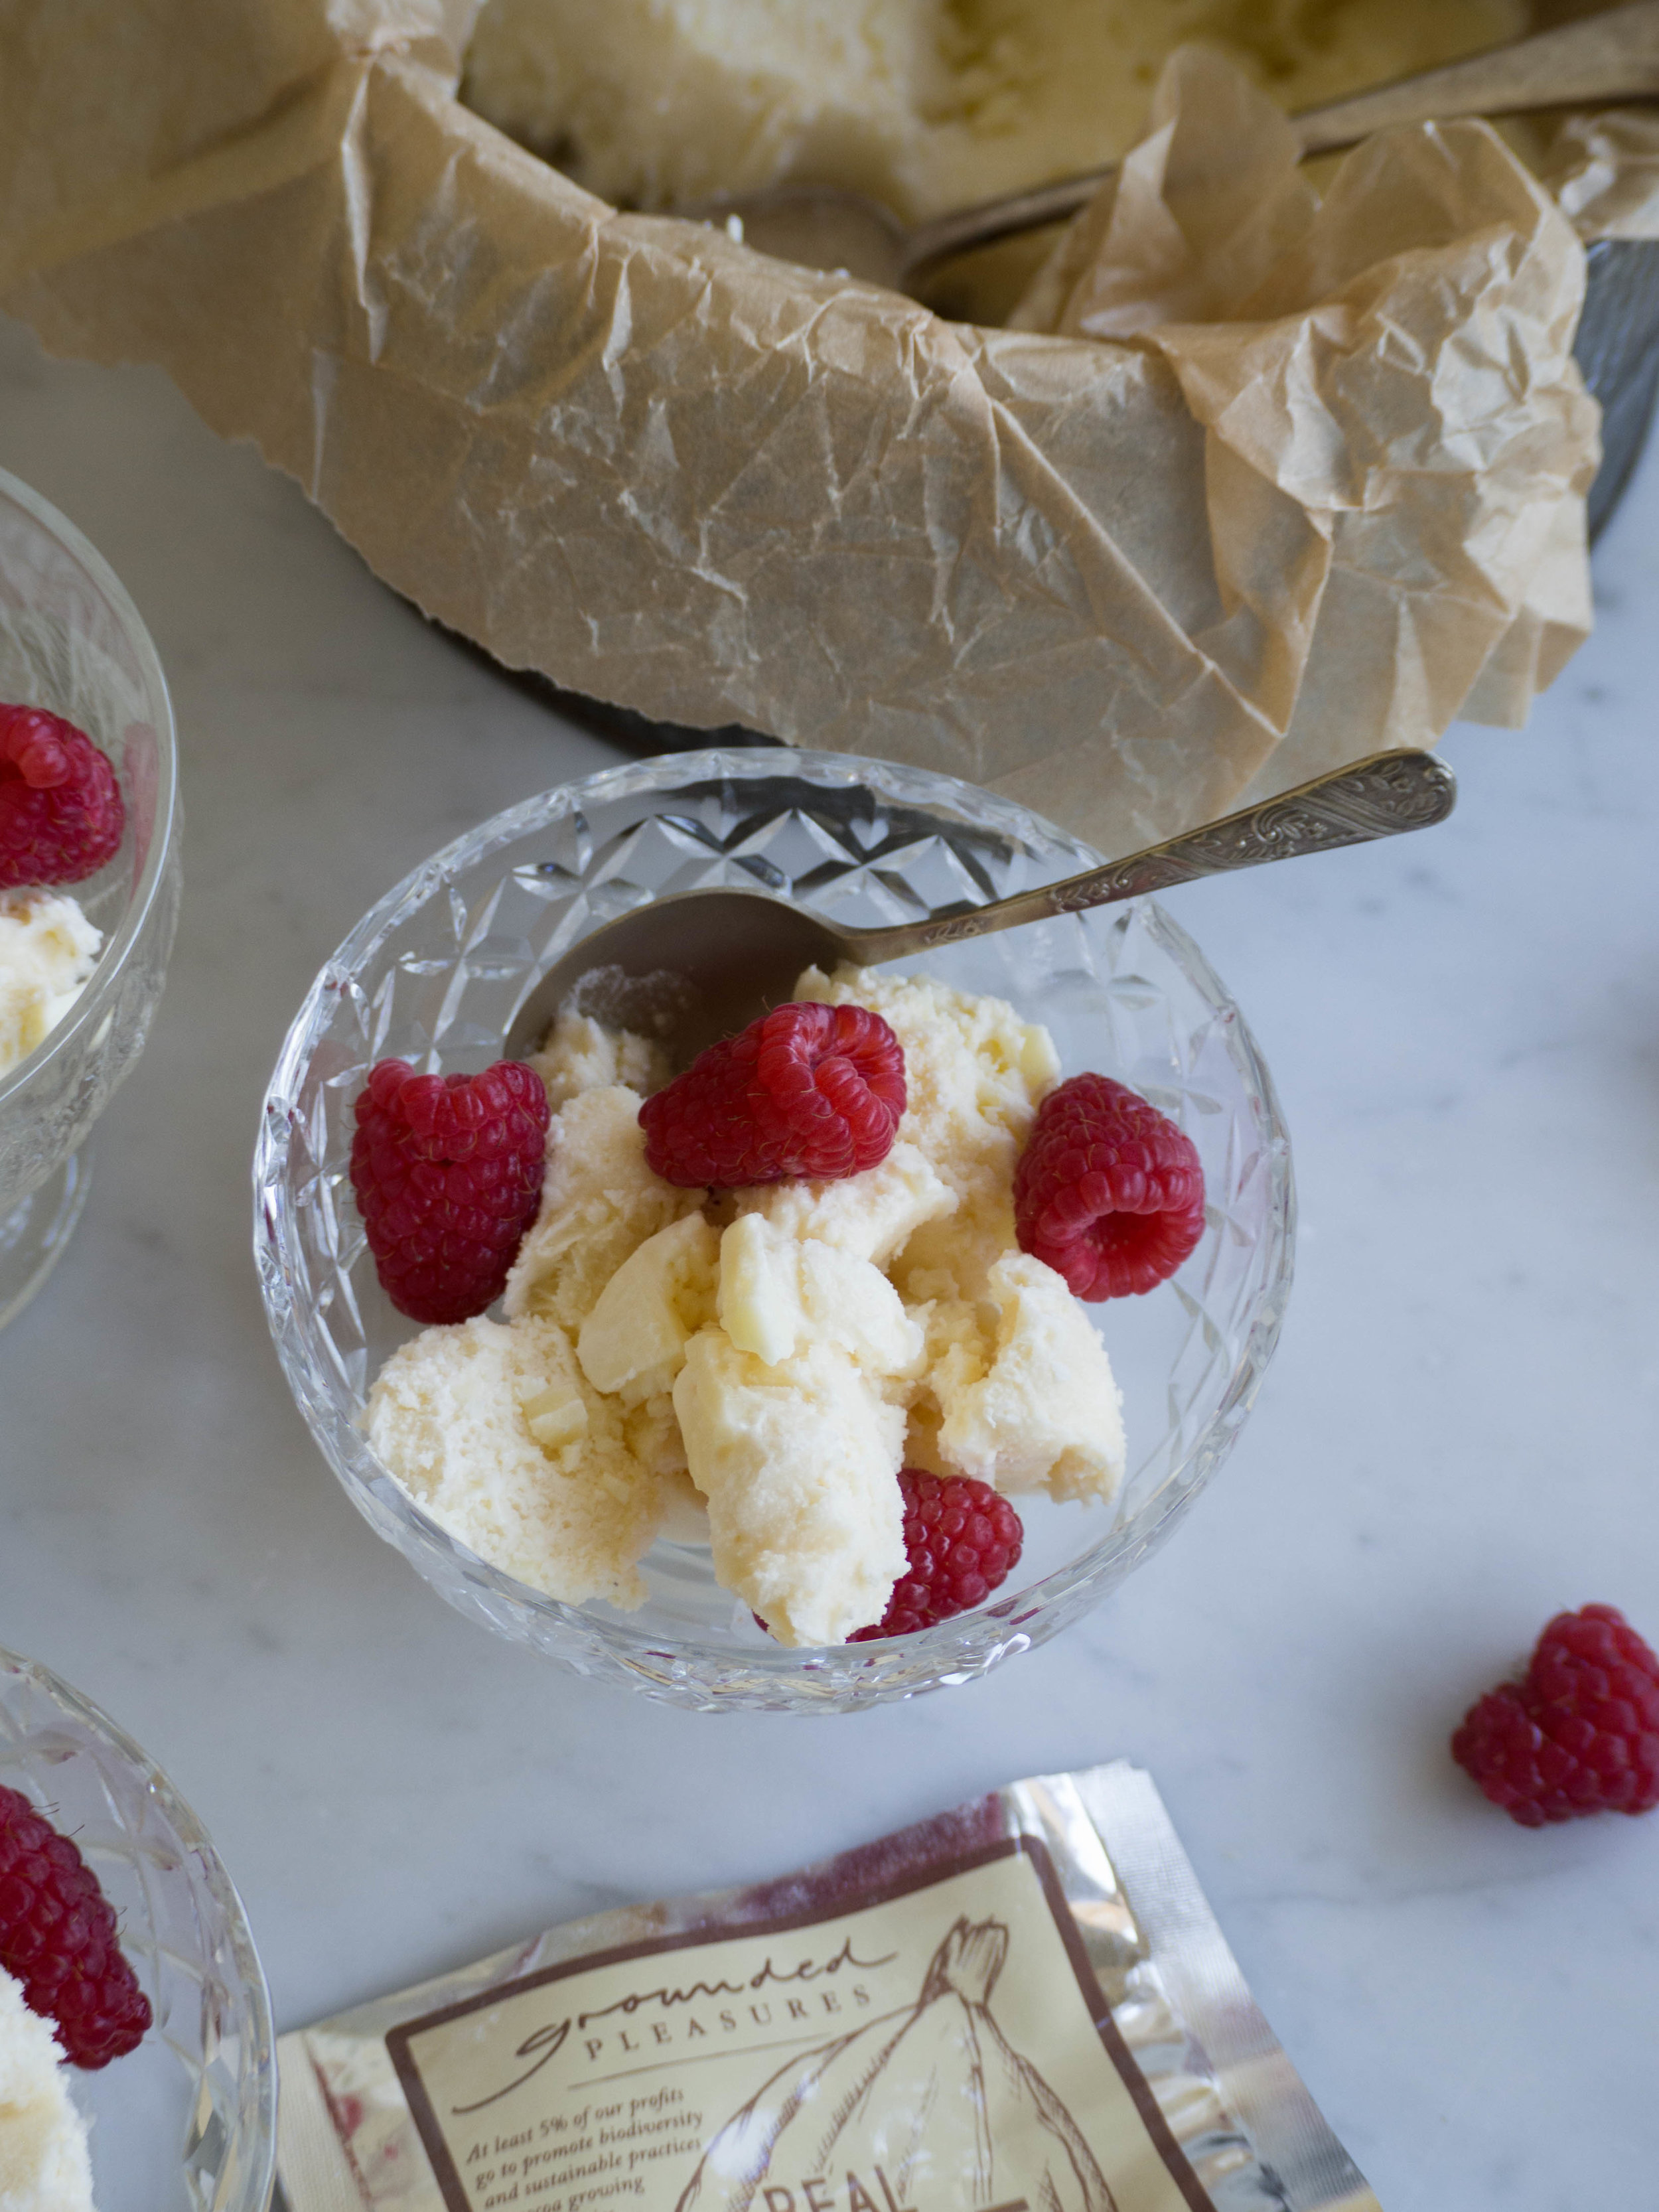
Since that first version I attempted, I have refined the recipe and am very happy with how it has turned out. The addition of finely chopped white chocolate (one that you would like to eat, not cooking chocolate) intensifies the white chocolate flavour and adds a little crunch to the ice cream.
You will notice if you follow along with the blog, that I use the same basic ice cream recipe each time (see basic Vanilla Ice Cream and Panela Sugar and Vanilla Ice Cream). This is because it is so simple and easy, very quick to make, and I love the end result. I have never even bothered to try to make ice cream the traditional way yet, even though I have had an ice cream maker for well over a year now. I just can’t get past the simplicity of this method, yet how lovely the ice cream turns out.
For a really creamy ice cream, use milk and cream that have higher fat contents, however skim milk and lighter creams work well and still produce a great end result. The first time I attempted making ice cream this way, I only had skim milk and a can of UHD light cream - it ended up being delicious ice cream, that also made me feel slightly less guilty when eating it!
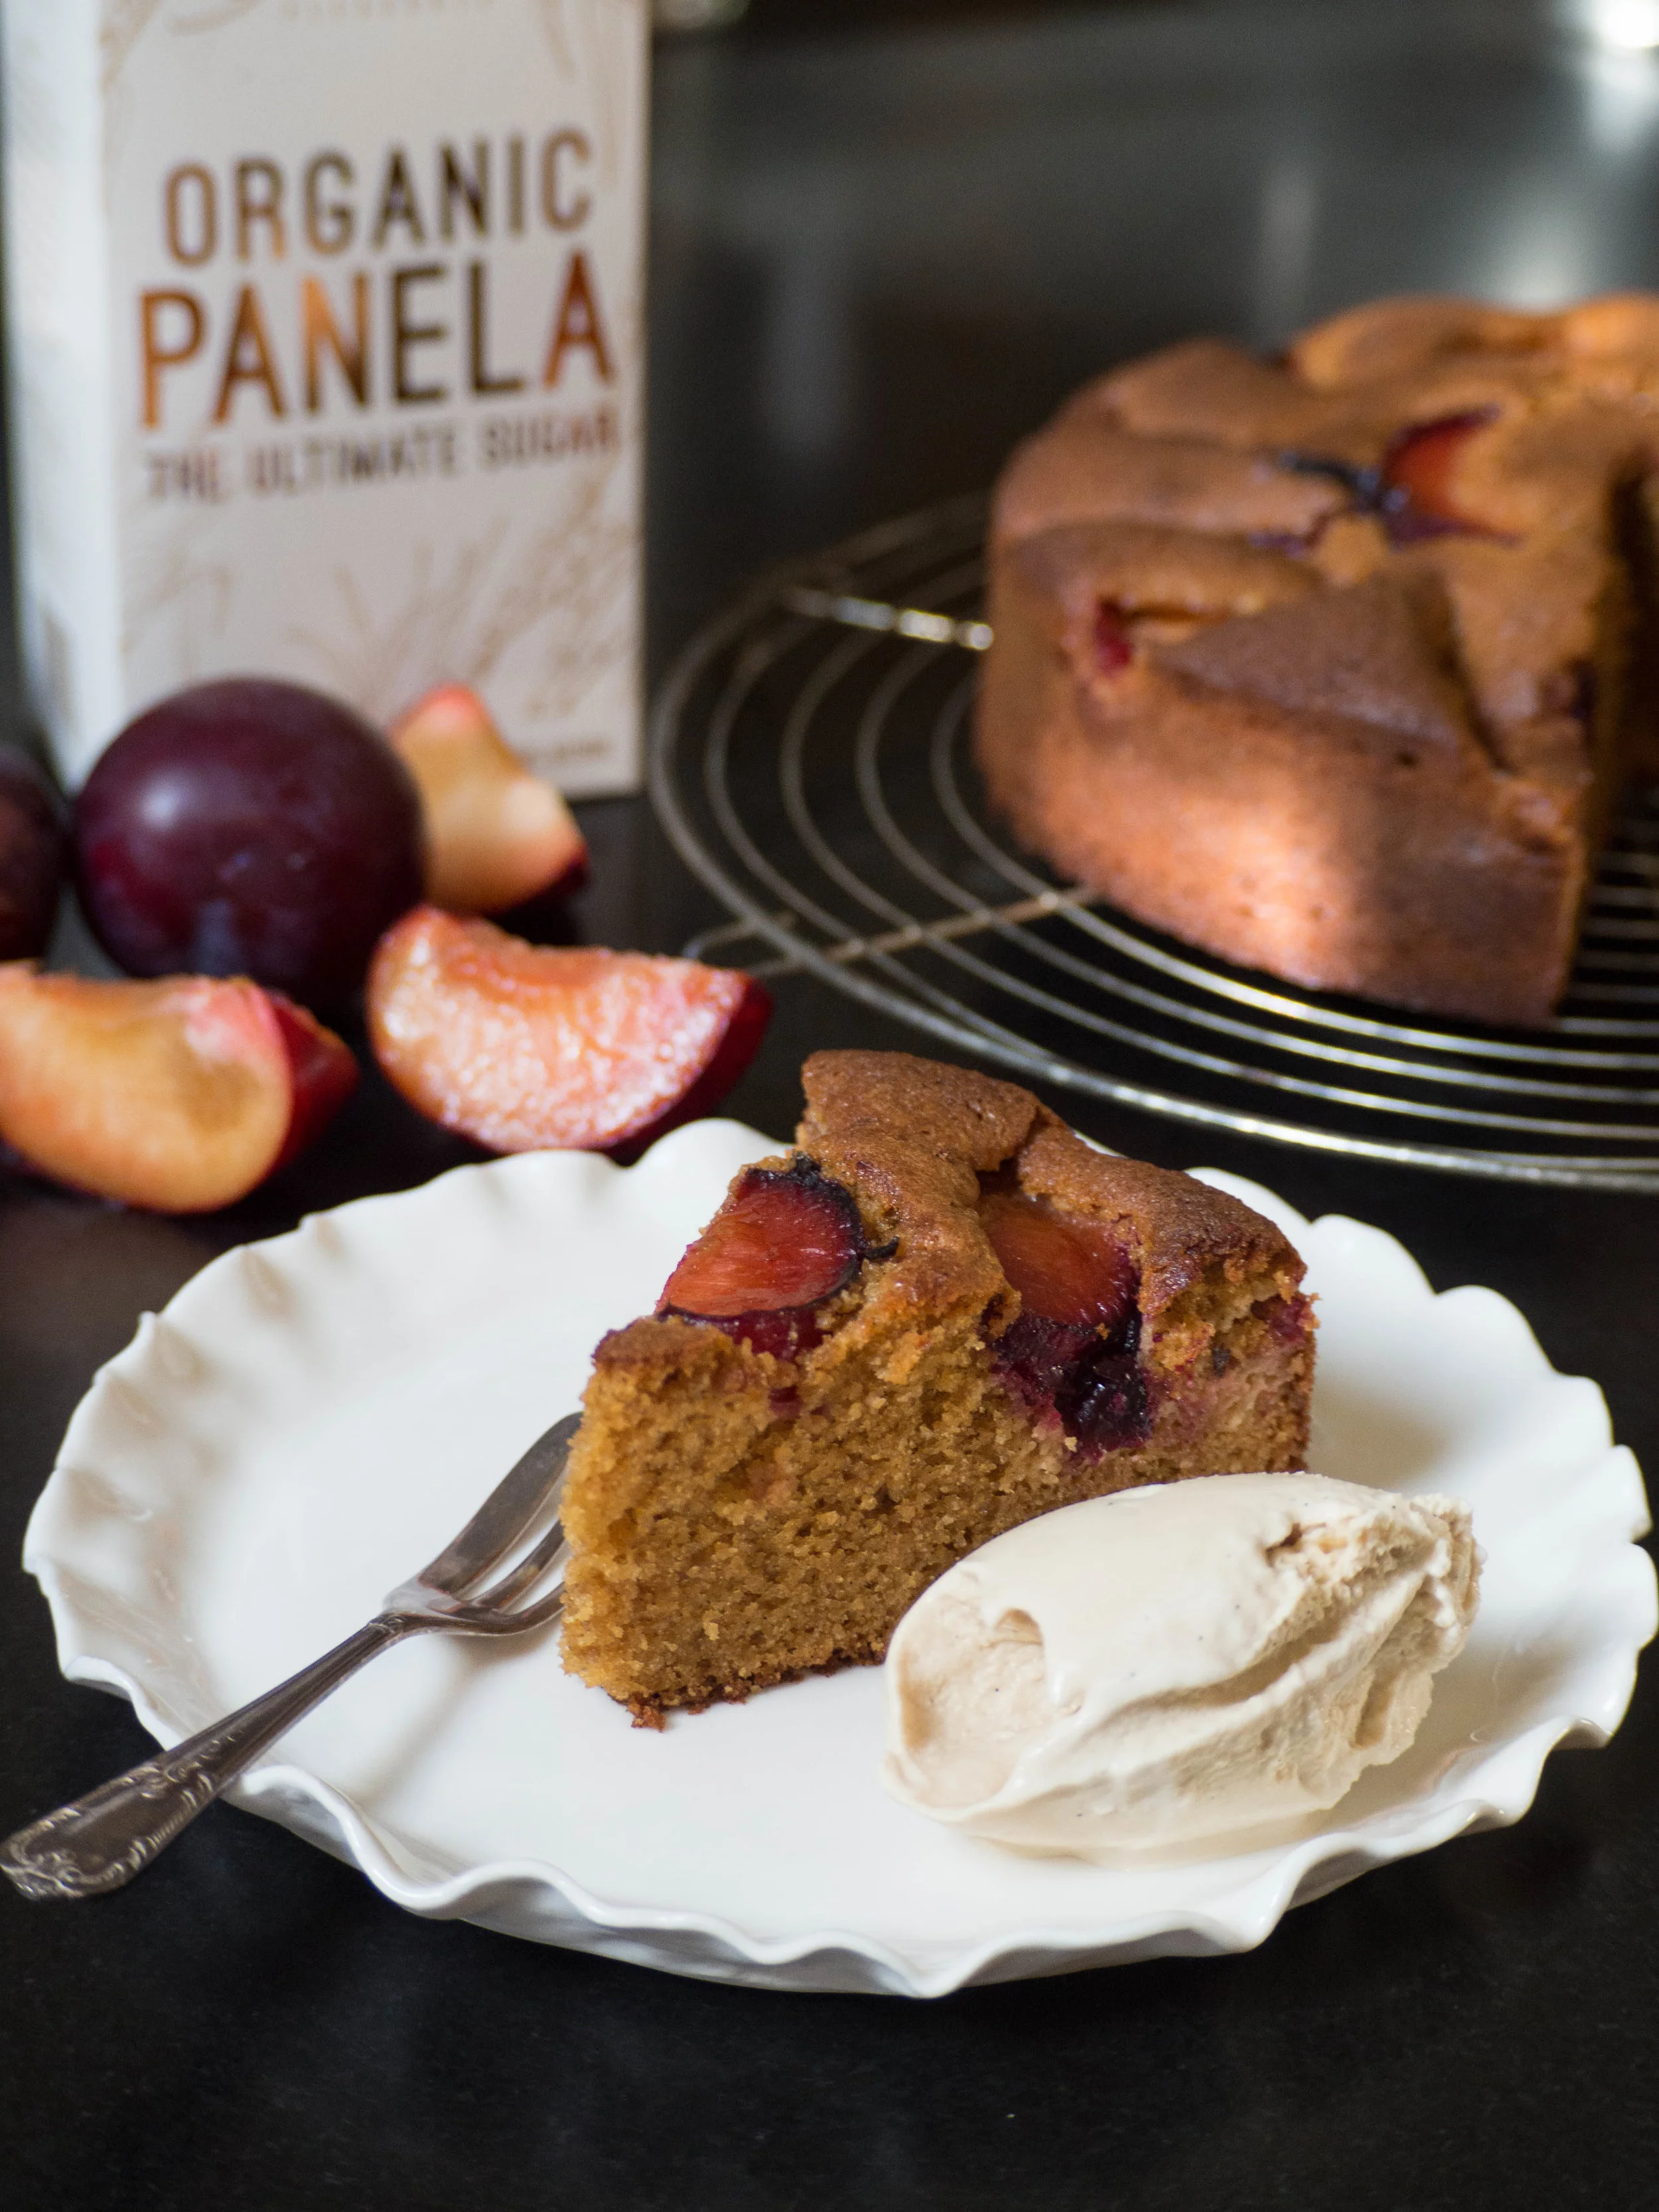
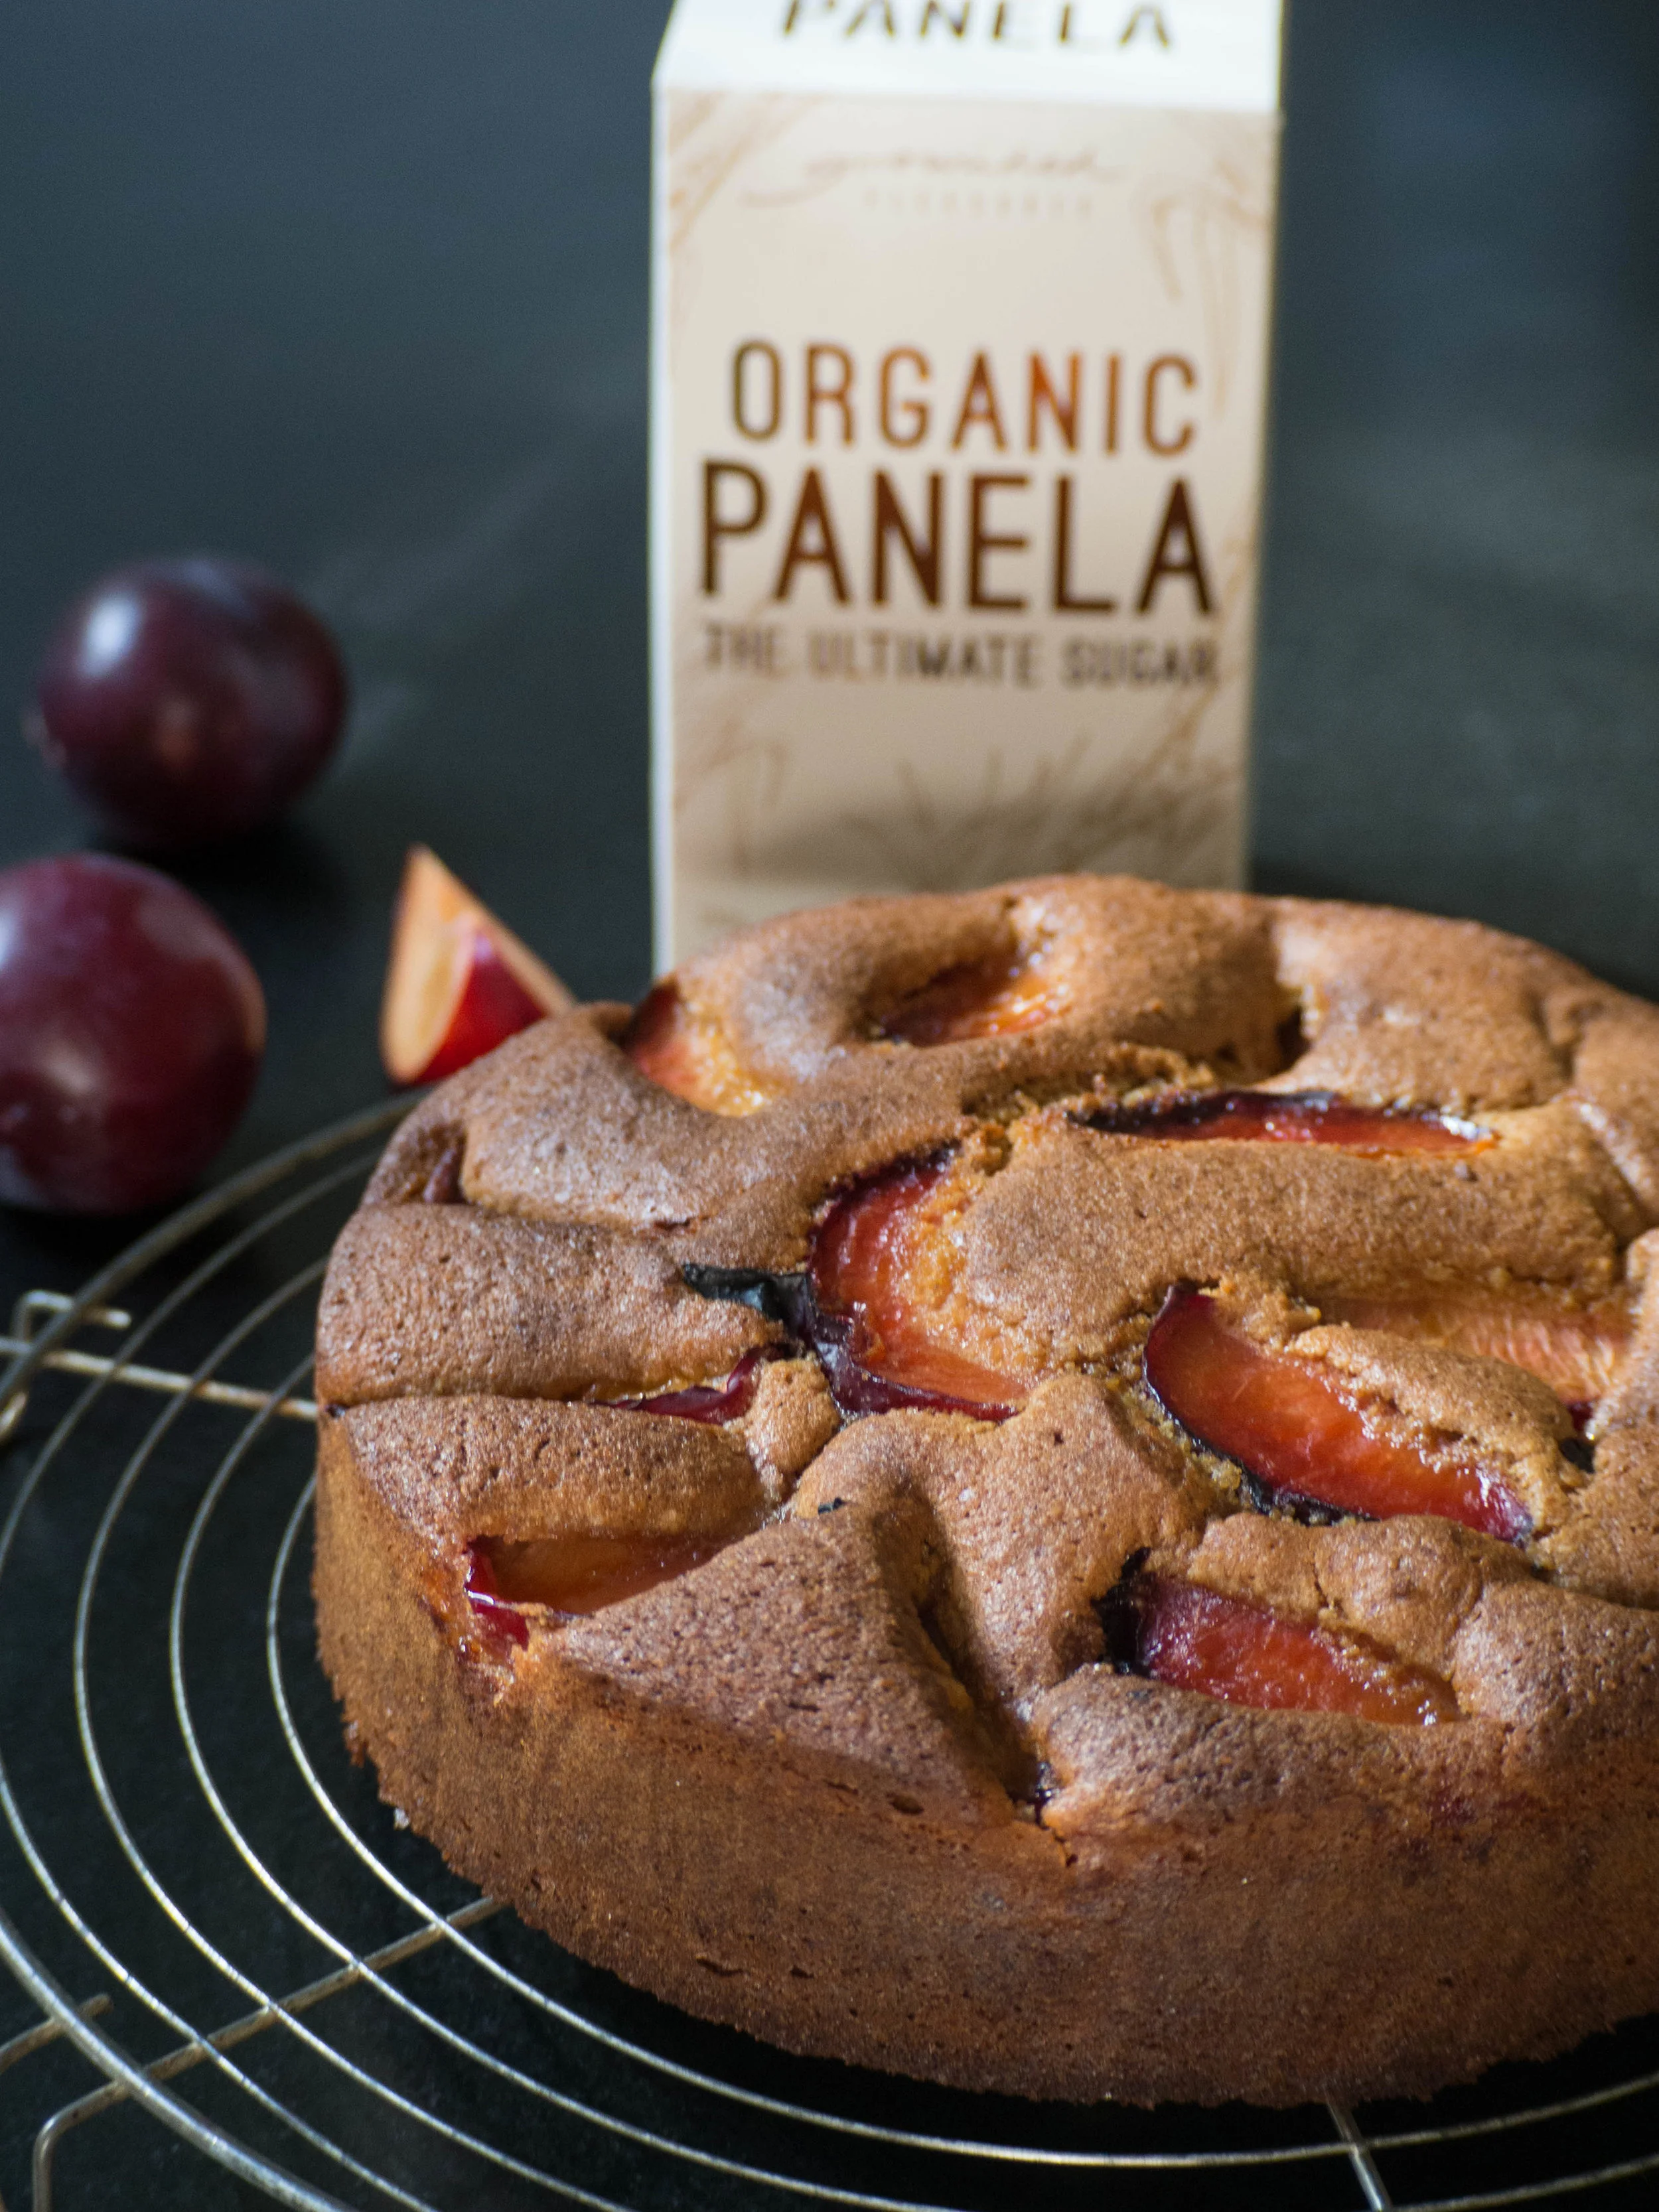
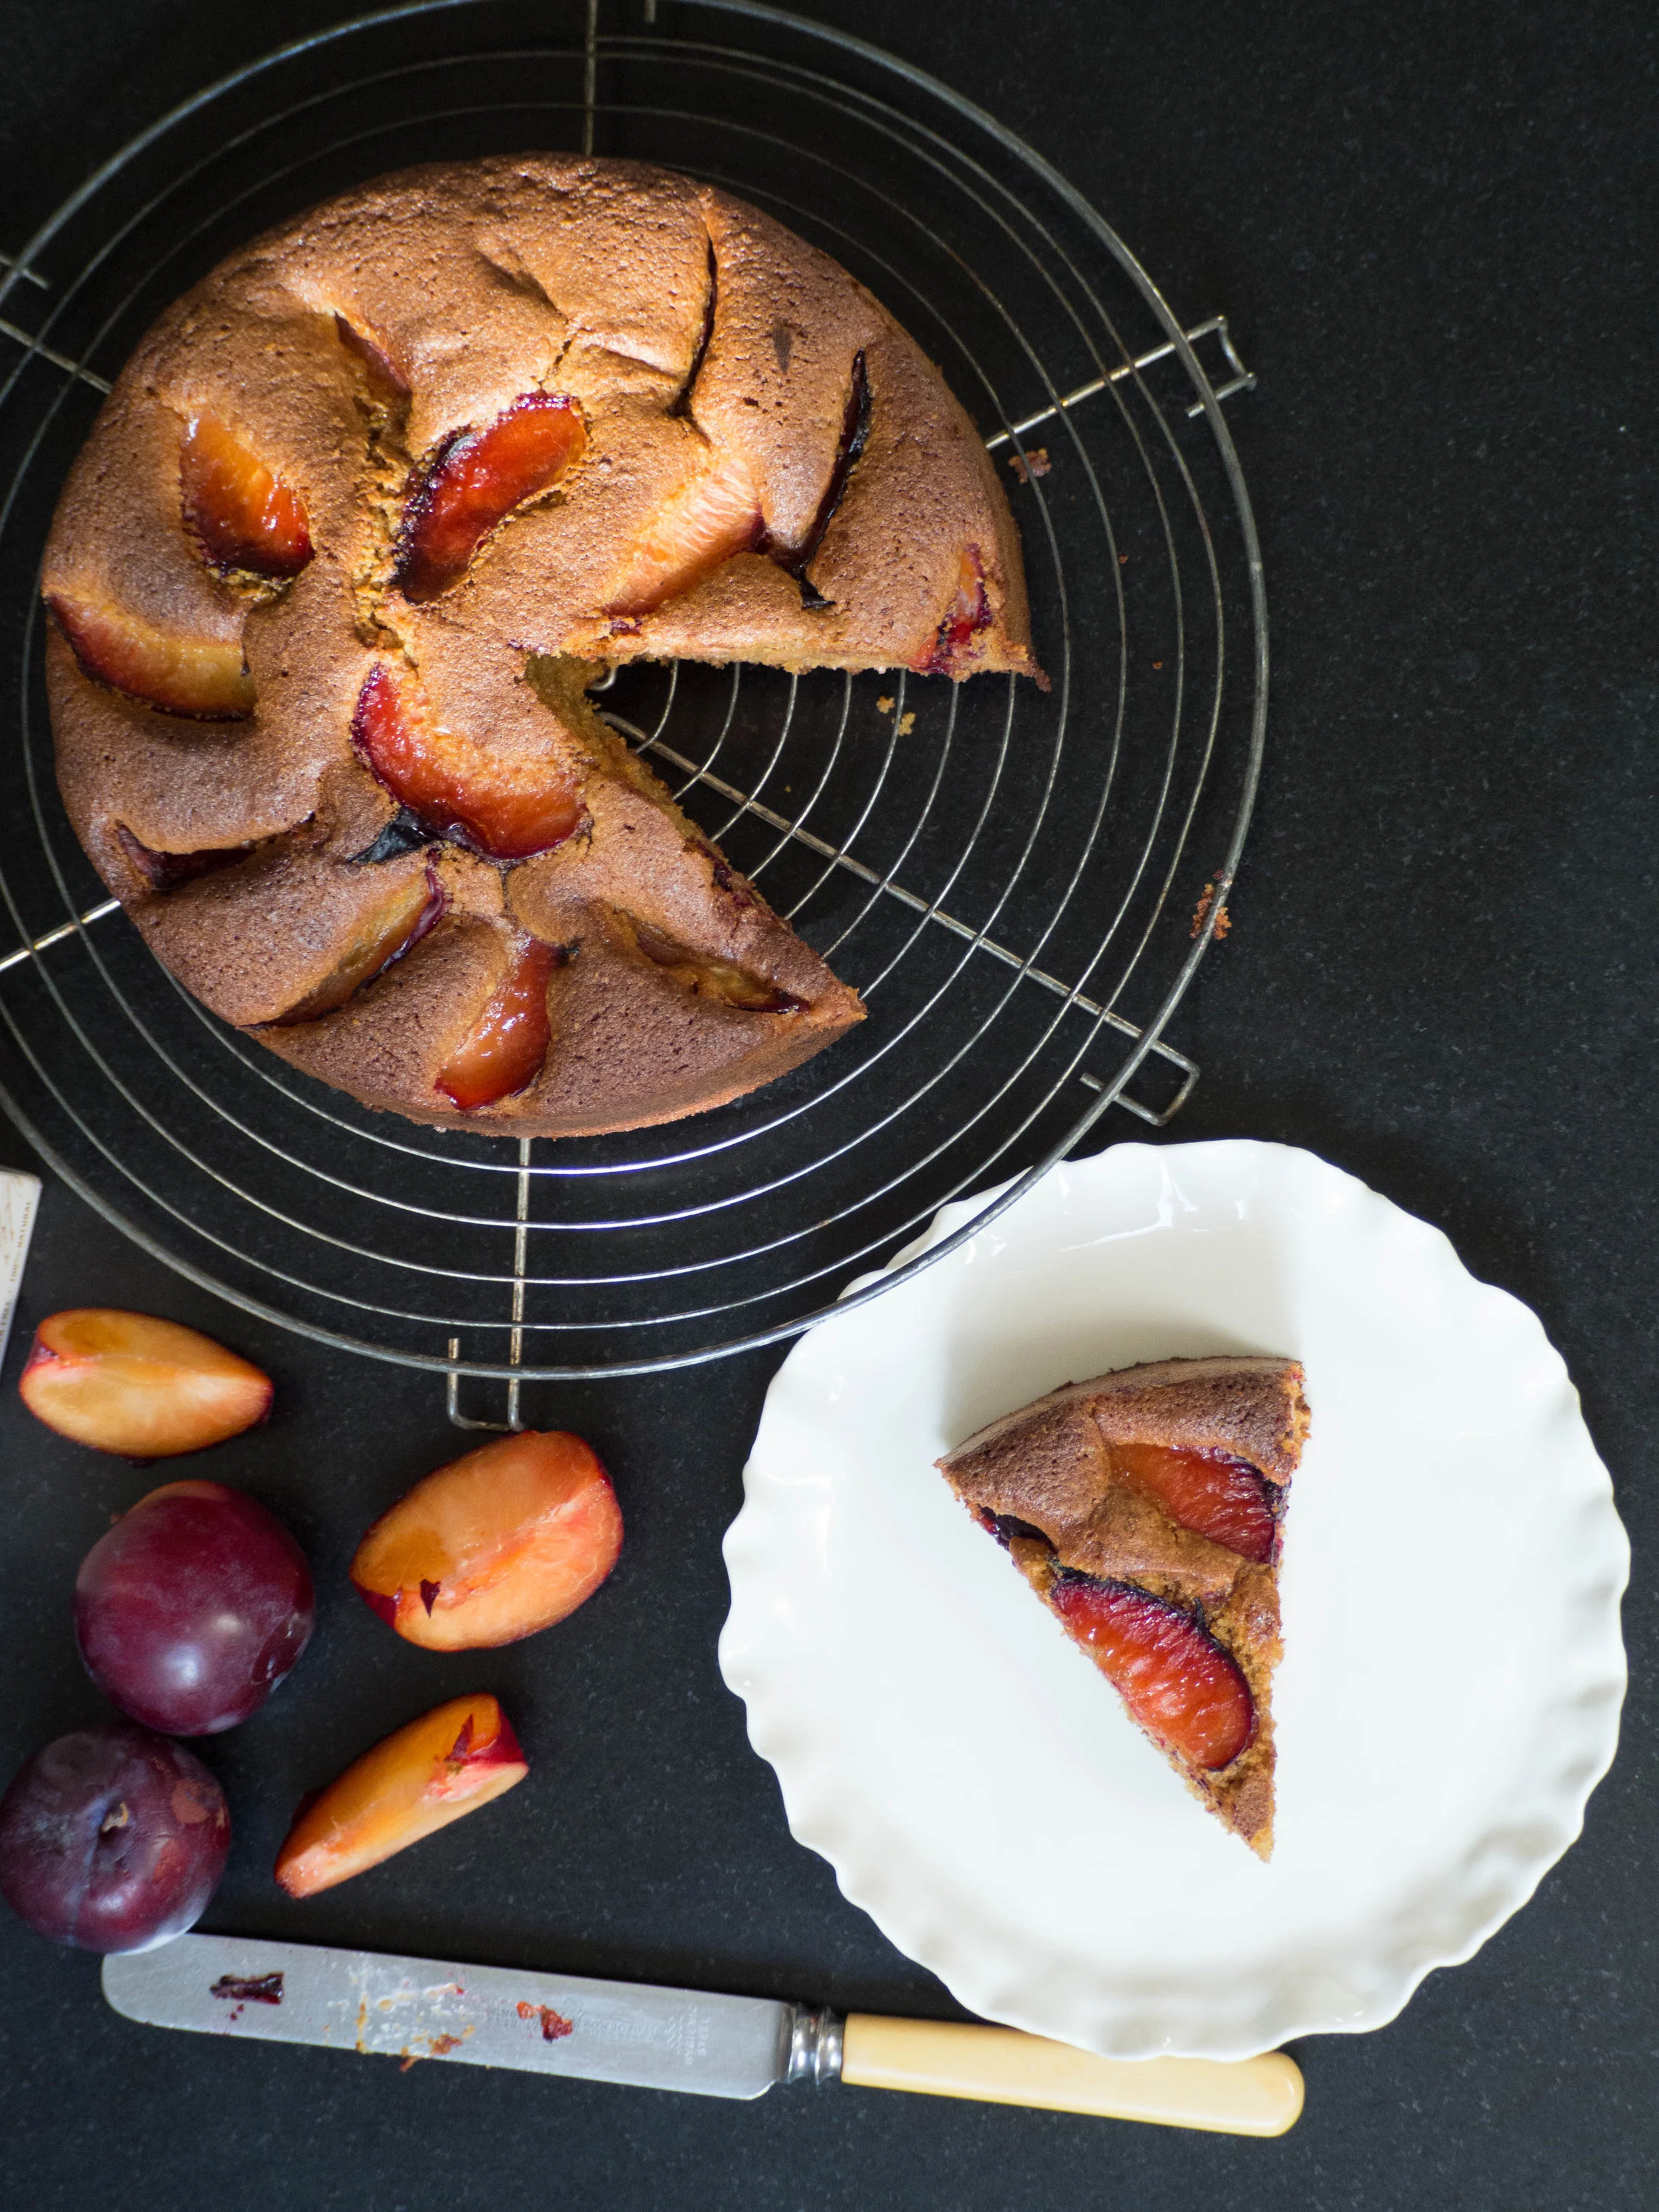
Thank you so much again to Sophie of Grounded Pleasures for gifting me some of their wonderful products. These are truely products that I love baking with and would be doing so even if I hadn't received these generous gifts.

White Chocolate Ice Cream
Ingredients:
165ml full cream milk
6 tbsp white sugar
250ml pouring cream
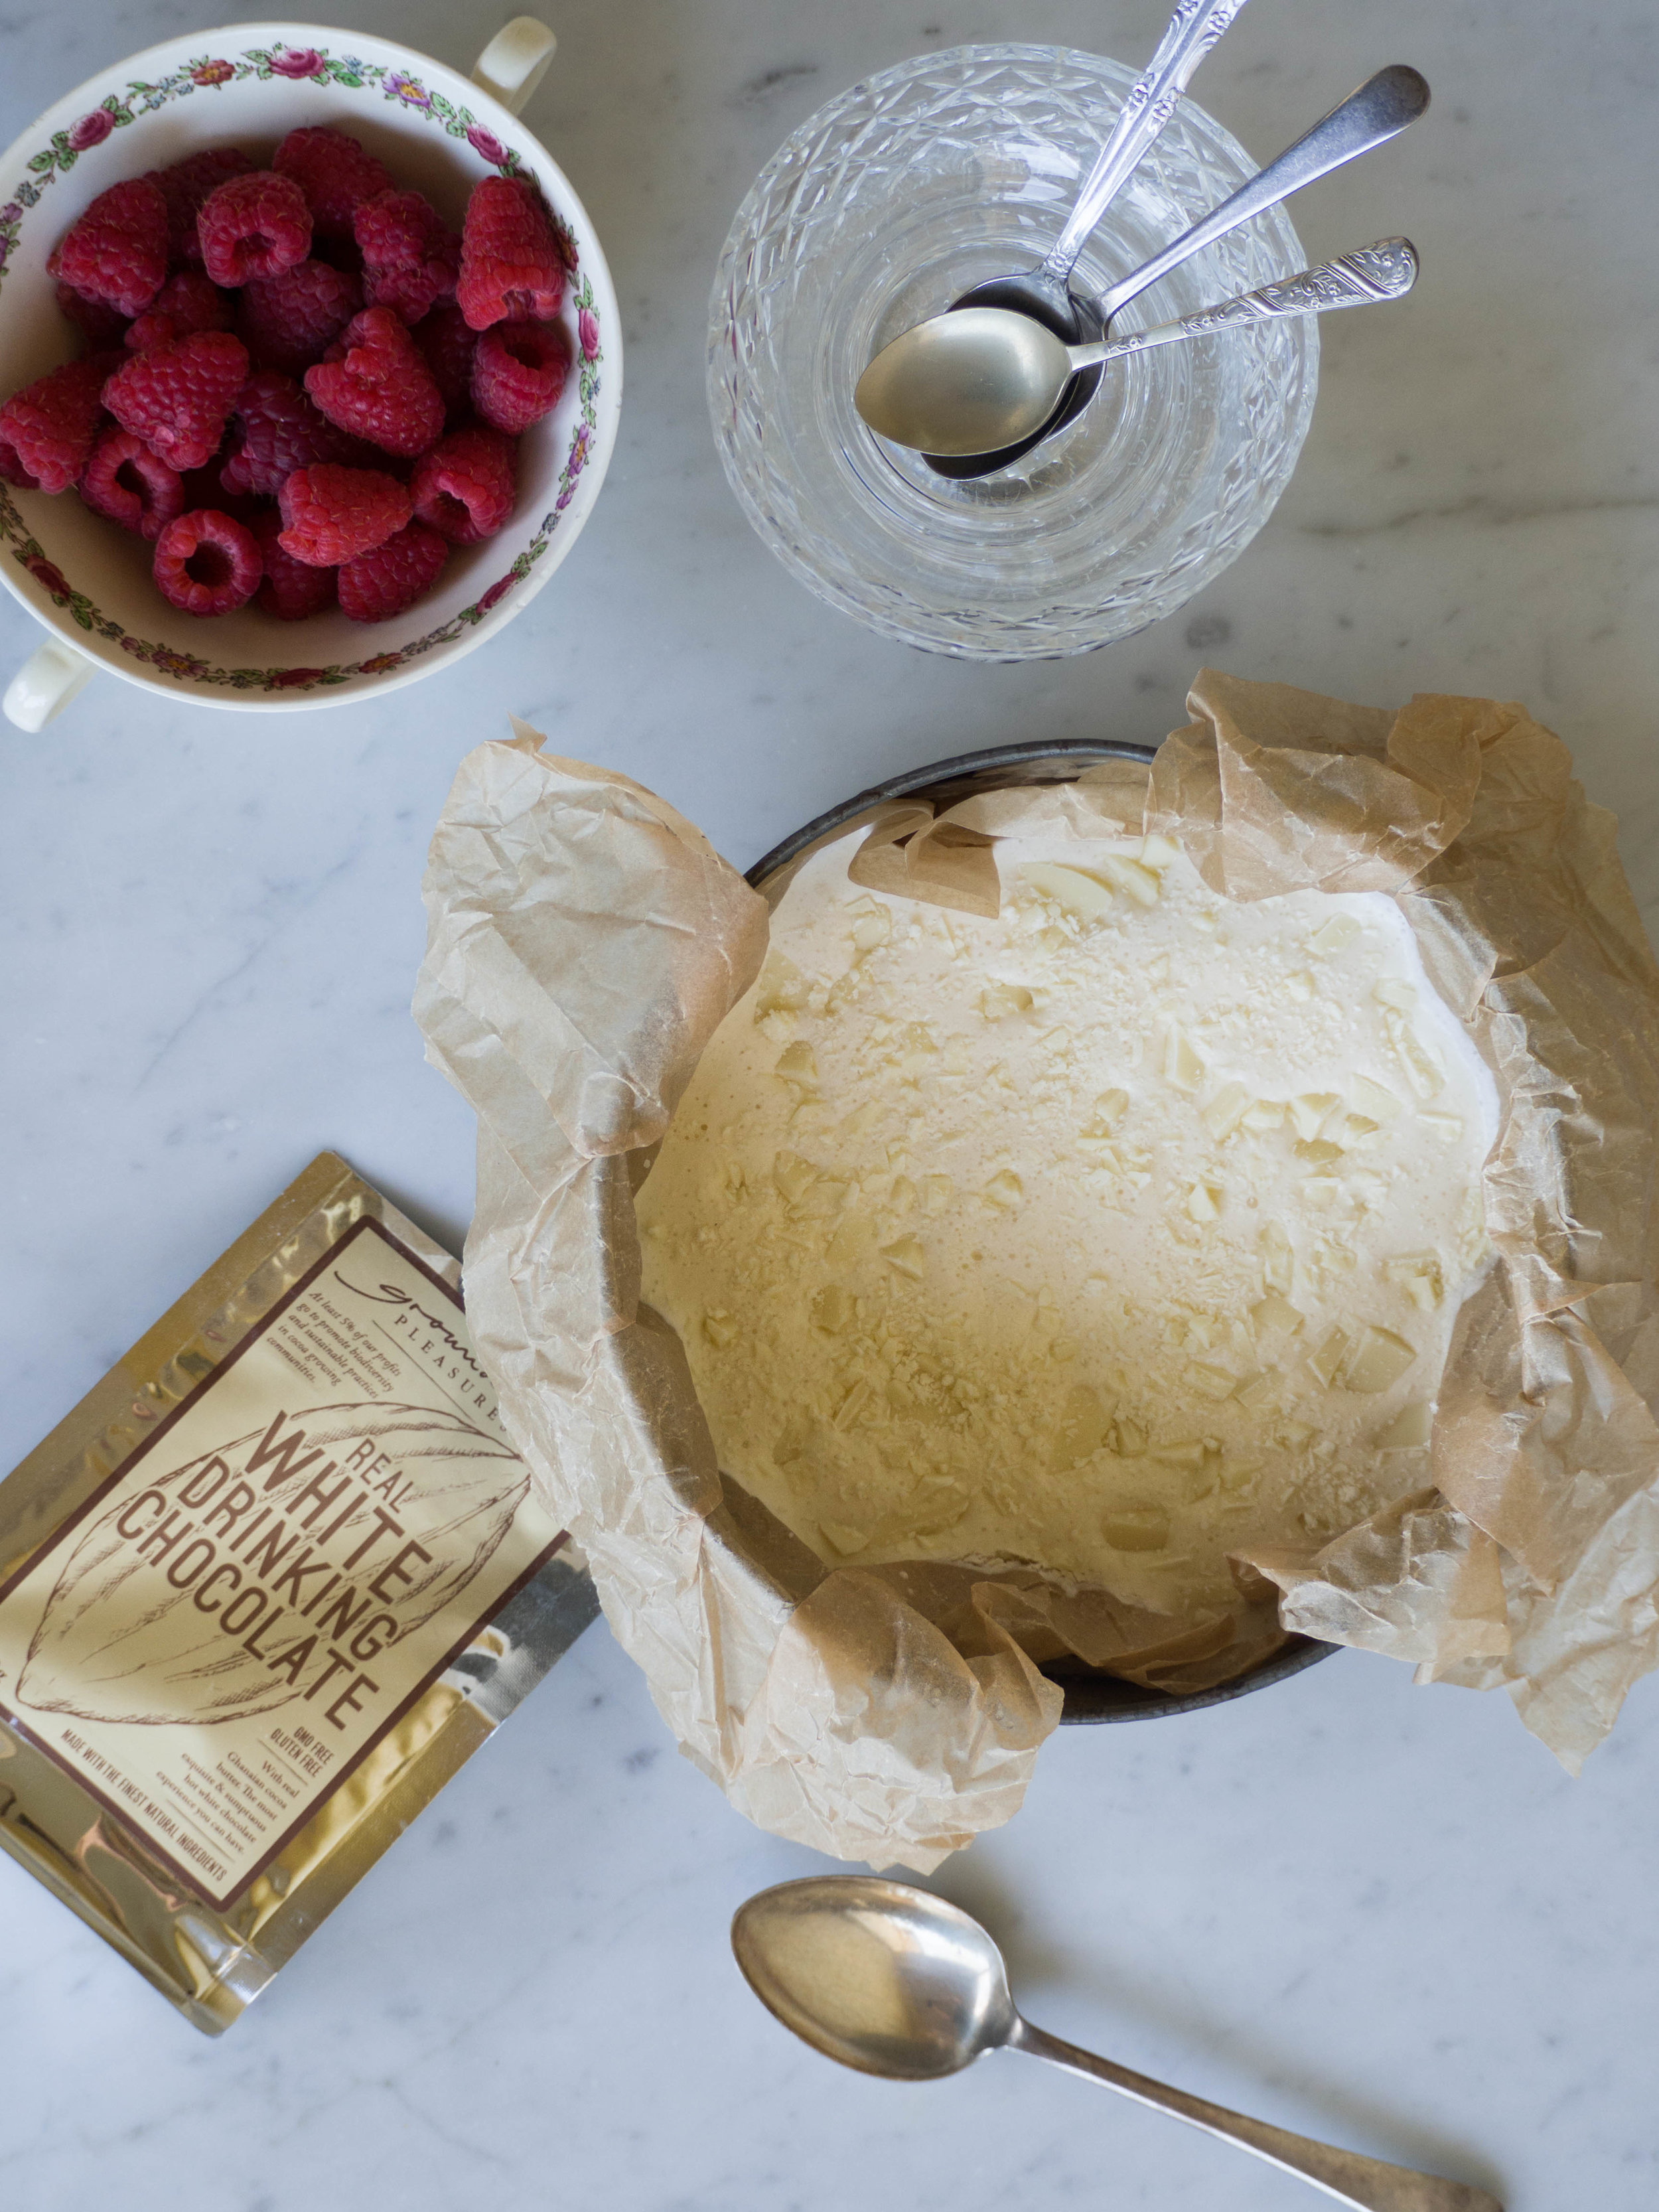
1/4 cup Grounded Pleasures Real White Drinking Chocolate
1 tsp Grounded Pleasures Organic Vanilla extract
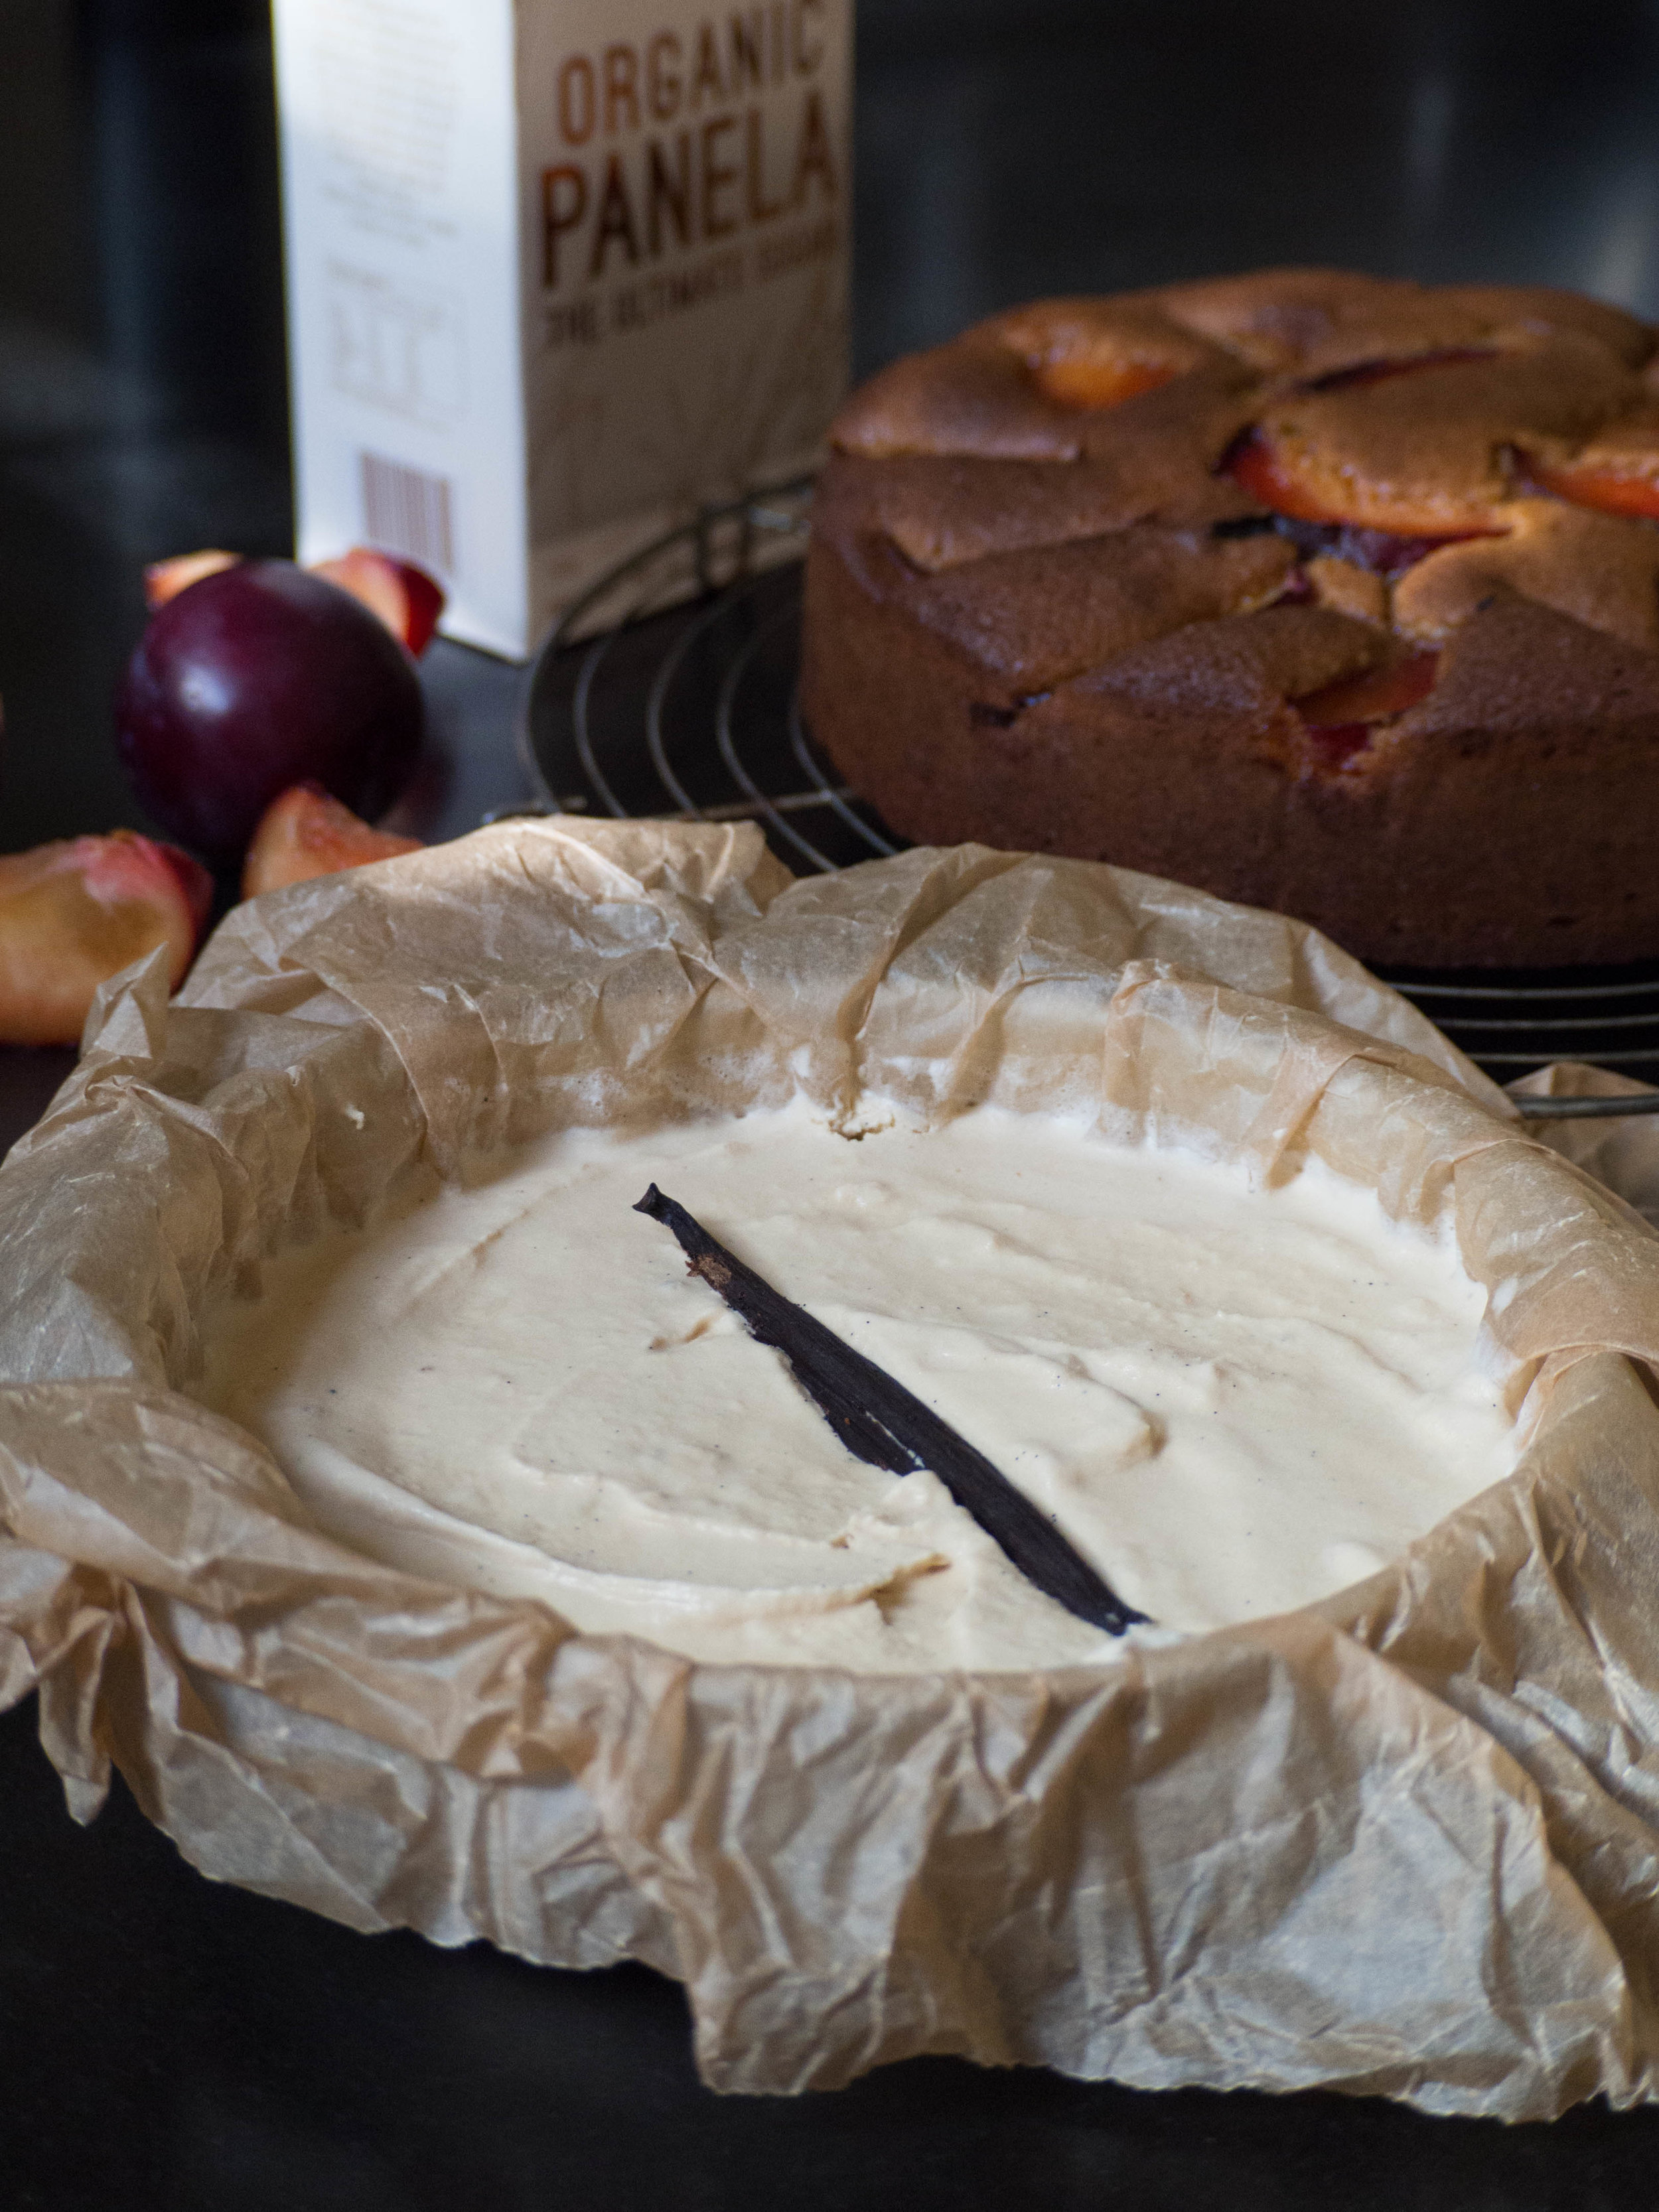
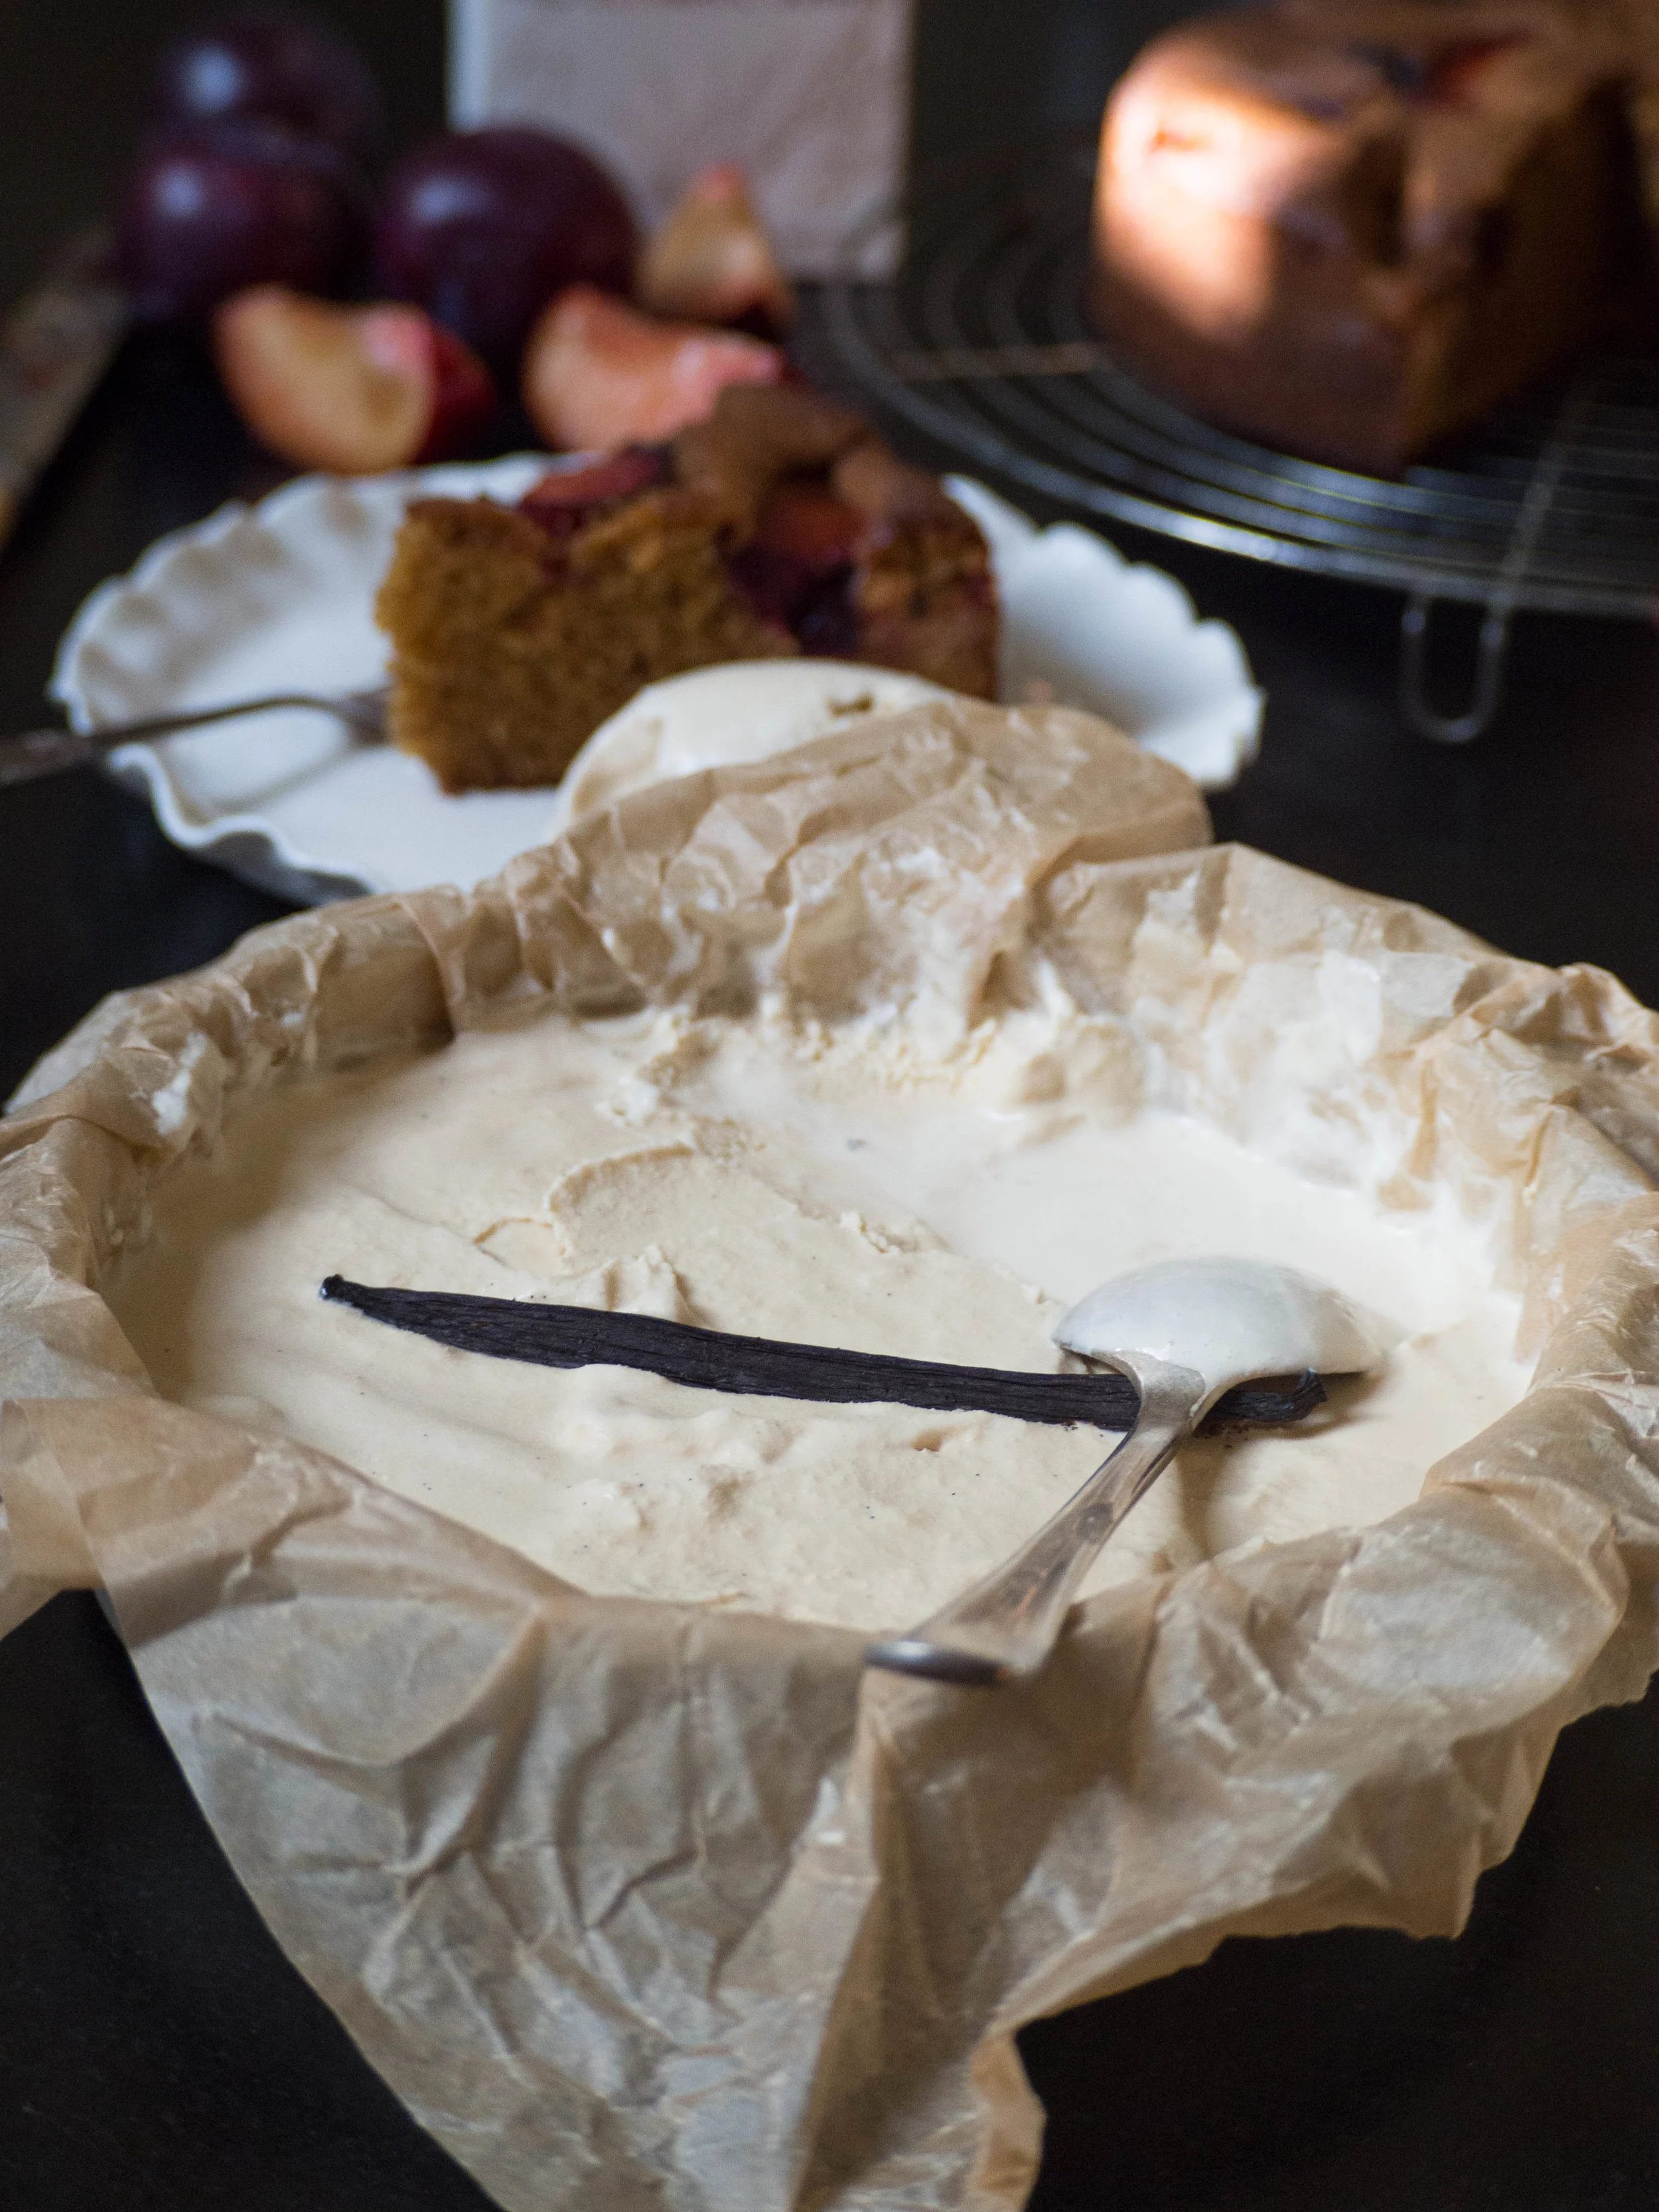
1 Grounded Pleasures Organic Vanilla bean, seeds scraped
100g white chocolate, finely chopped
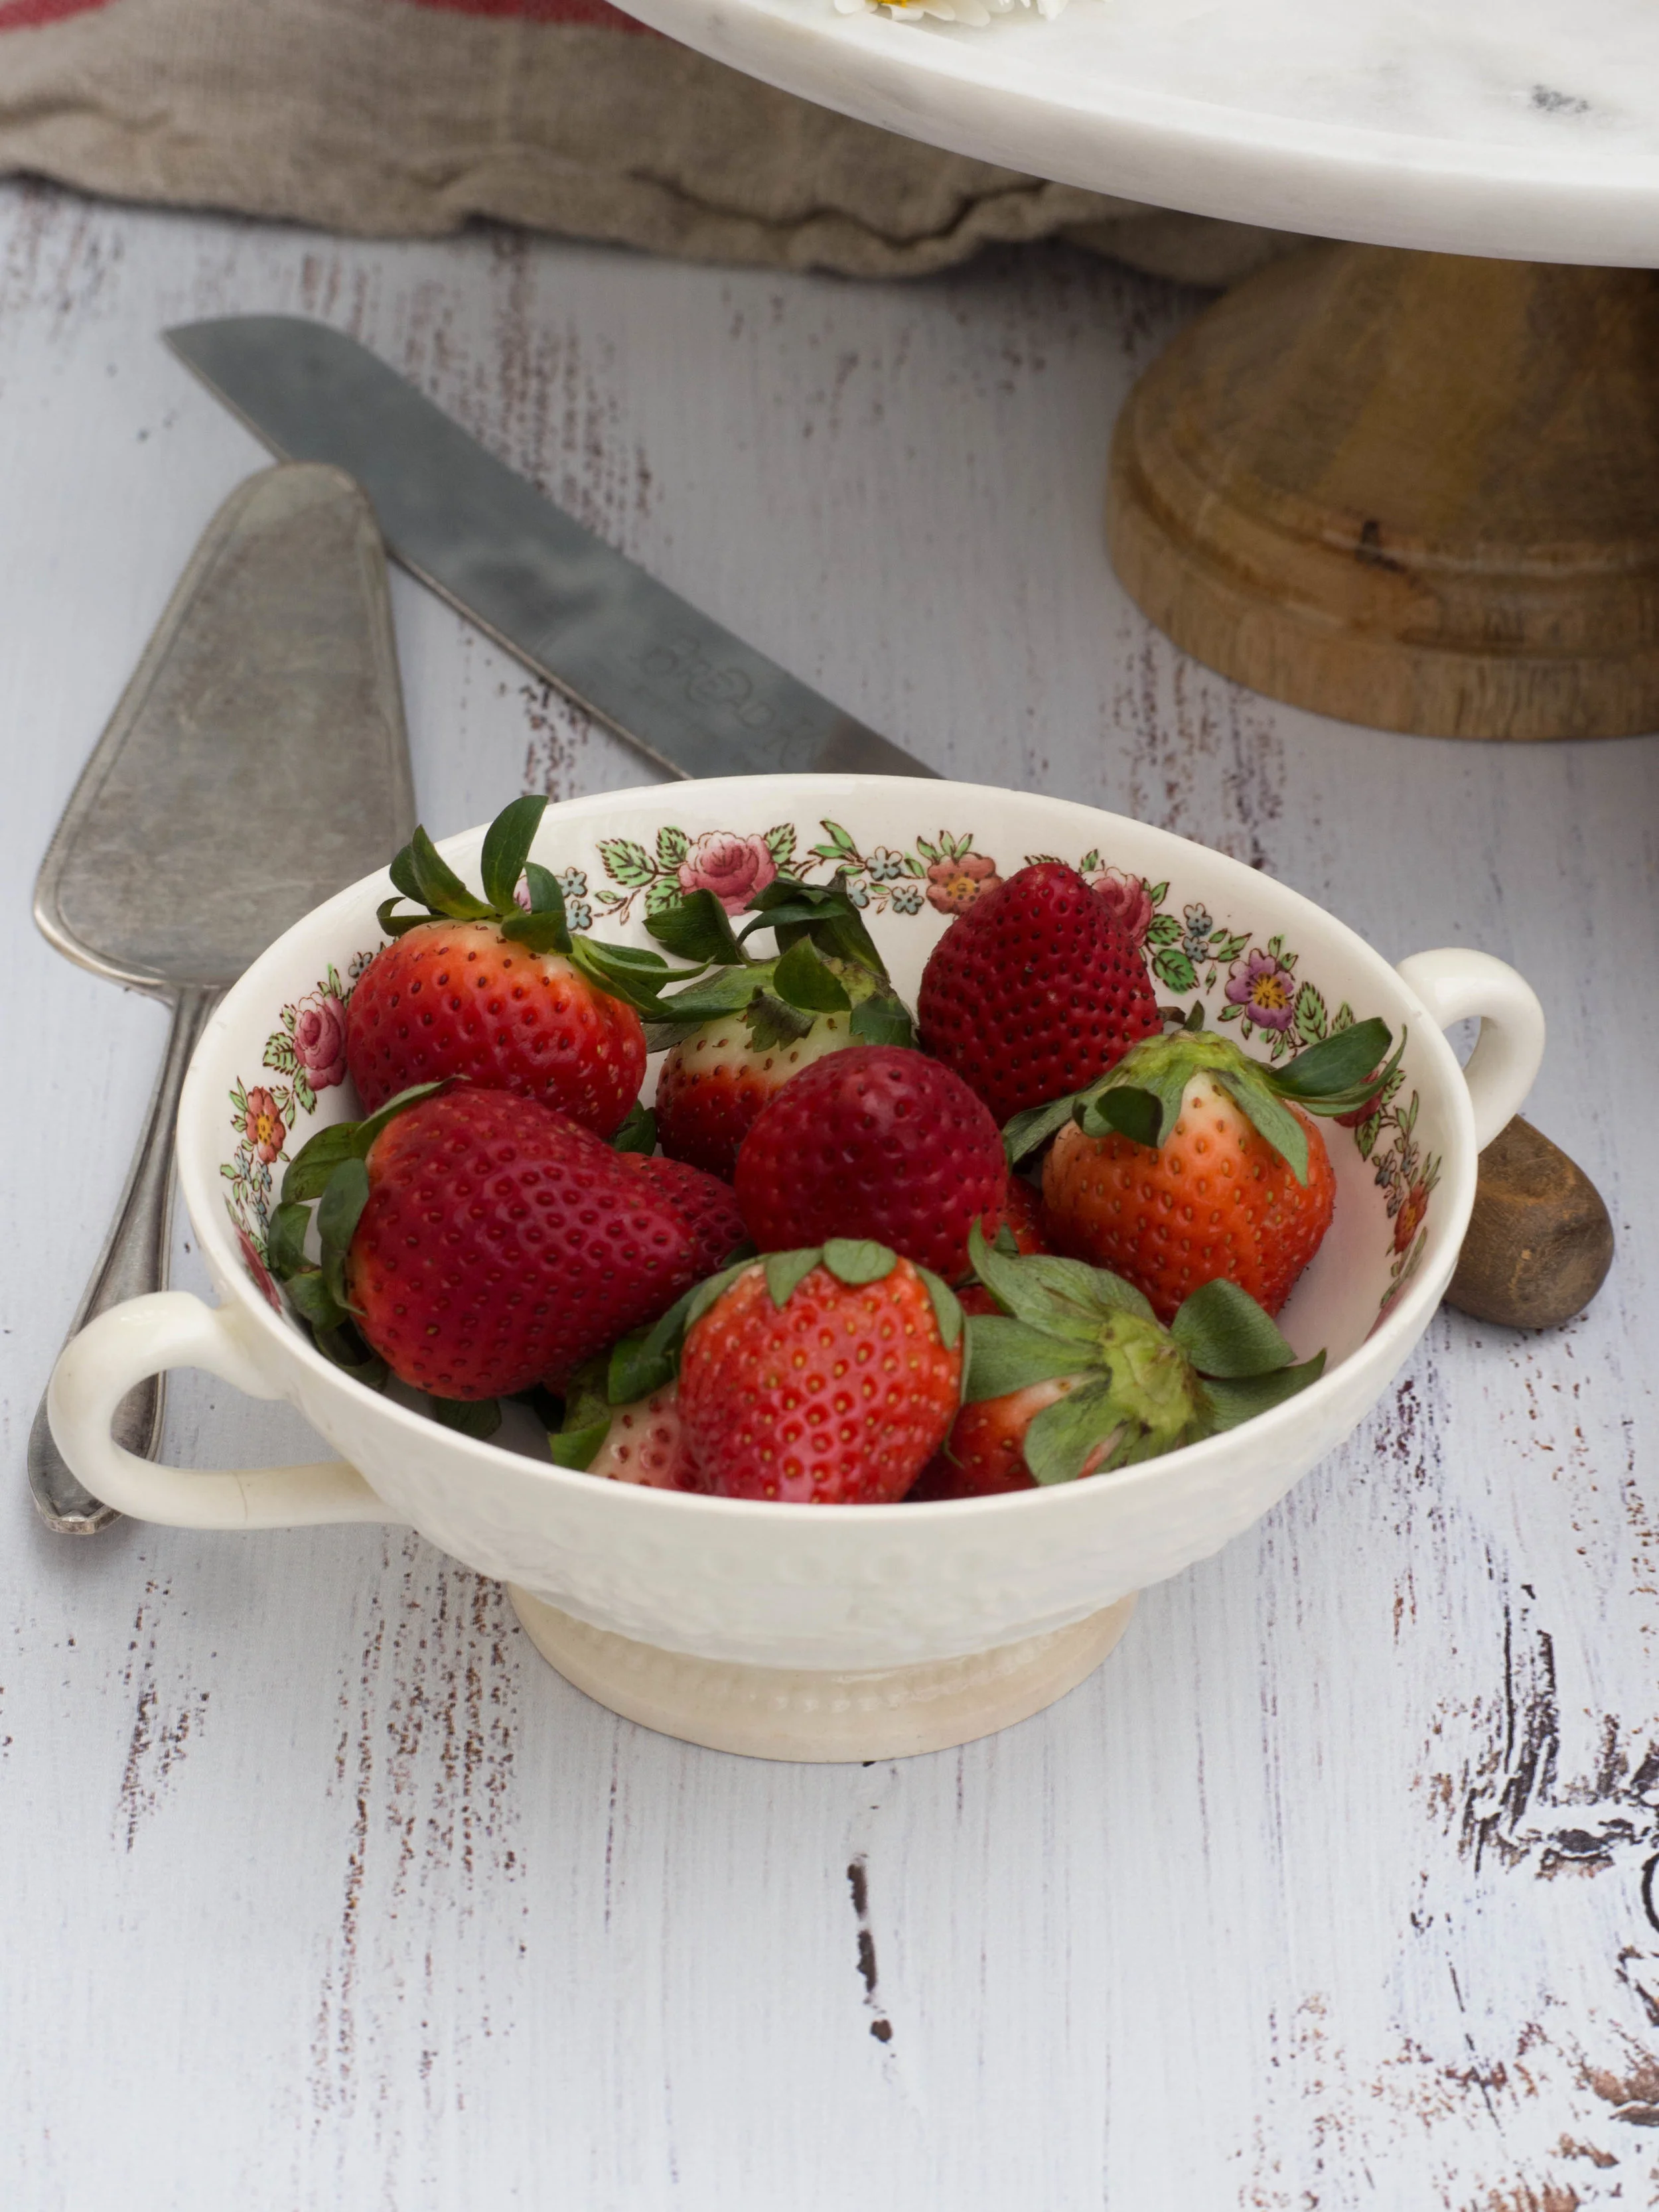
fresh raspberries to serve, optional
Method:
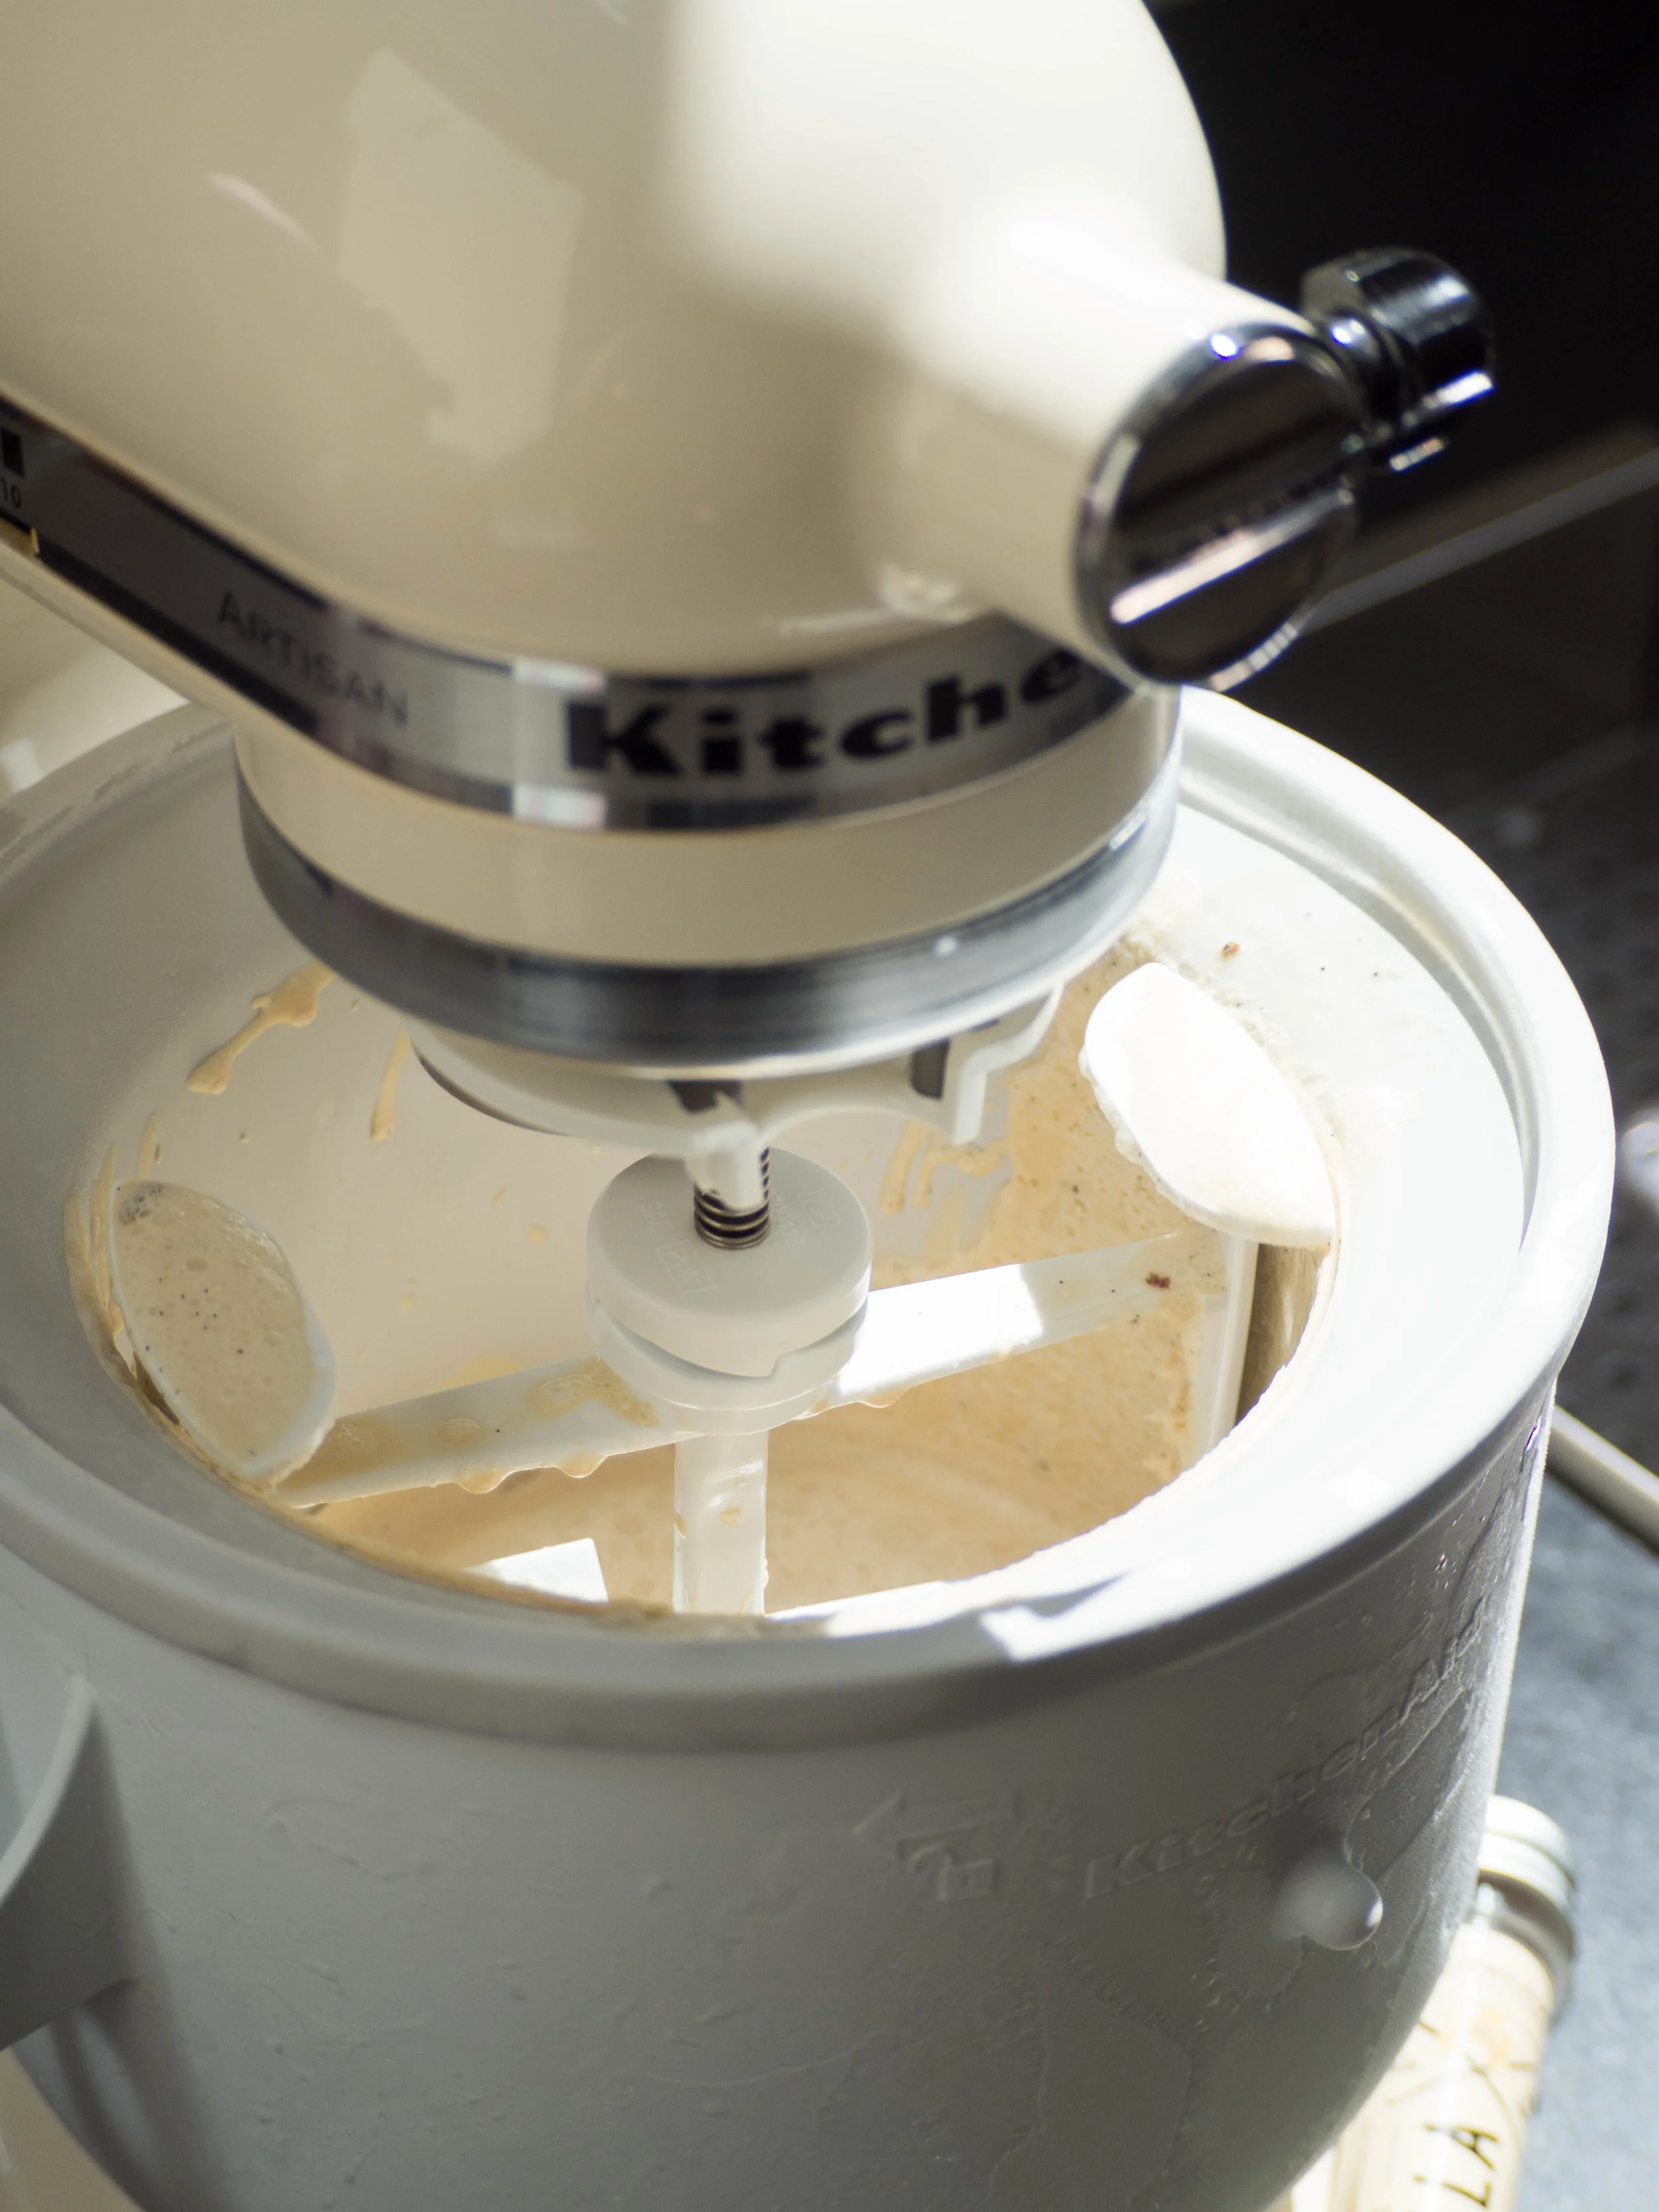
Whisk the milk and sugar together until the sugar has dissolved and the milk has become frothy. Then add the cream, the vanilla extract, the seeds of the vanilla bean, white hot chocolate powder and whisk until combined.
Transfer mixture into the bowl of an ice cream machine, and process according to machine instructions. Once ready, mix through most of the chopped white chocolate. Transfer ice cream into a freezer safe container, sprinkle with the remaining white chocolate and freeze for at least 4 hours (overnight is best).

Reference: ‘Lomelino’s Ice Cream’ by Linda Lomelino (Roost Books, 2015), p.13.

Thanks to Grounded Pleasures for sponsoring this post and providing the Real White Drinking Chocolate!