Here are some things I have been enjoying this month:
- Wandering around Wooloomooloo in Sydney and stopping in at Flour and Stone, and buying pretty flowers from Petal Met Sugar.
- Sewing some vegetable seeds and planting some tomato plants - we’ll see how they go! I bought some interesting varieties of beetroot and carrot seeds from this website.
- I am on a quest to find the best banana bread recipe, and this one is next on my list.
- I received a care package as part of the My Open Kitchen E-Course (which I am really enjoying so far), and the stand out from the package has been the Rainwater Mint Tea from Scullery Made.
- The October issue of Jamie Magazine arrived this week, and there is a feature on making sourdough. I have attempted homemade sourdough before, so maybe this will prompt me to try again!
- I really enjoyed this podcast episode from Radio Cherry Bombe.

Beautiful ranunculus from Petal Met Sugar


But now to the frittata.
Frittatas are easy to make, and you can really add anything you like to them. I really love beetroots, especially the golden or chioggia varieties. Now that I have attempted to cook chioggias myself, rather than rely on the views of others as I did in this previous post, I have found they do keep some of their colour once boiled. They aren’t quite as pretty as they are raw, but they still look pretty good (and taste really good) once cooked.
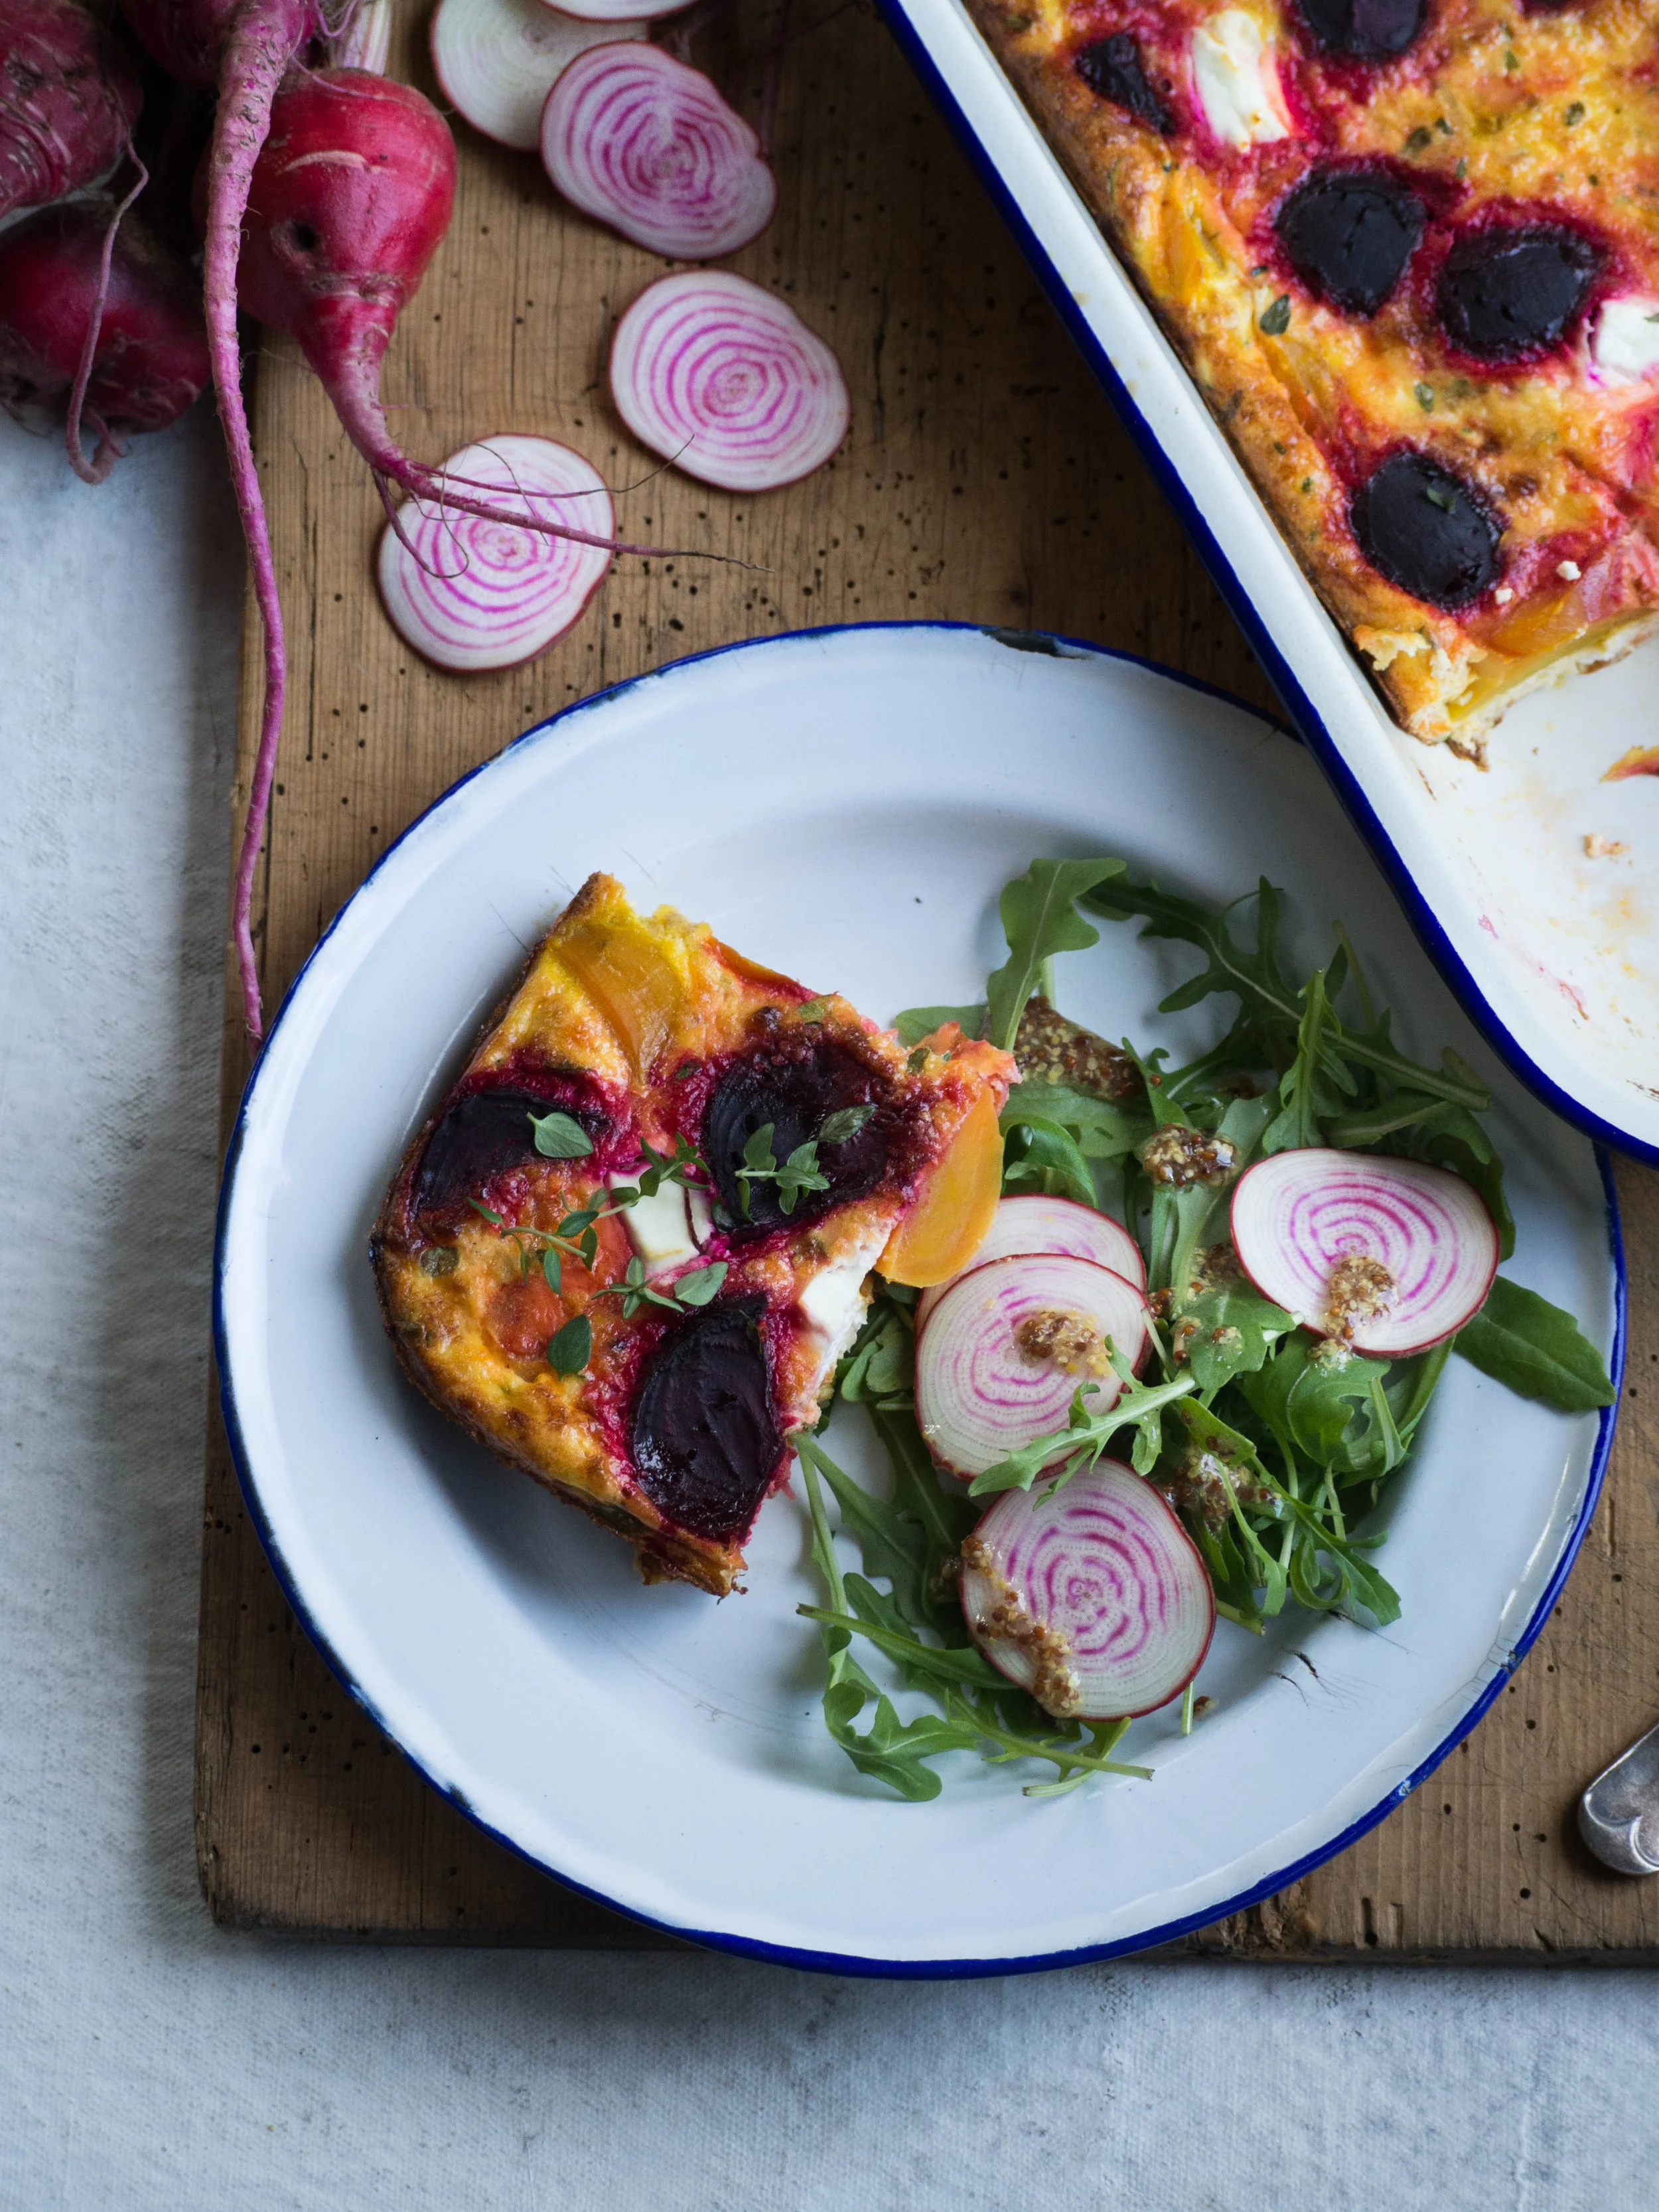
Frittatas are a really great way to have some meals prepared for the week, and are super easy to take to work and heat up at lunch. Add a salad on the side and you’ll have a work lunch better than anything you could buy! Making the frittata in advance won’t take too much time out of your weekend or weeknight, and using leftover veggies from dinner (like sweet potato, carrot, broccoli etc), will make the whole process even quicker and make use of things that might have otherwise gone to waste.
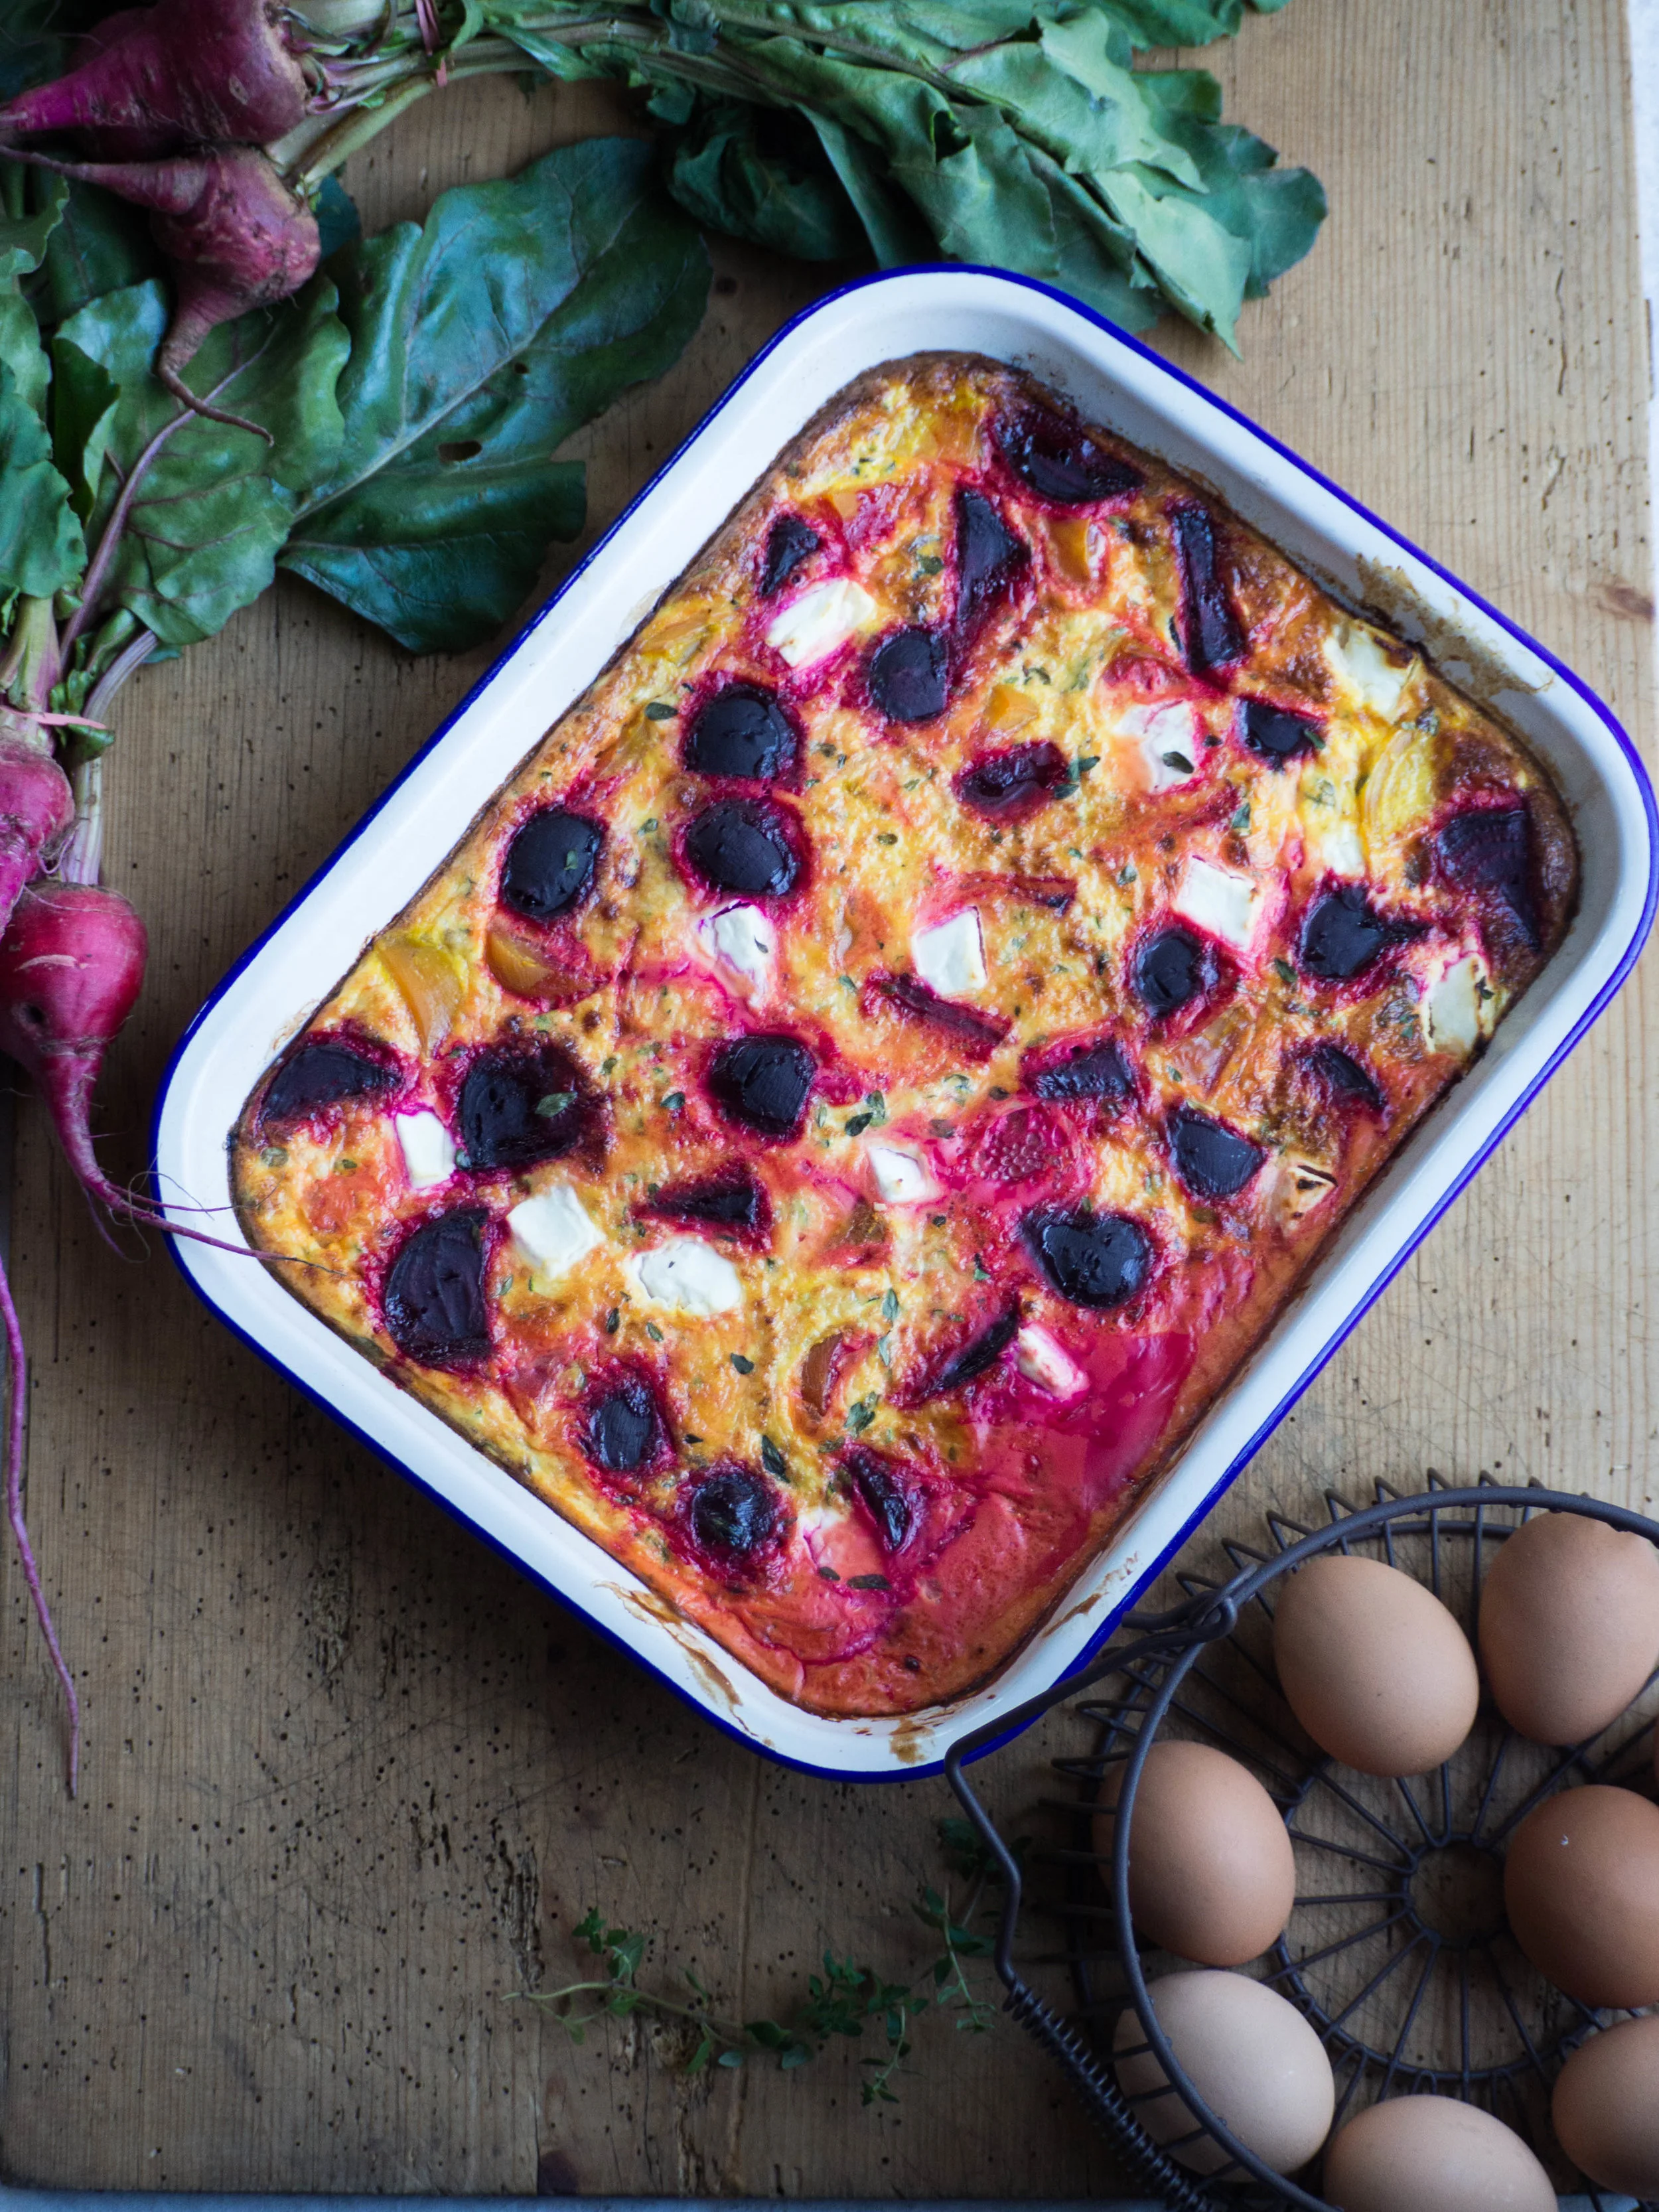
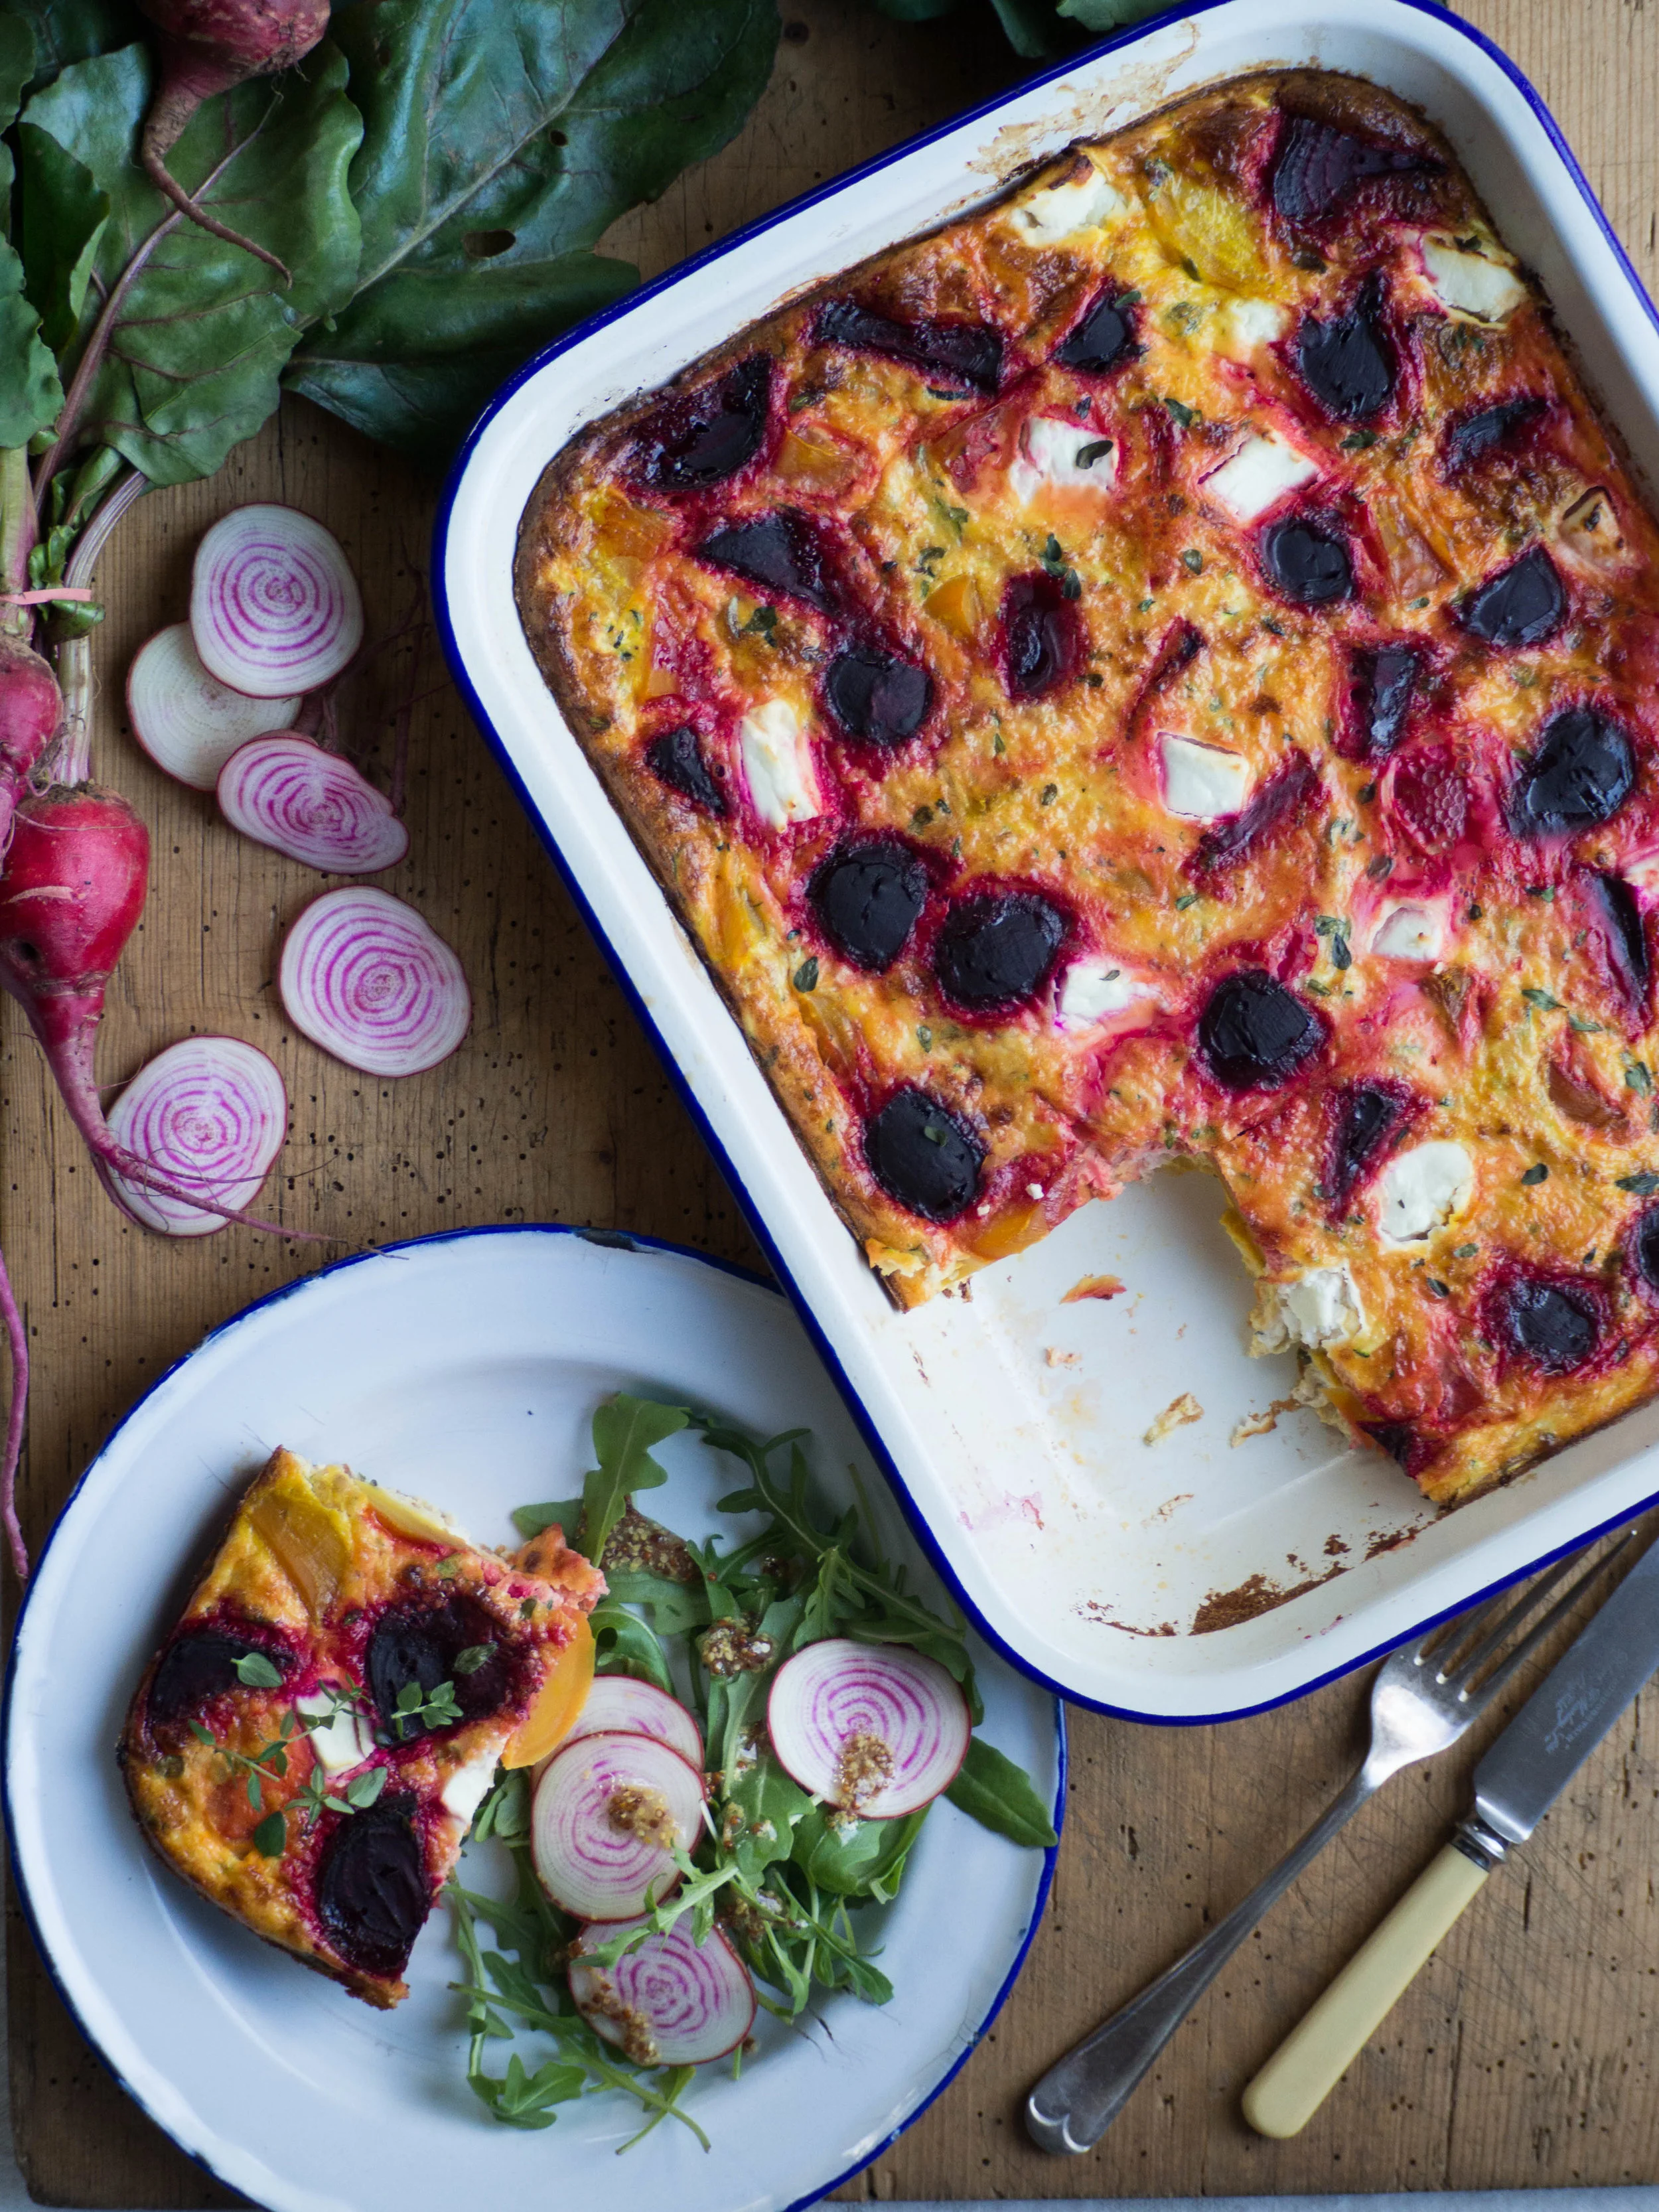
Beetroot, Goats Cheese & Thyme Frittata
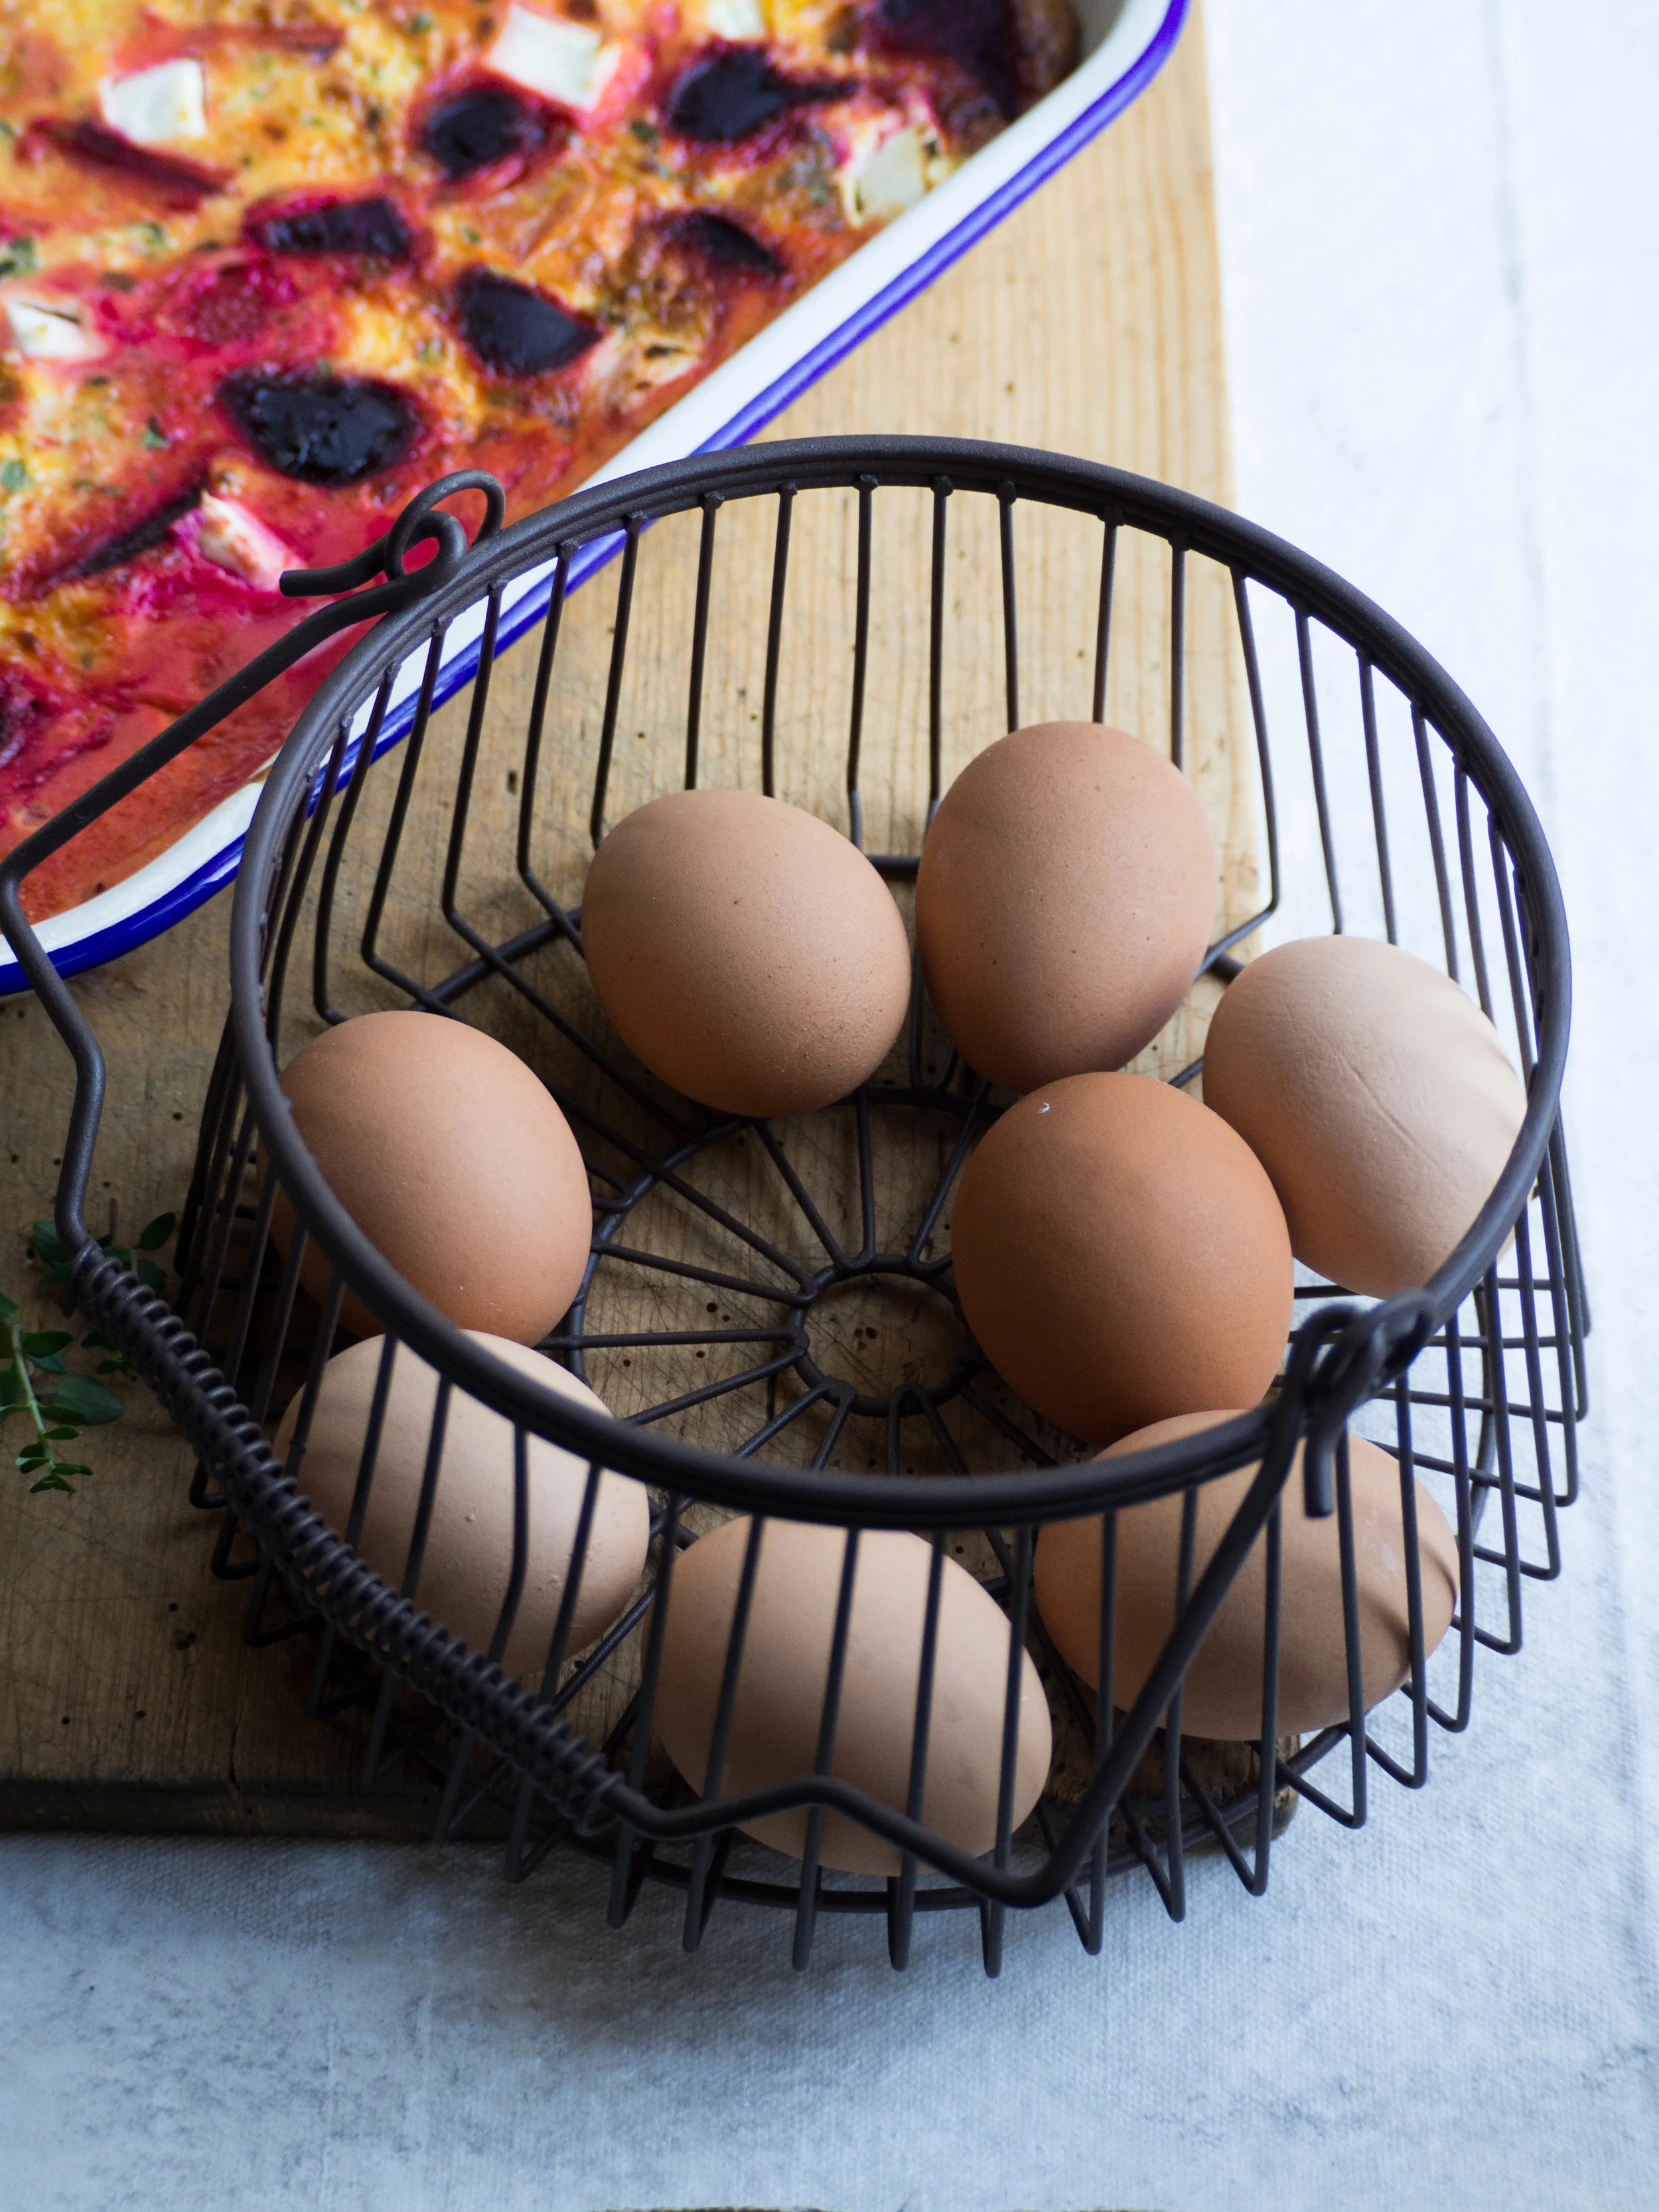
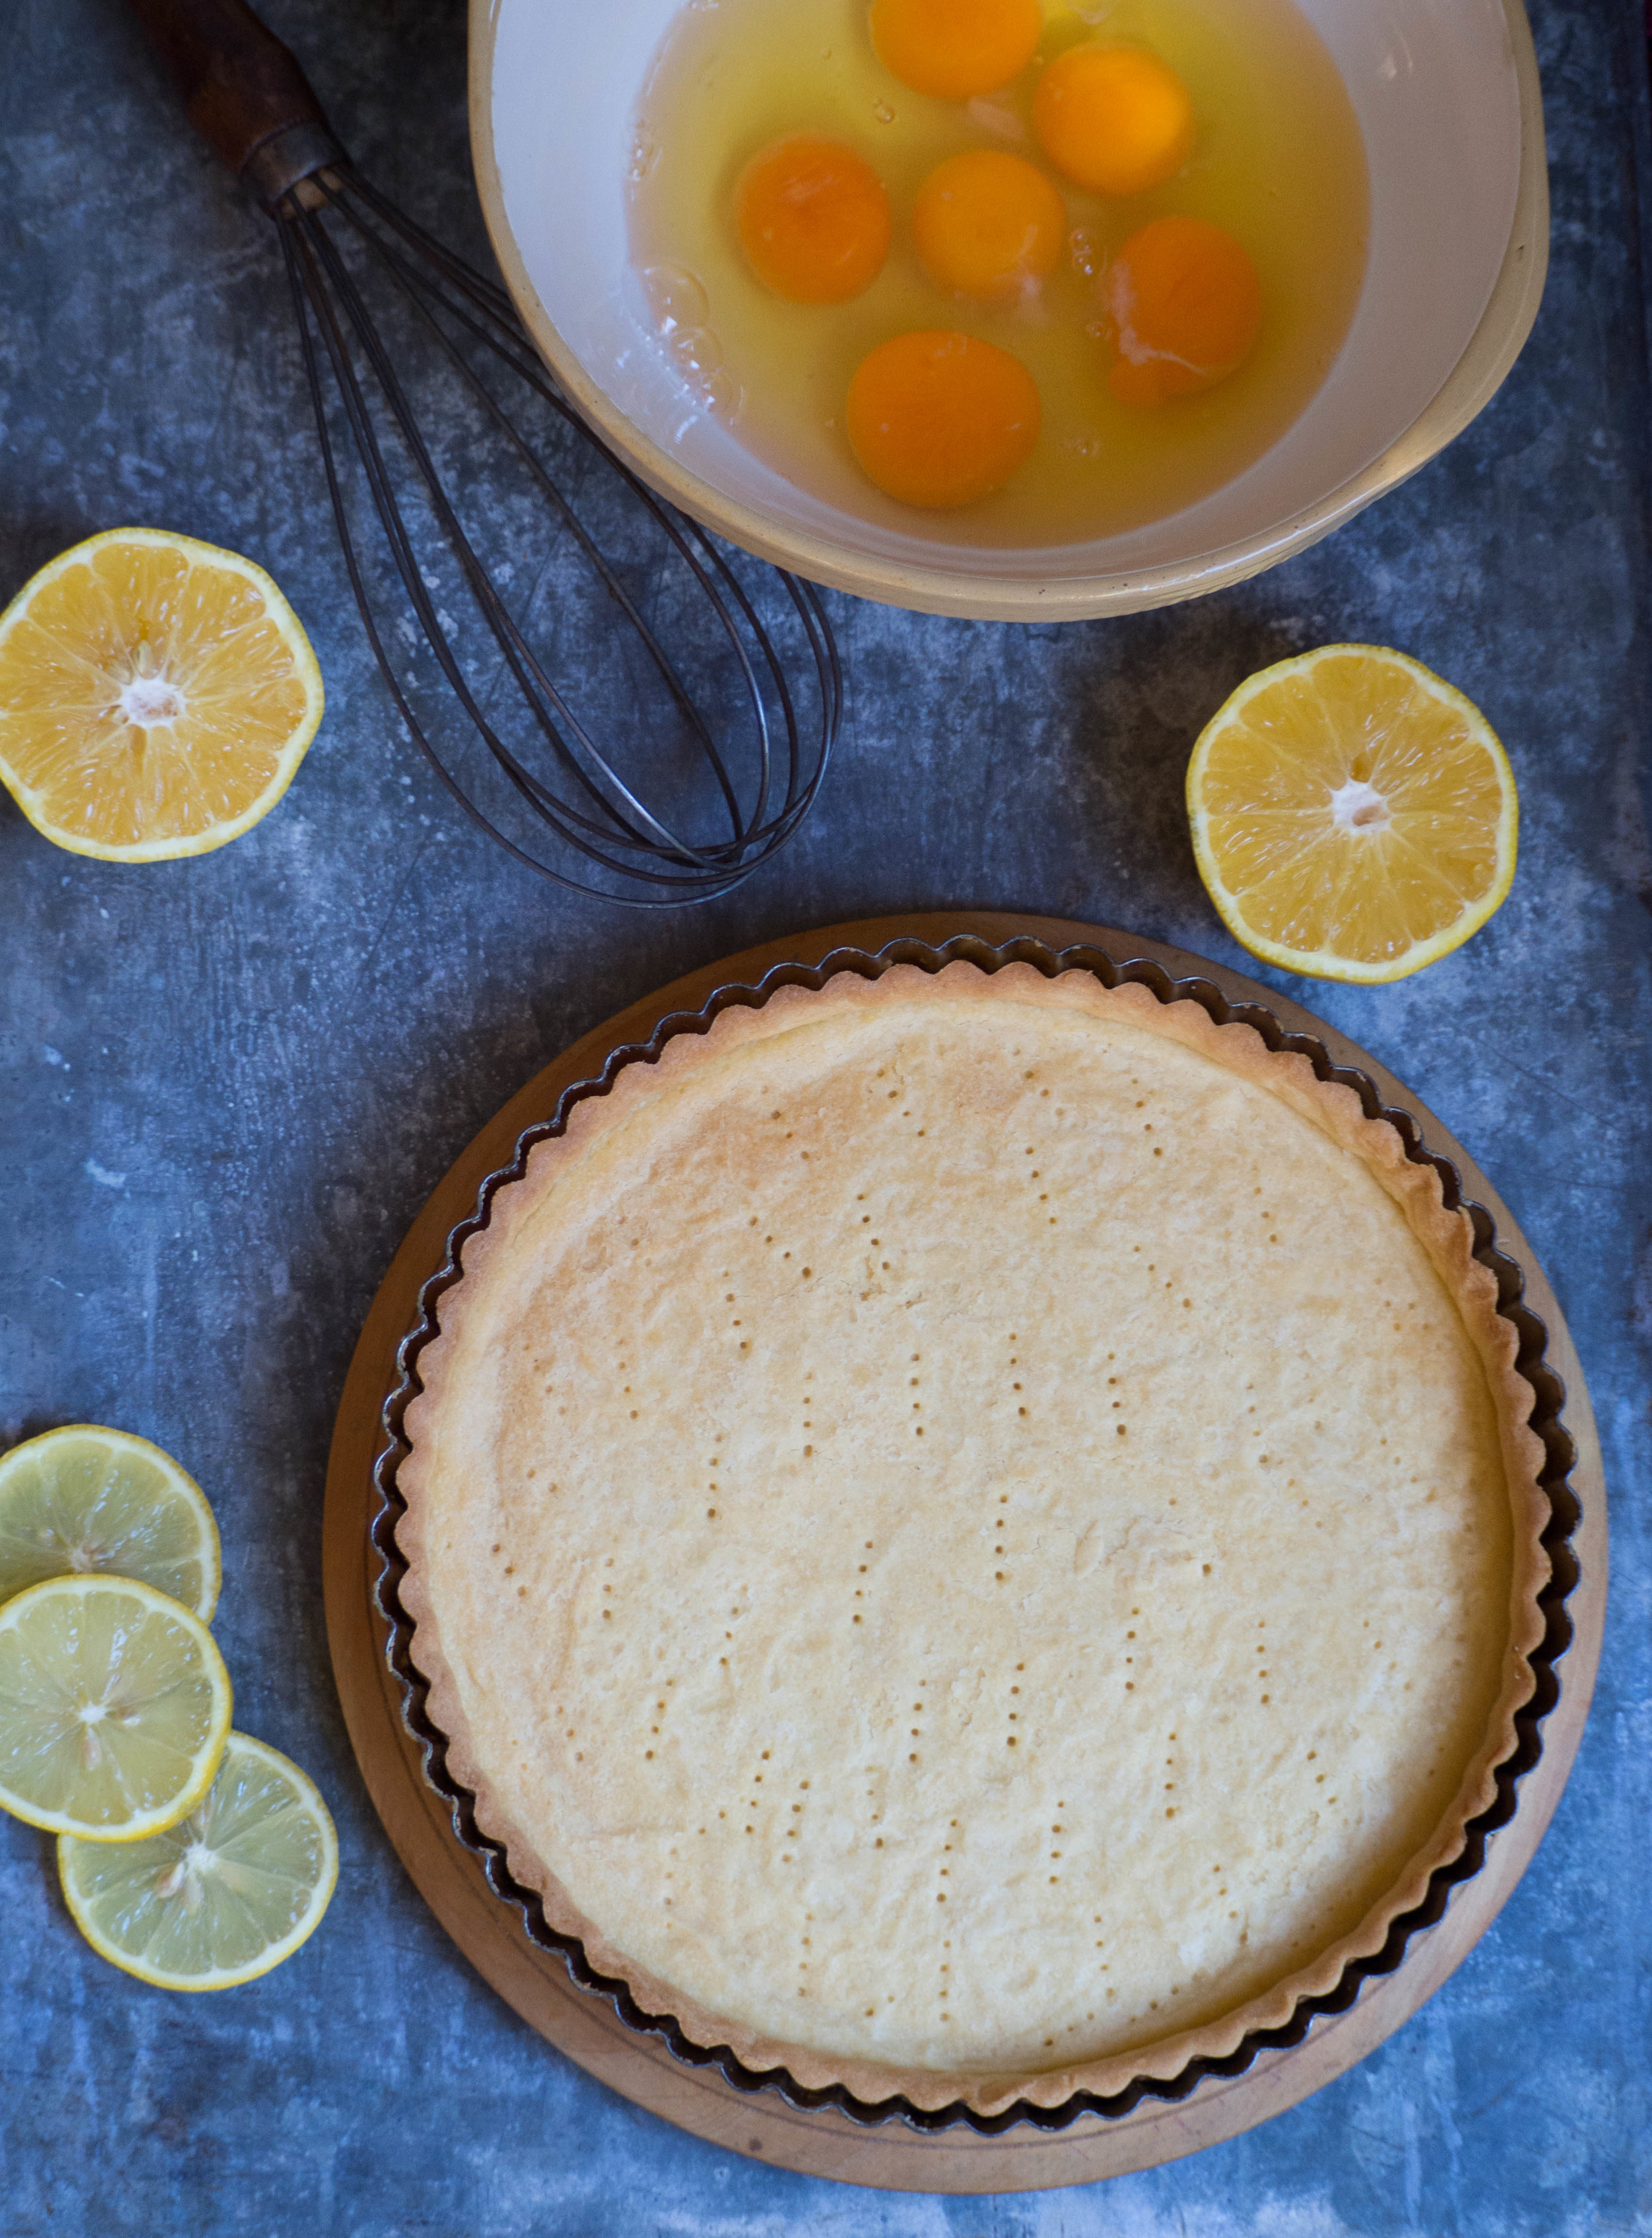
Farm fresh eggs
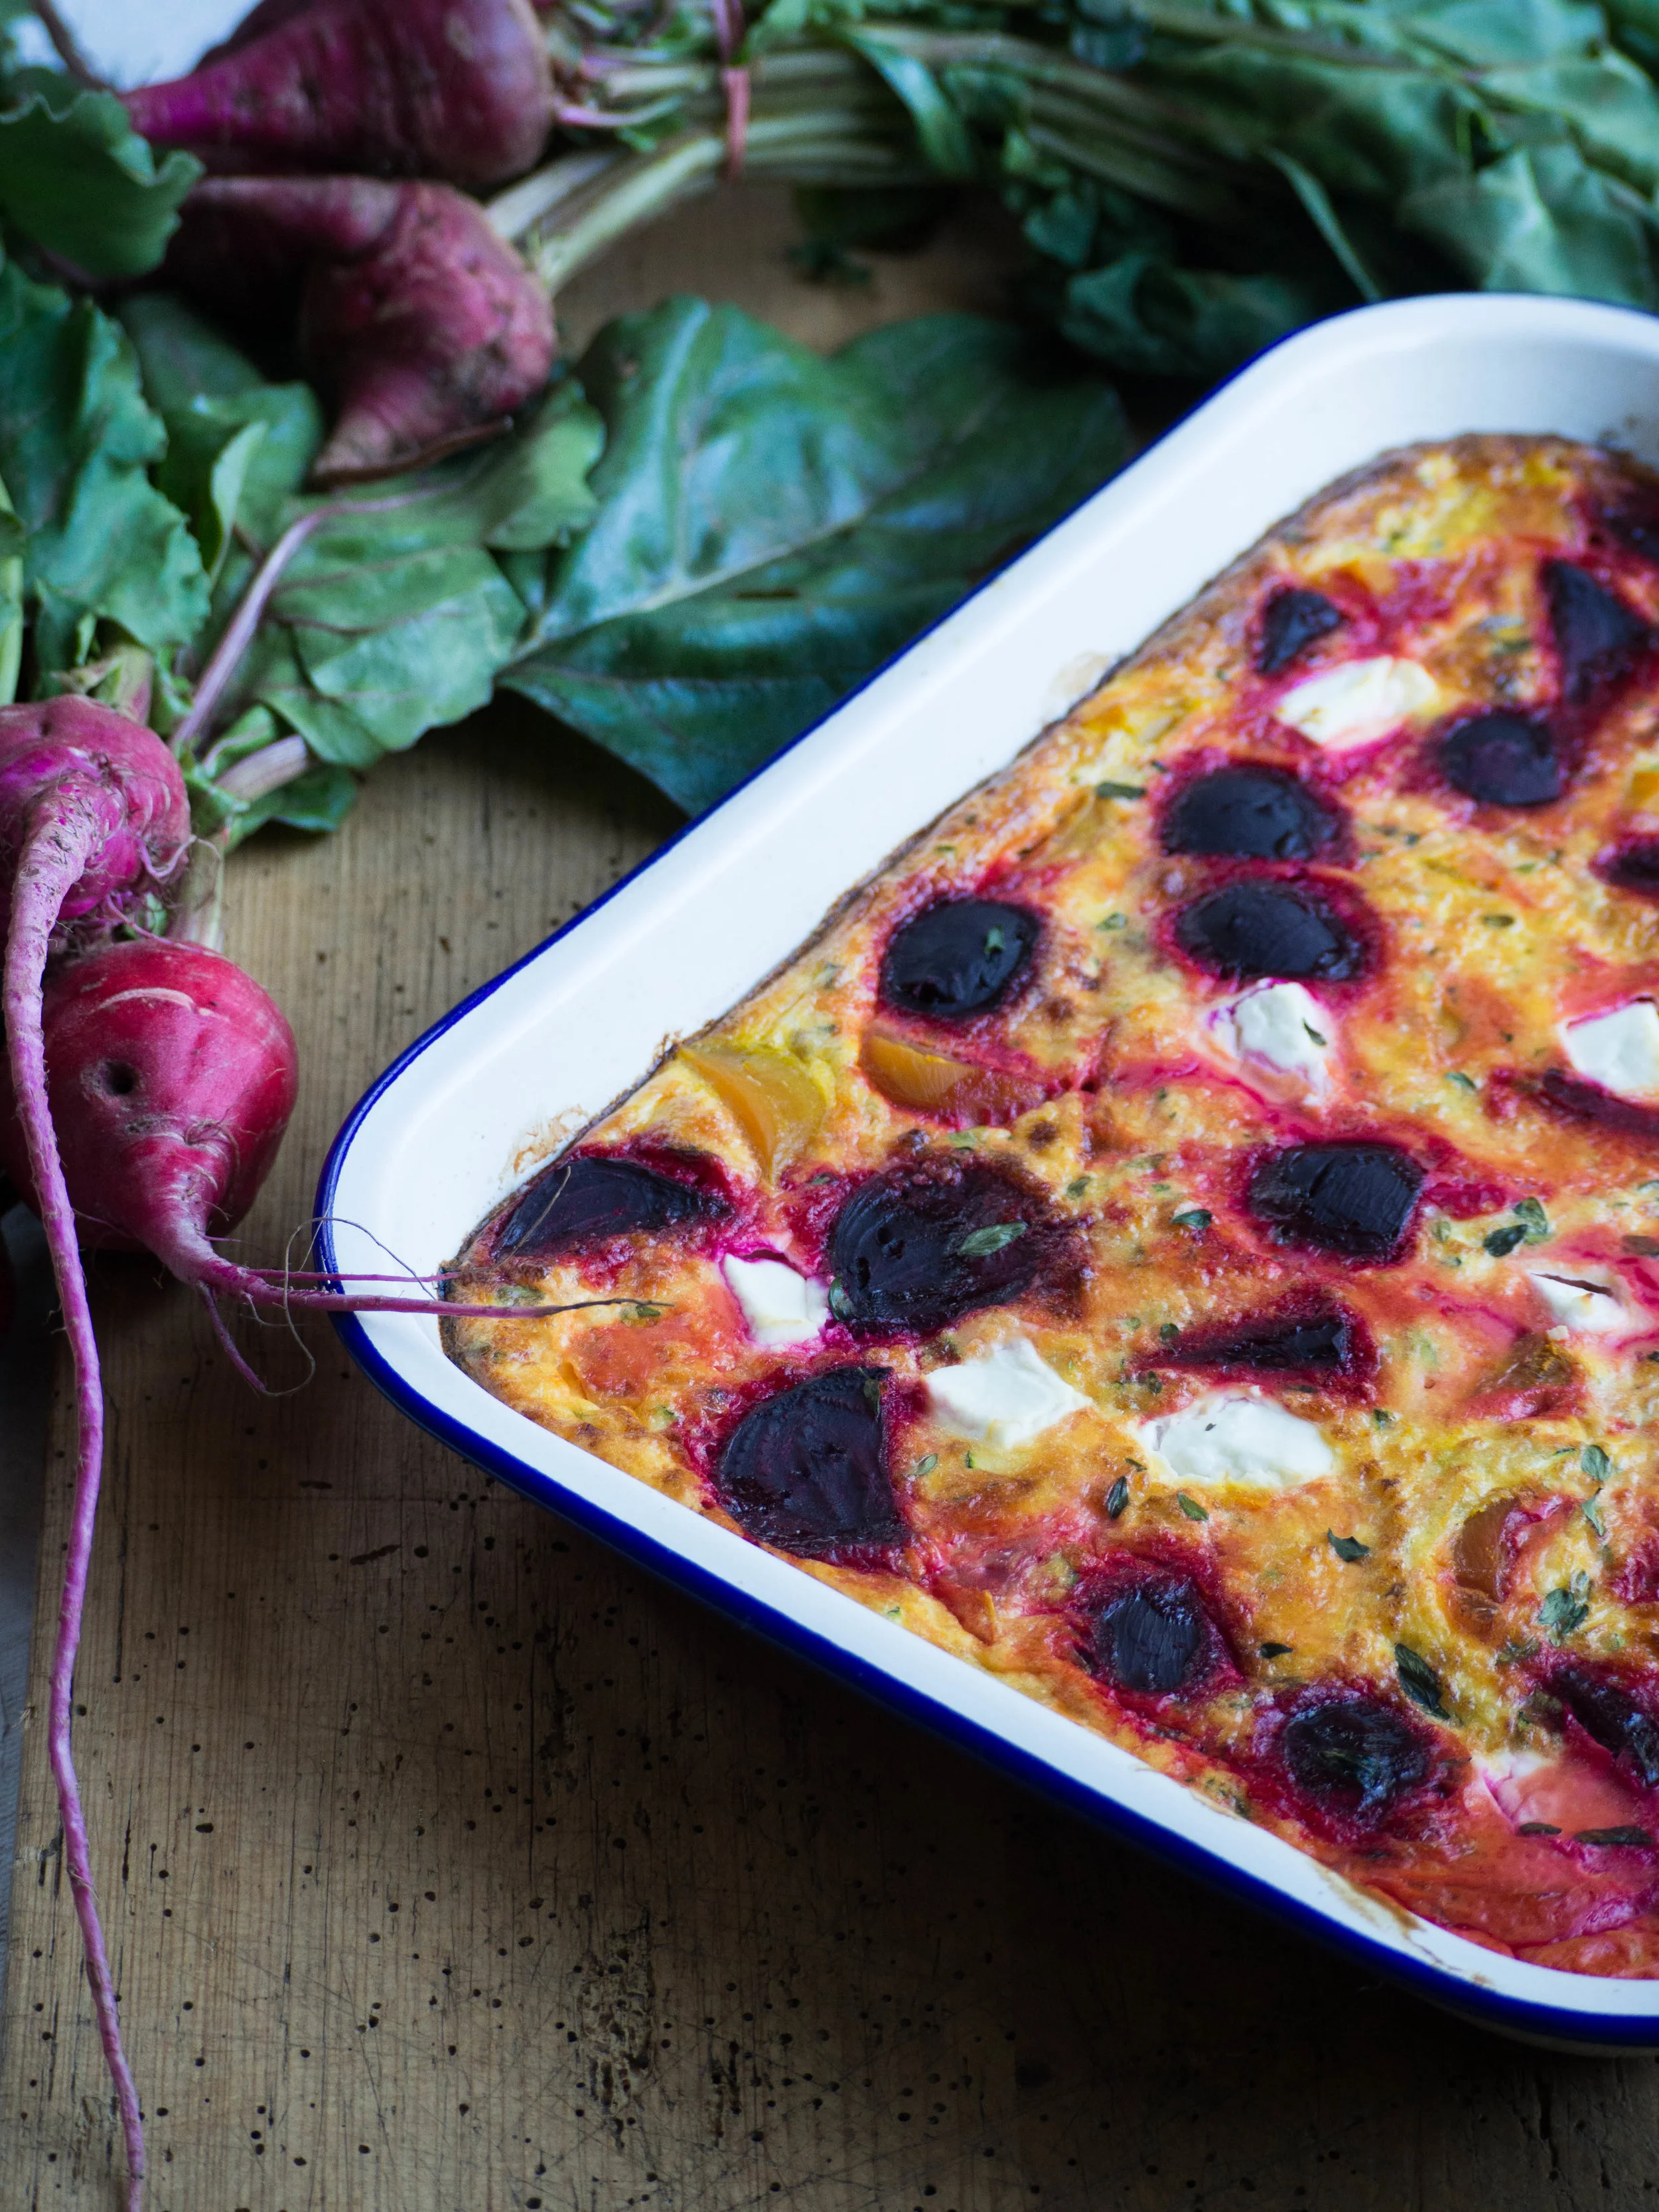
Beetroot, Goats Cheese & Thyme Frittata
Beetroot, Goats Cheese & Thyme Frittata
Ingredients:
850g mixed golden and purple beetroot
150g sour cream (reduced fat sour cream works well)
75g cheese e.g. cheddar, parmesan etc, grated
8 eggs
150g goats cheese
1 small or half a large carrot, grated
1 zucchini, grated
8 sprigs of fresh thyme
Canola oil spray
Method:
To cook the beetroot, cut away any stems or leaves, and wash off any dirt. Place beetroot in a large pot, and cover with water. Bring to the boil and cook for 20-30 mins or until the beetroot are tender (use a fork to check). If using different varieties or colours of beetroot, have a separate smaller pots of water for each variety.
Once cooked, drain and allow to cool a little for a few minutes. Once they are cool enough to handle, peel away the beetroot skin - the skin should gently peel away if you pull it with your fingers (wear gloves for this!). Chop the beetroots into halves or quarters depending on their size, and set aside, keeping the different colours separate if you are using different beetroot varieties.
Pre-heat oven to 180 degrees Celsius, and spray a baking dish (I use an enamel one that is approx. 28 x 20 cm) with the canola oil spray.
In a large bowl, whisk together the sour cream, grated cheeses, eggs, carrot, zucchini and most of the thyme. Whisk until all the ingredients are well incorporated. Pour the egg mixture into your prepared baking dish, and place the cooked beetroot evenly though out the tin. Then cut up the goats cheese into chunks and do the same.
Bake for 25-30 minutes, or until the frittata is gently browned on top and is cooked through. Serve warm sprinkled with remaining thyme, with a simple salad or as a side to a main meal.
Beetroot, Goats Cheese & Thyme Frittata
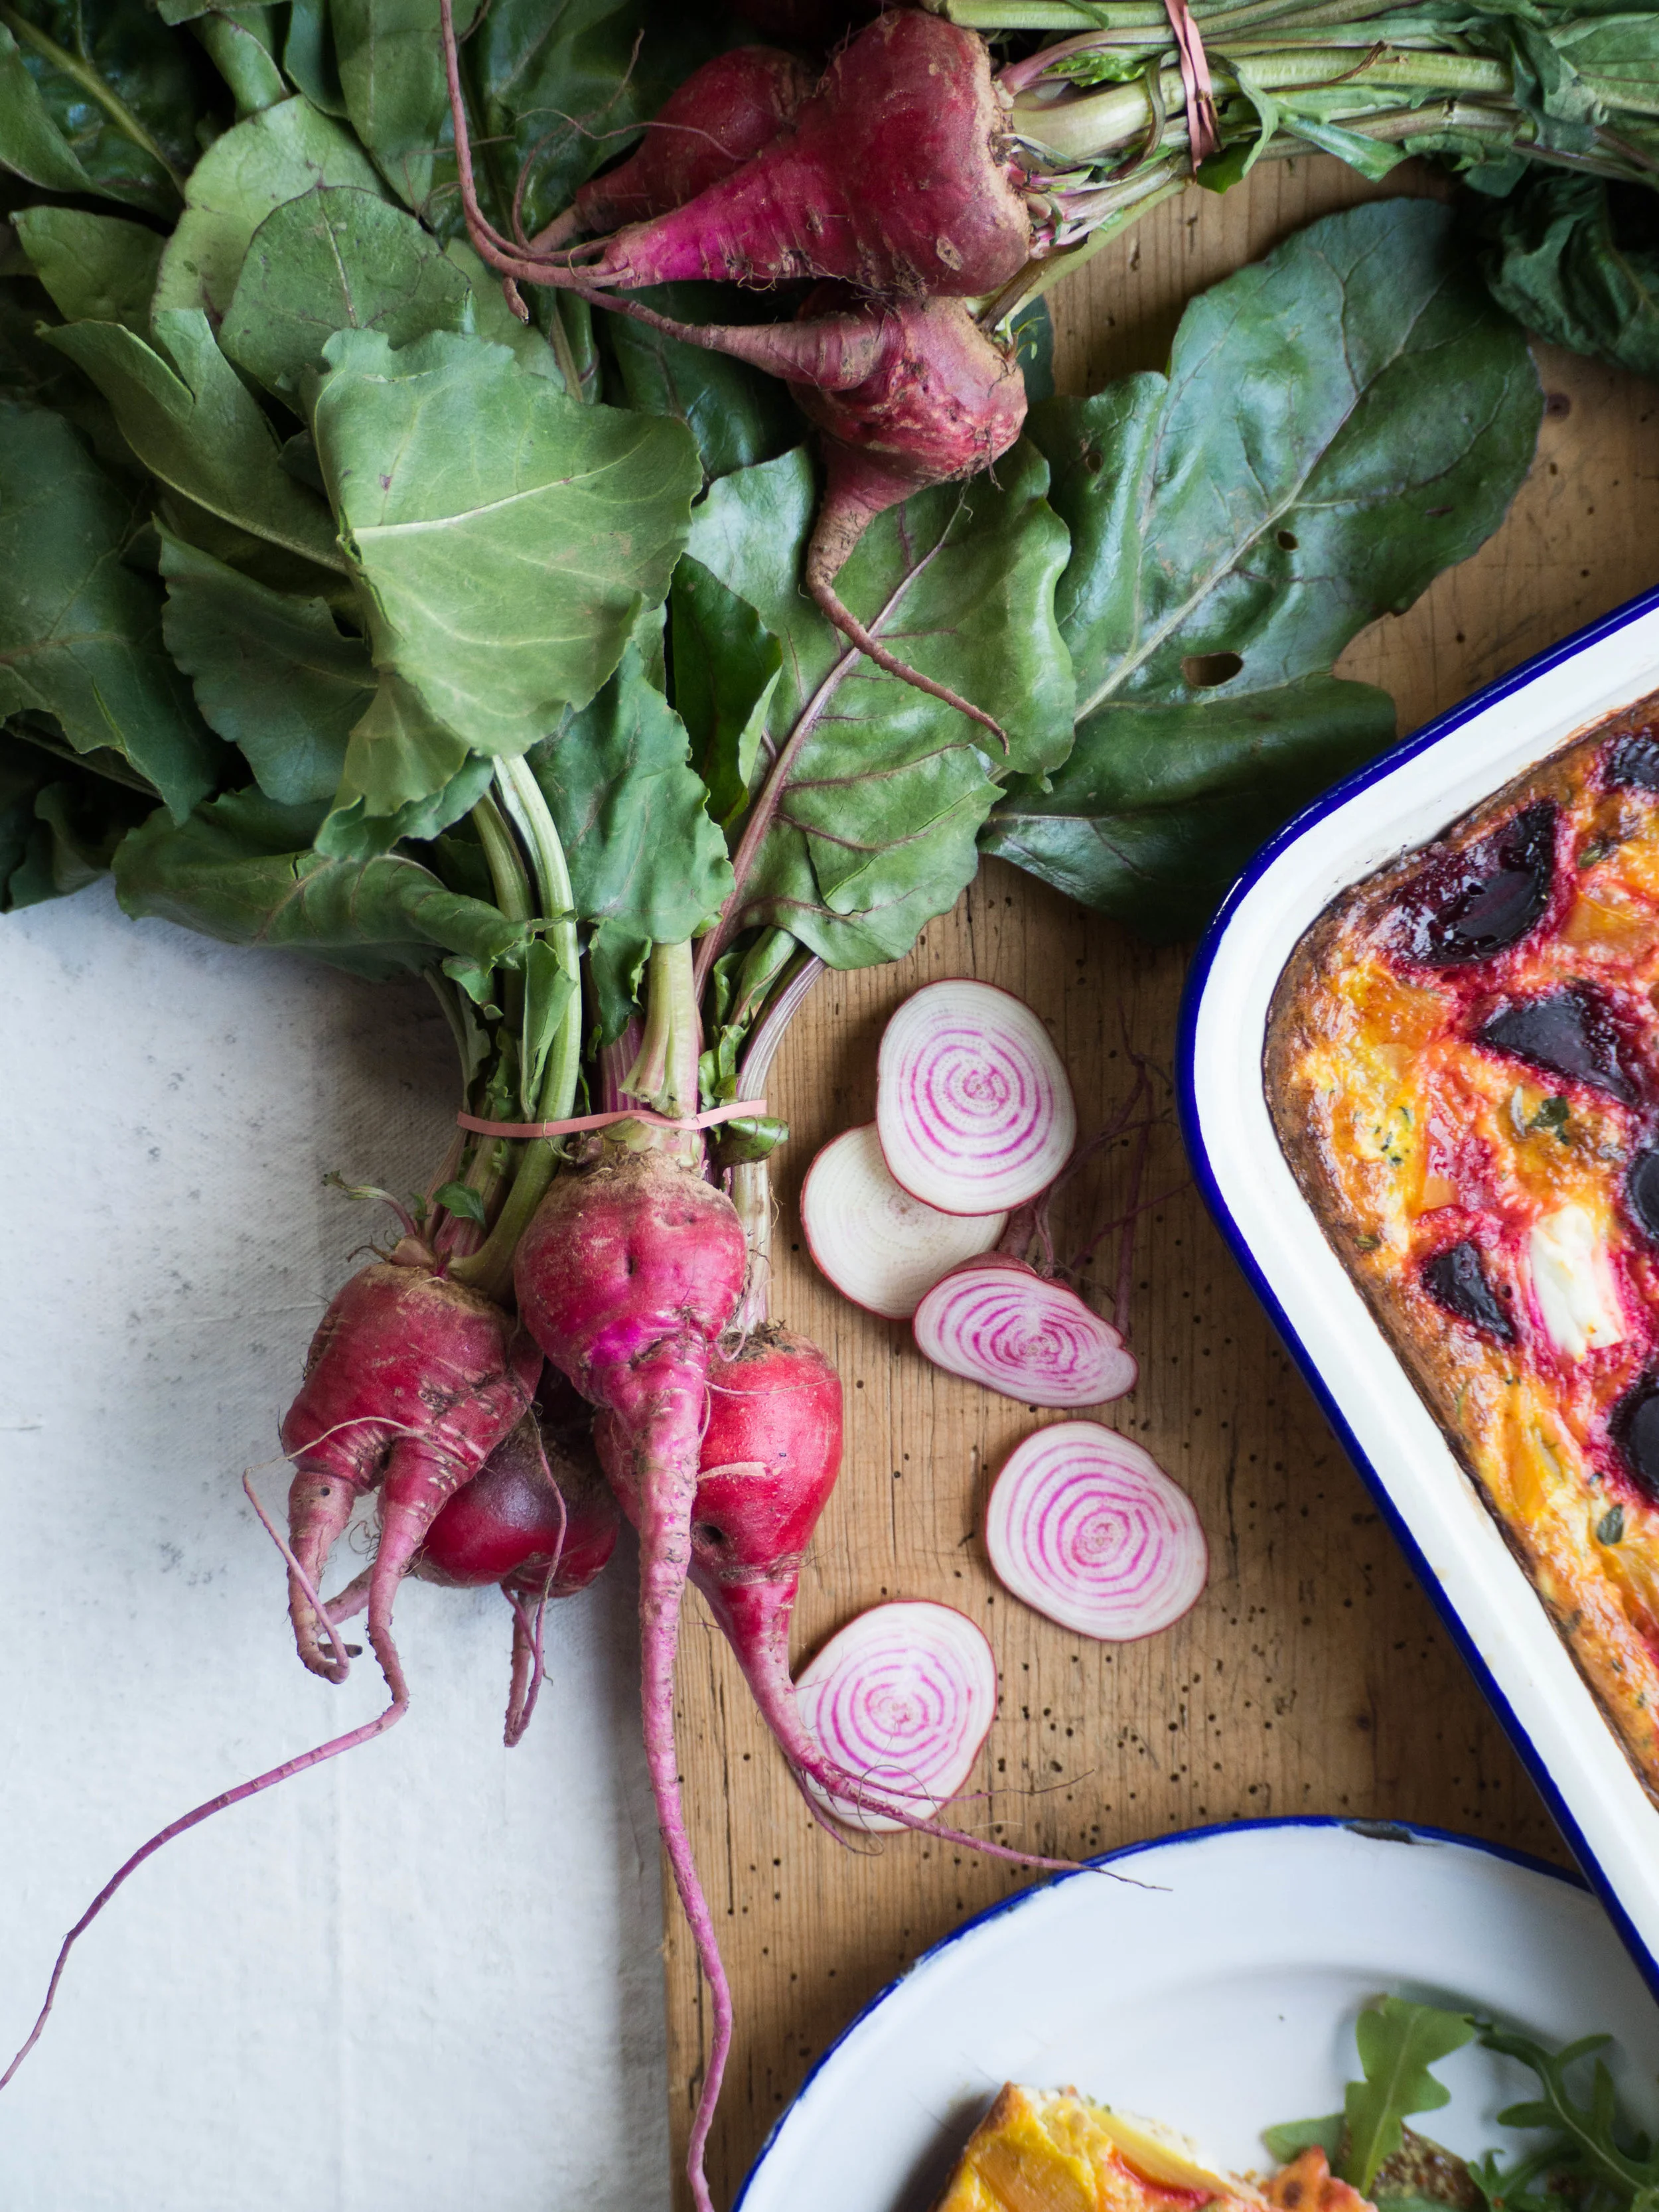
Chioggia Beetroot from the market
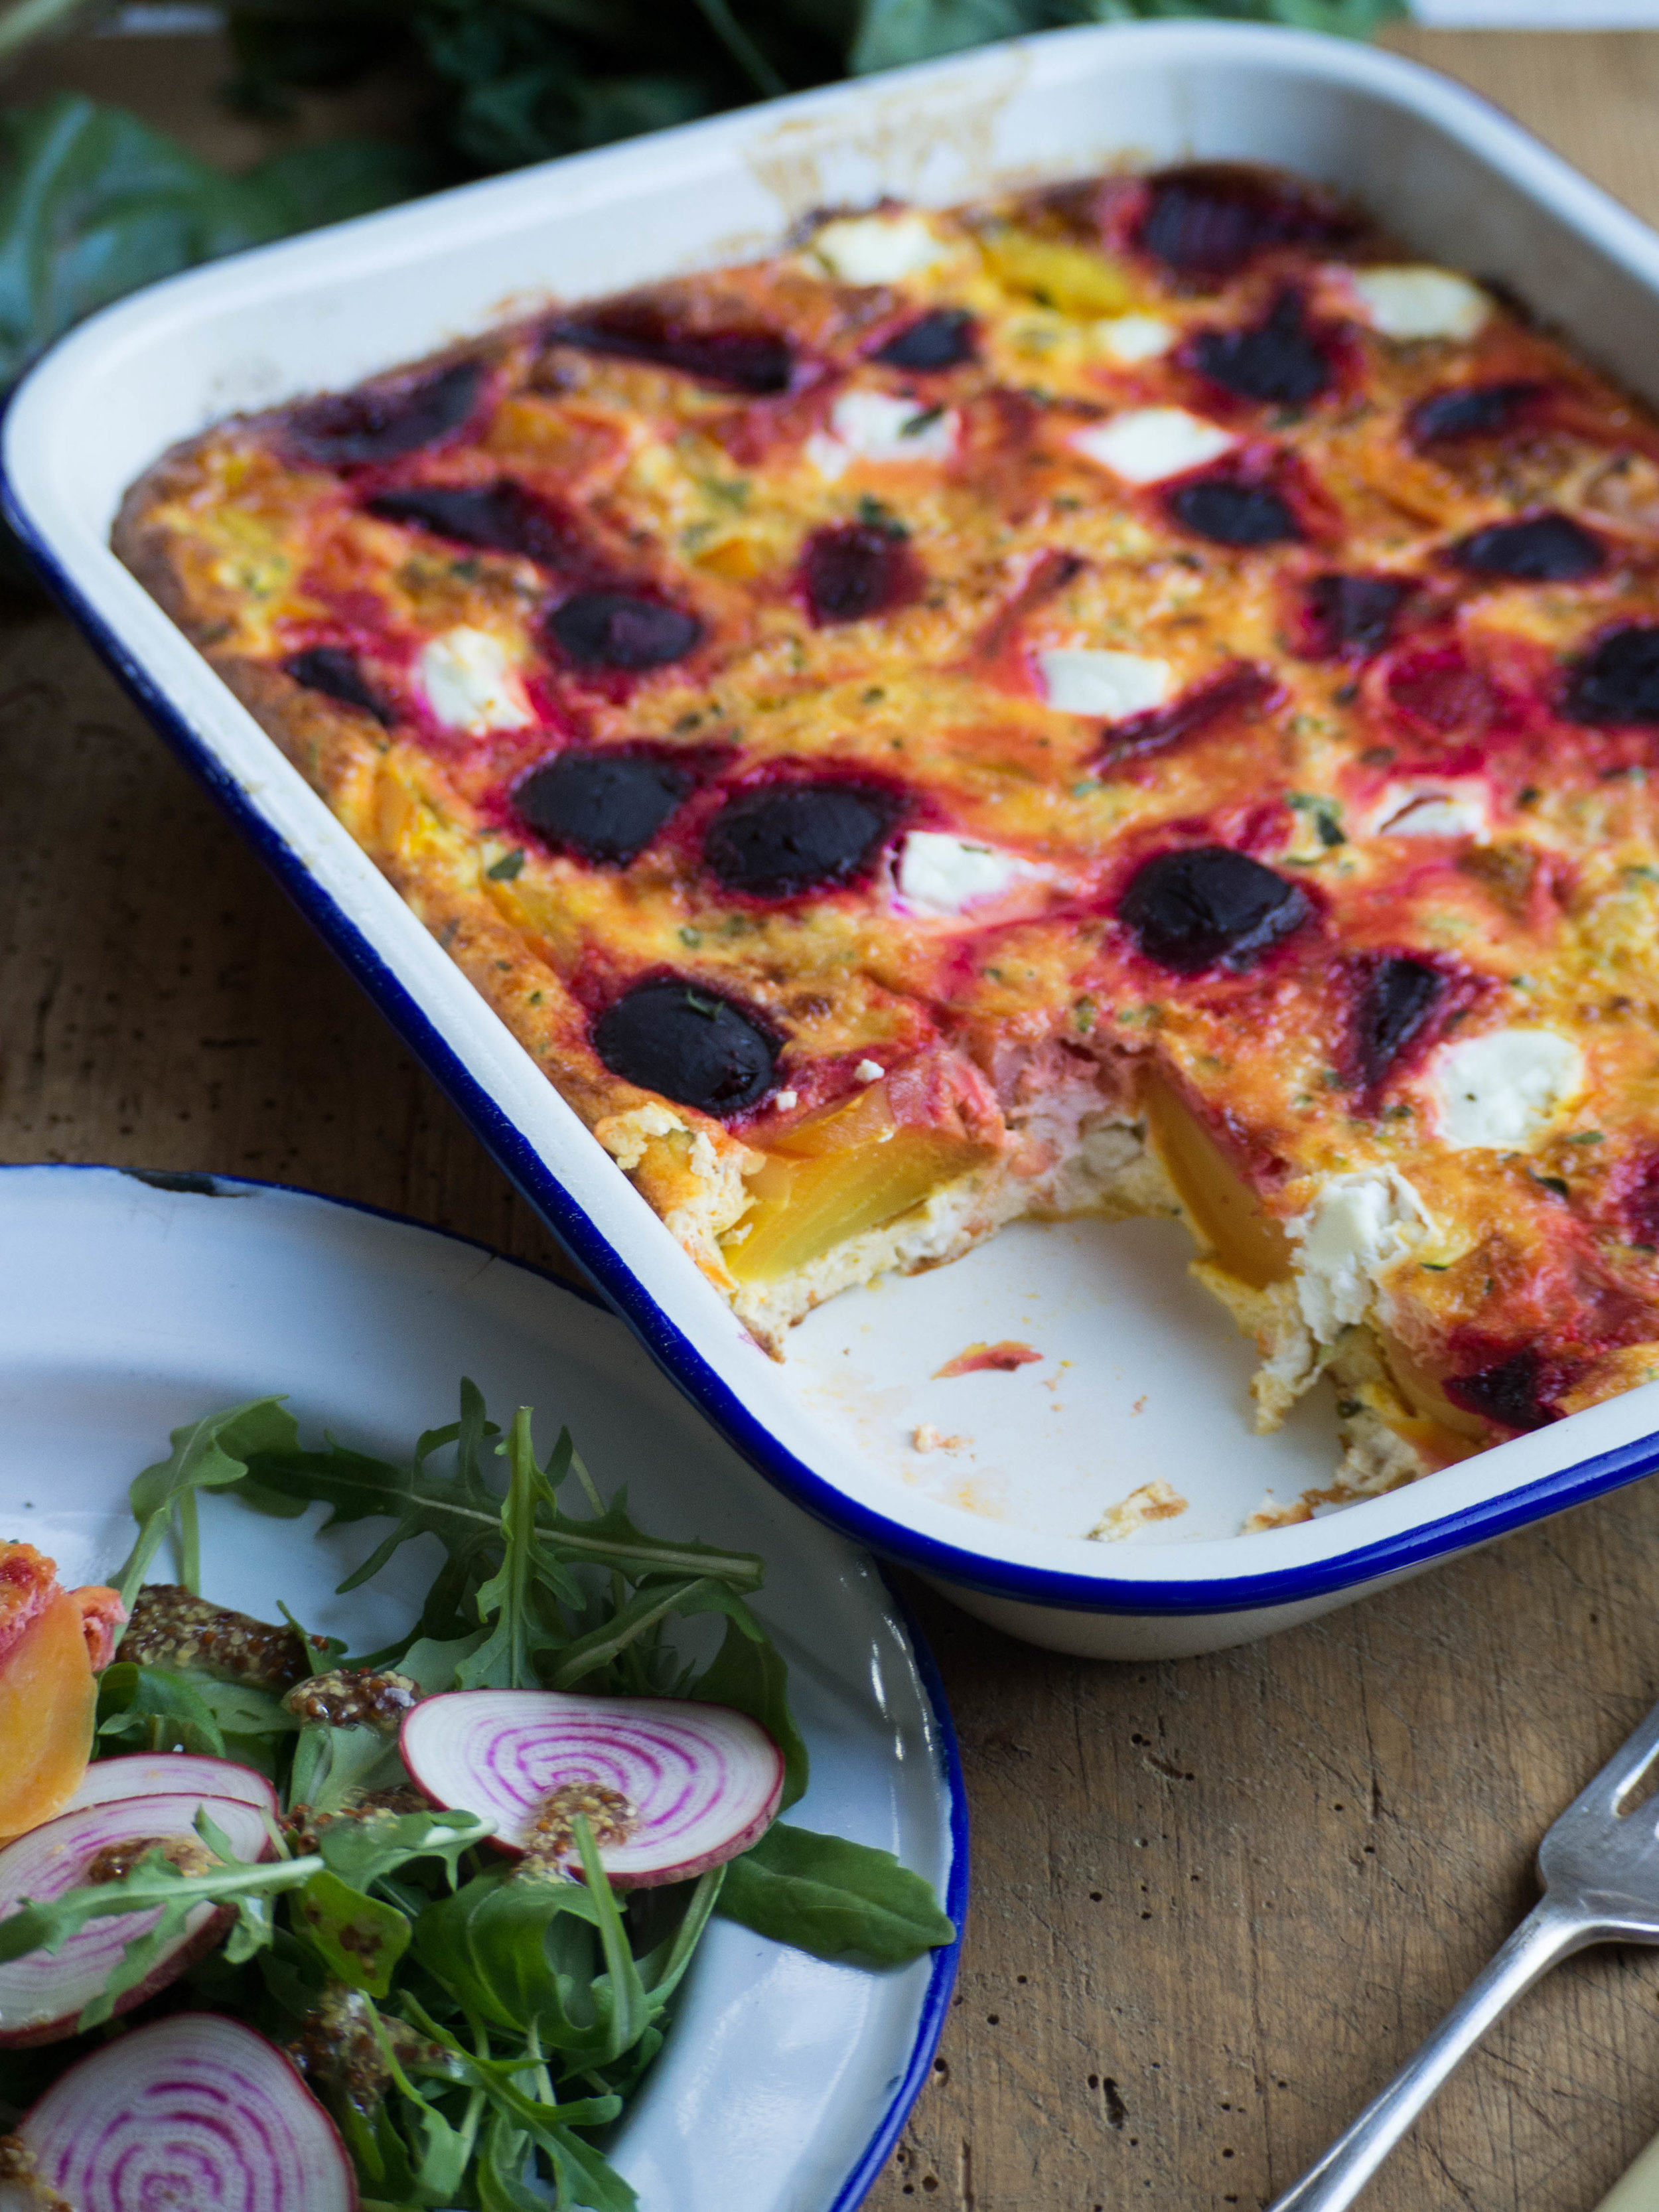
Beetroot, Goats Cheese & Thyme Frittata