Last month I attended the first ever My Open Kitchen Gathering in Orange NSW which was hosted and organised by Sophie Hansen of the blog Local is Lovely. The My Open Kitchen project stemmed from Sophie’s Rural Woman of the Year win in 2016 and encompasses an e-course, podcast, workshops and now this Gathering. All are focused on the food and farming community and learning to bring social media into the fold to make better connections.
The My Open Kitchen Gathering brought together ‘IRL’ all the things that are taught in the e-course and that are spoken of on the podcast, with a series of panel discussions from some super interesting women in the food/photography/social media space. The keynote speaker for the day was Sara Taster of the blog Me & Orla. Coming all the way from the UK to speak, having Sara there was like an amazing private live episode of her podcast Hashtag Authentic. Sara spoke eloquently on her Instagram and small business journey, and about how we all have a unique and unrepeatable opportunity in life as each of us are unique and unrepeatable.

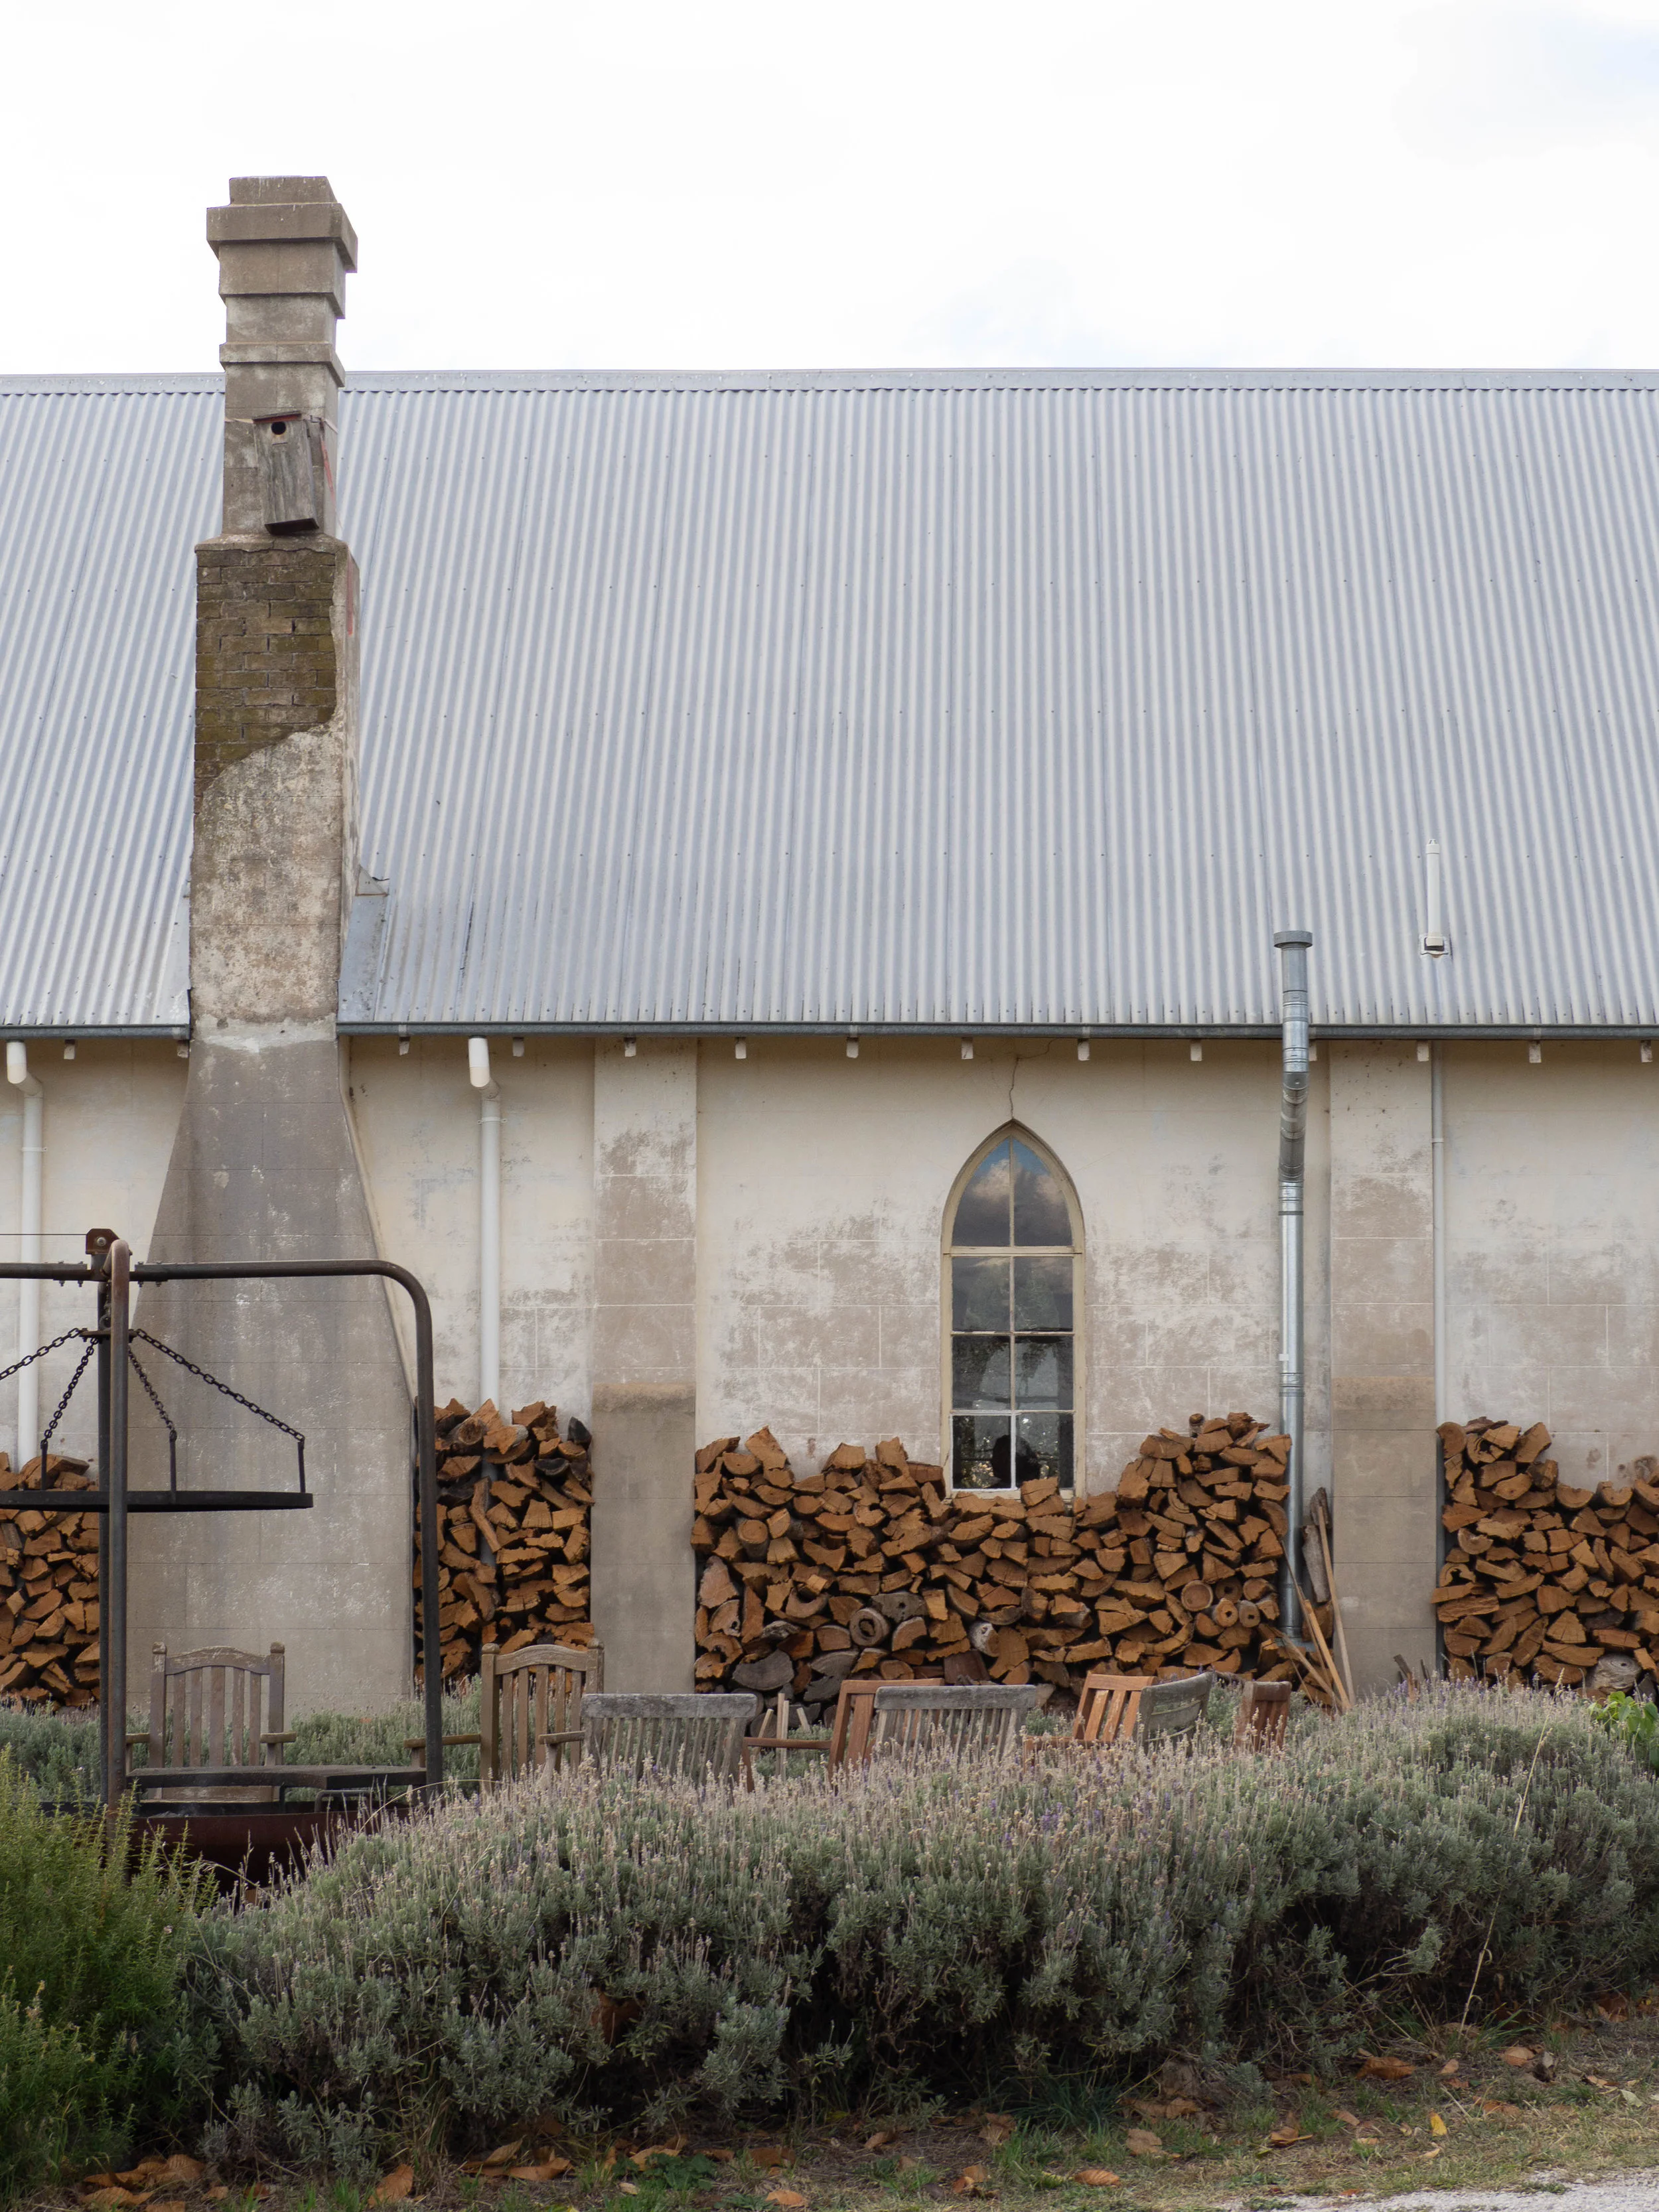
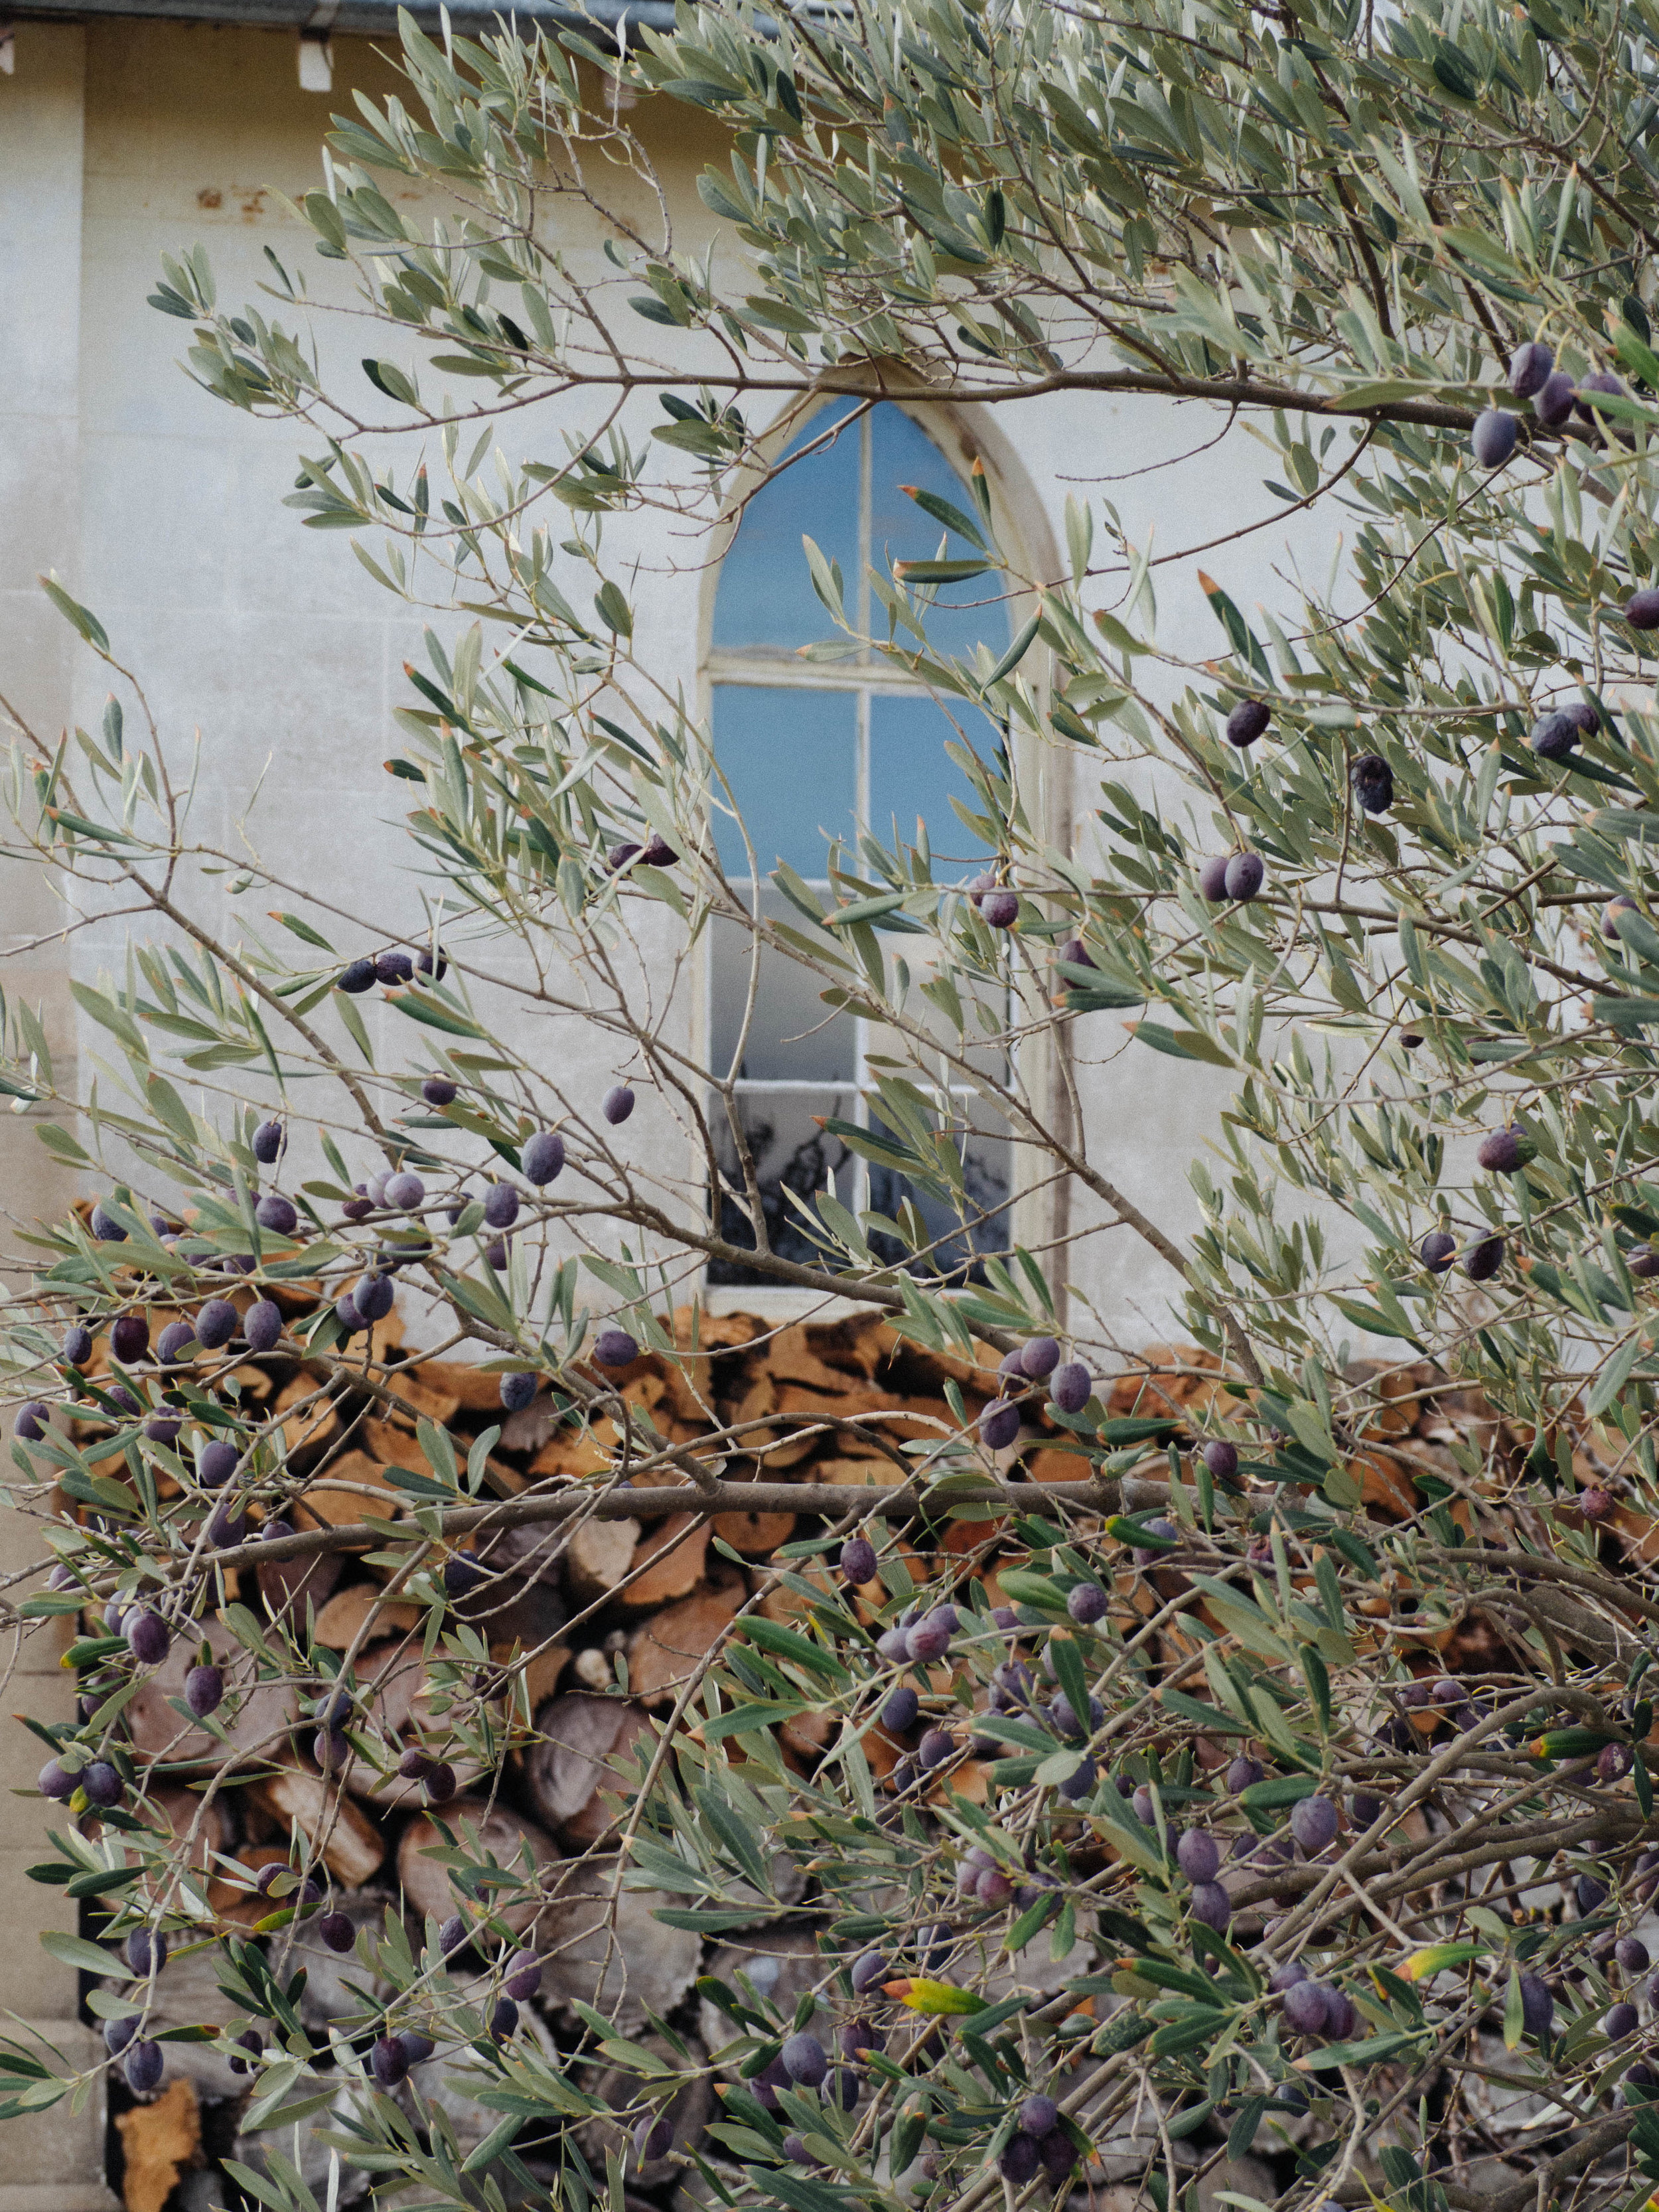
My Open Kitchen Gathering 2018, held at the Old Convent in Borenore NSW.


My Open Kitchen Gathering 2018 - The final panel discussion of the day

The day also brought together lots of ‘Insta-friends’ and My Open Kitchen e-course friends, and it was so great to finally meet these lovely ladies in person and catch up with those I’ve met at previous workshops. As My Open Kitchen has a heavy focus on farmers and producers, there was a little marketplace where attendees could sell some of their produce/wares during the lunch break on the day. I was particularly interested in the dried quinces sold by Sue of Singing Magpie Produce. After being in the same e-course group as Sue late last year, I had heard a little about her products and was very intrigued by the quinces. I managed to sample a little of the quince - which was absolutely amazing, but missed out on buying a packet. A week or so after the Gathering I ordered some online and eagerly awaited their arrival.
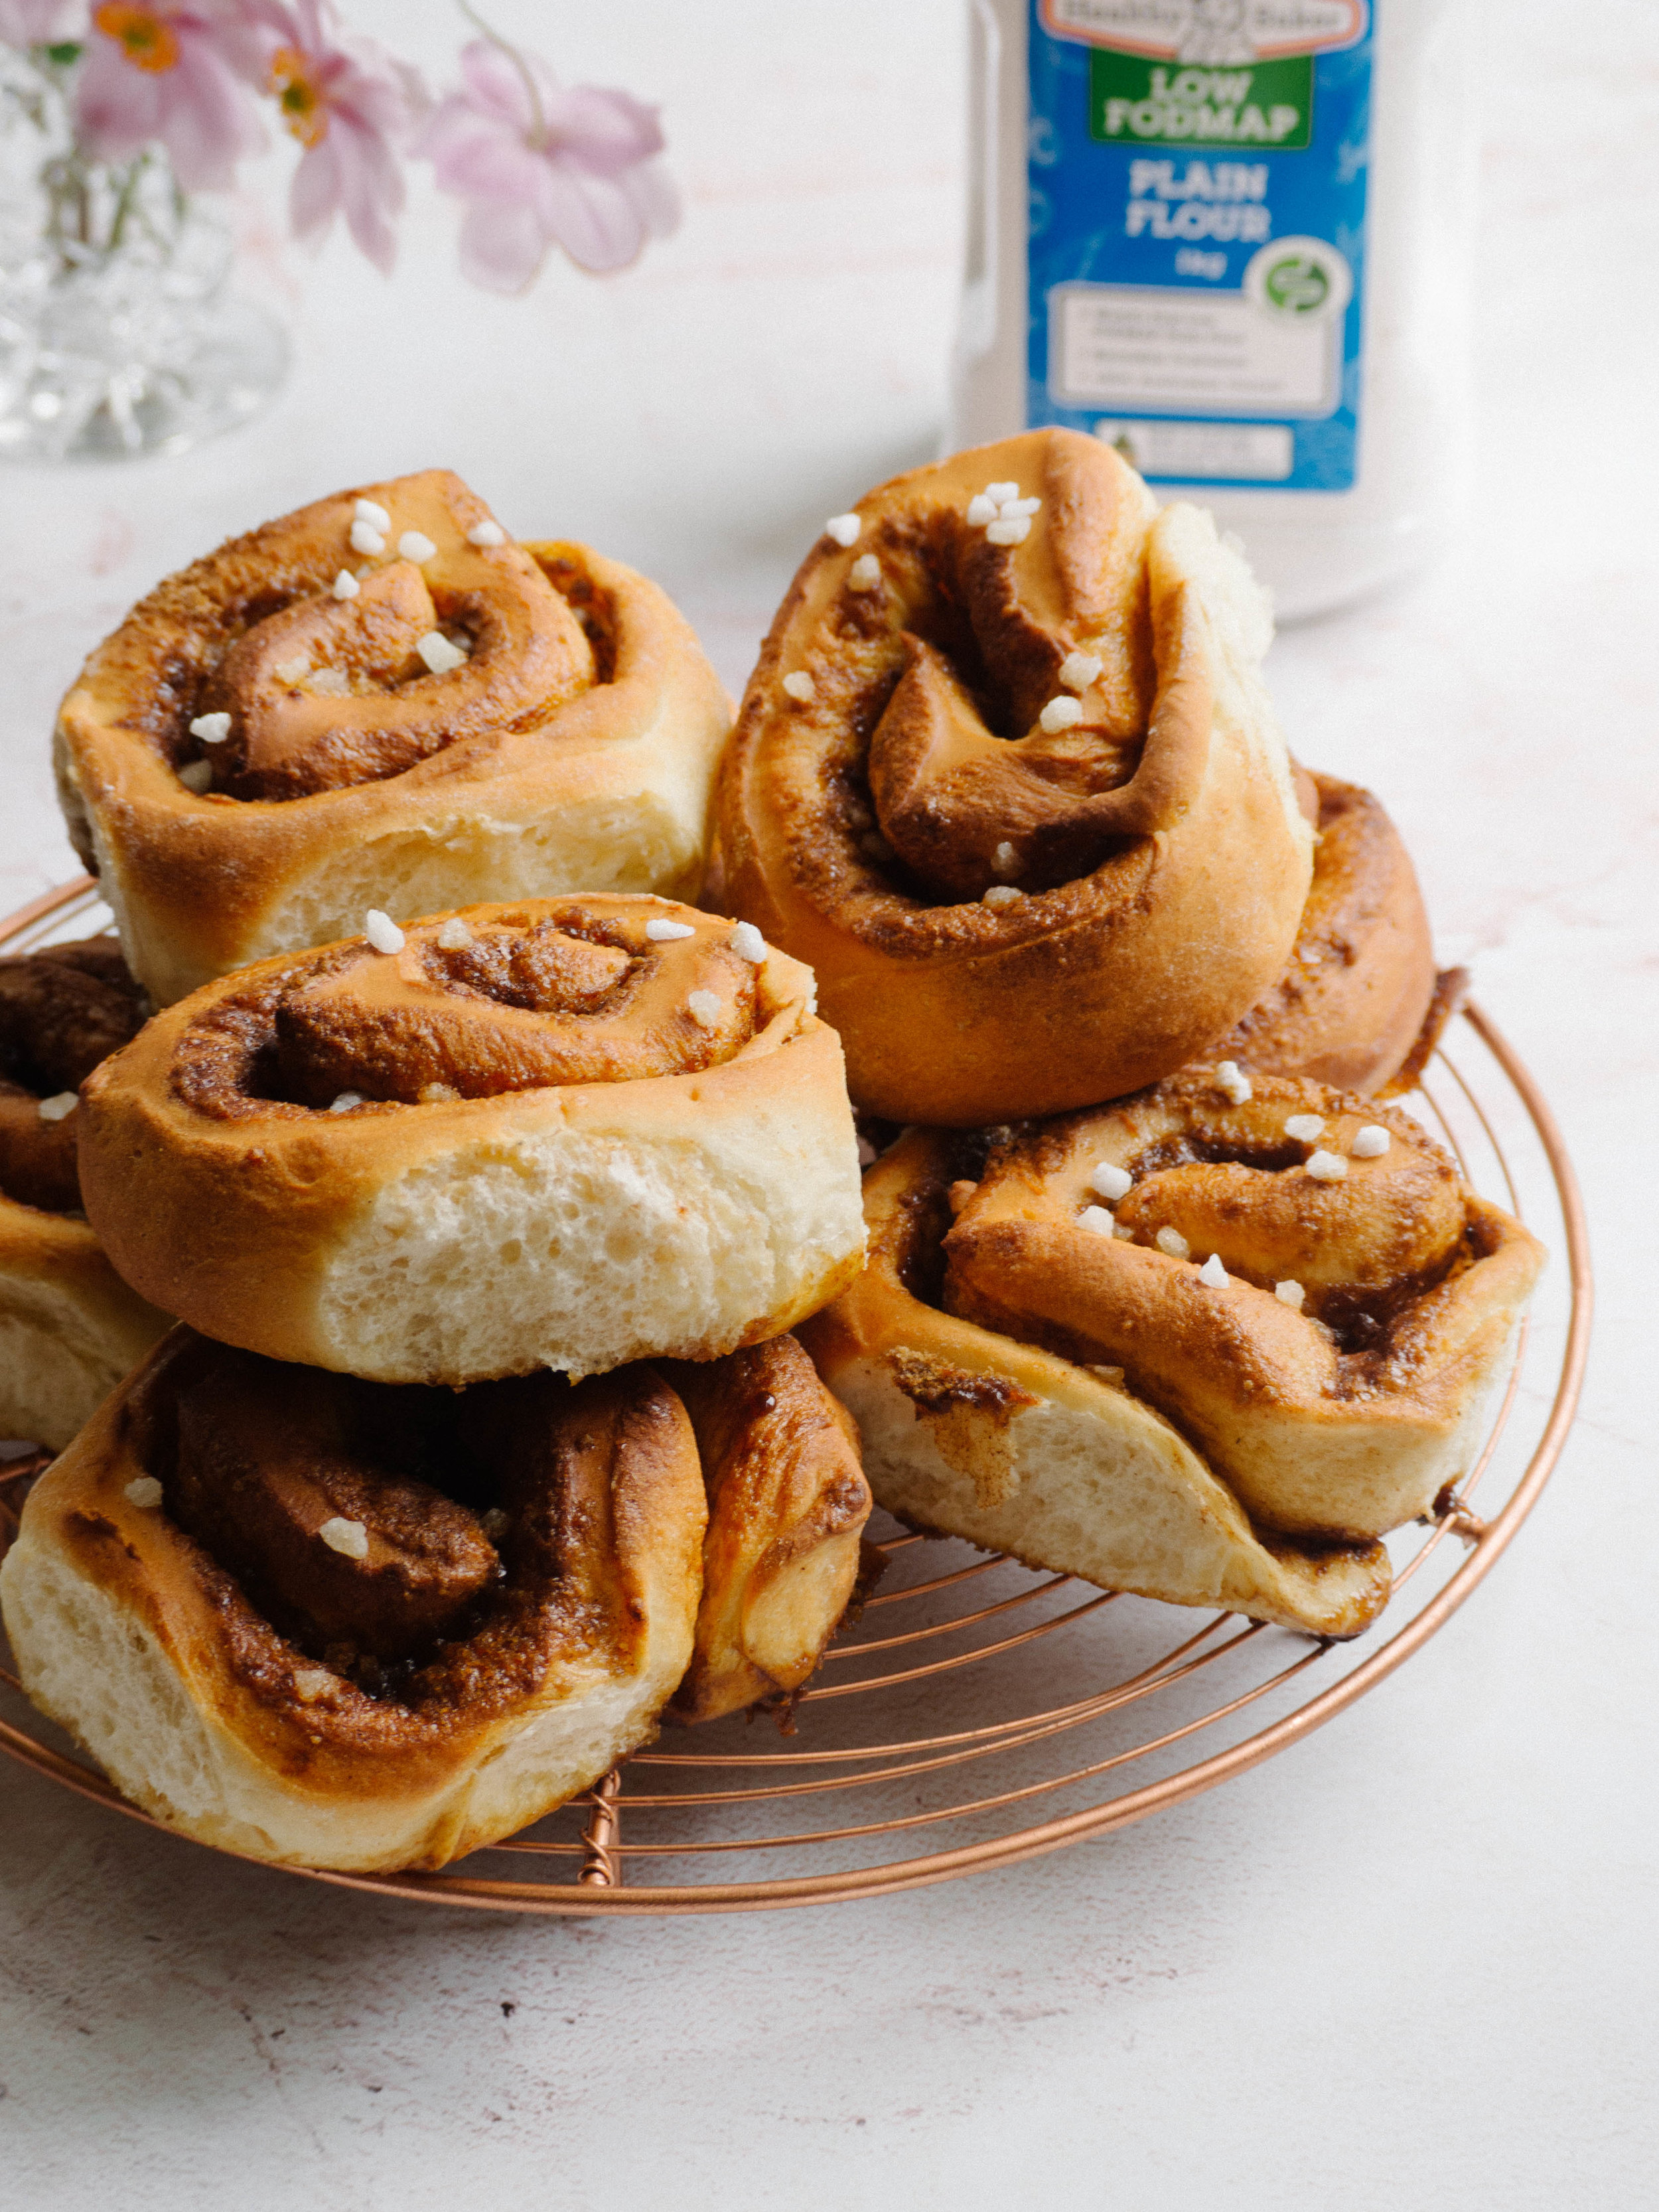
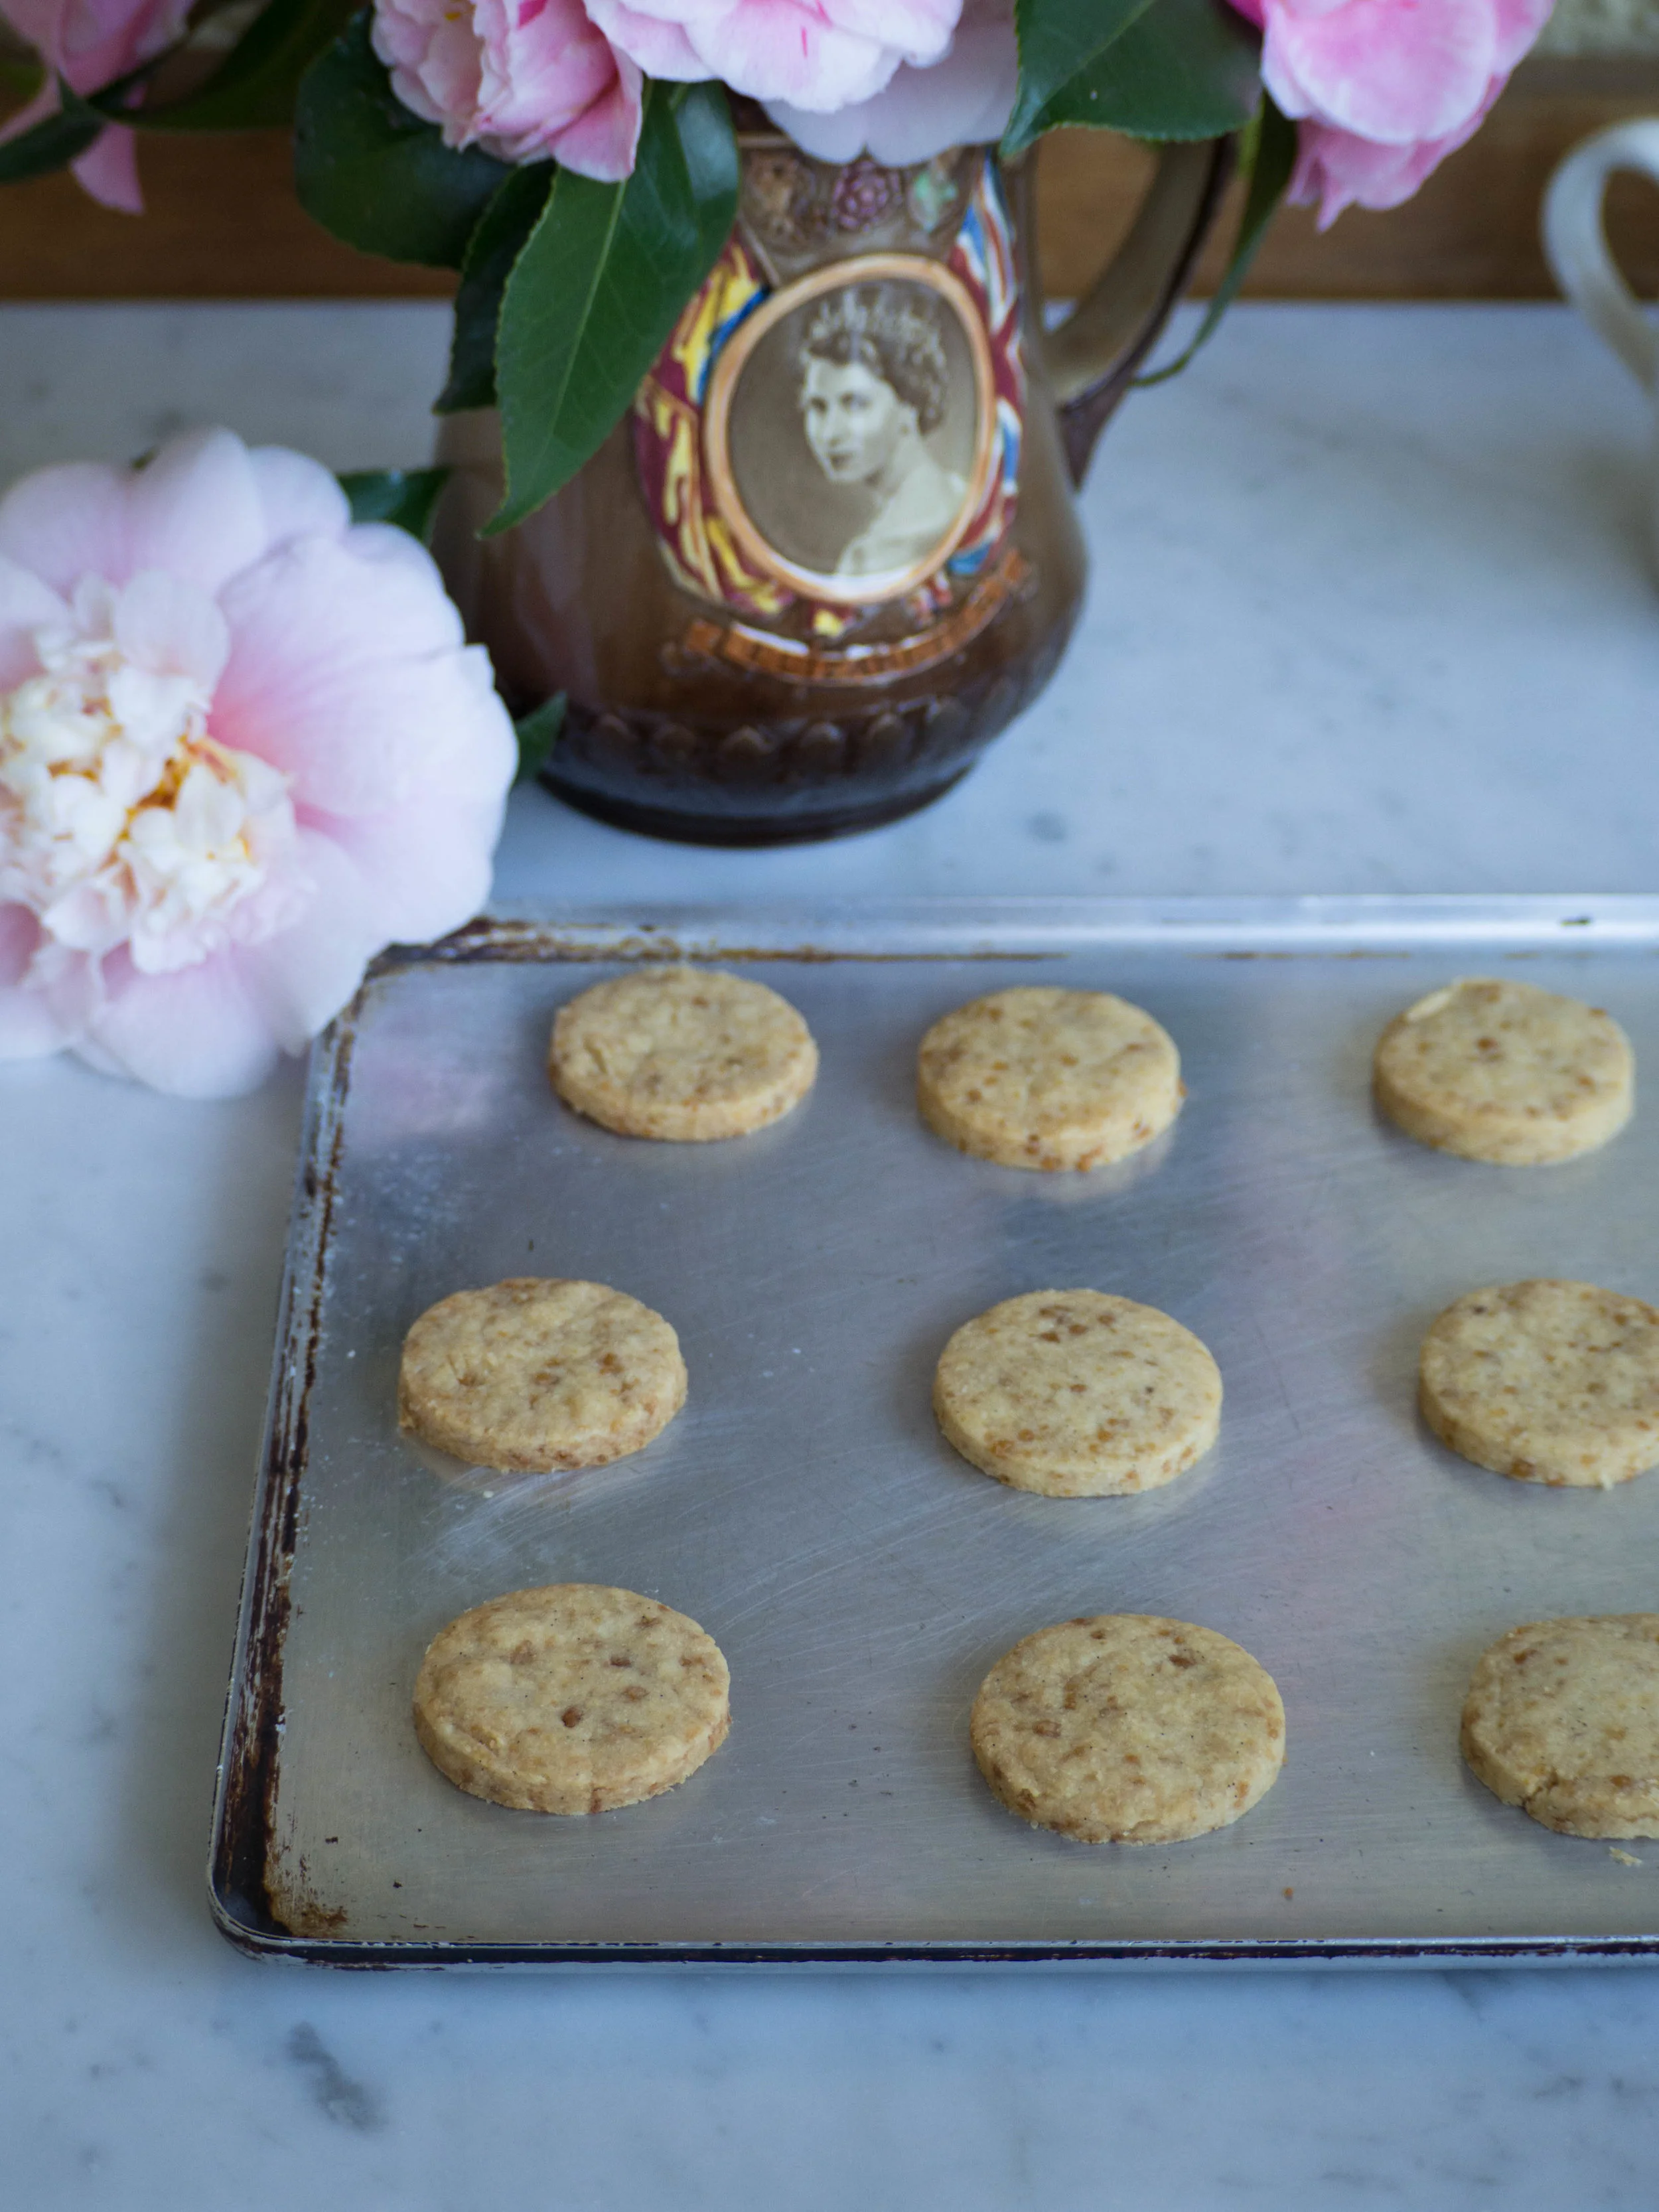
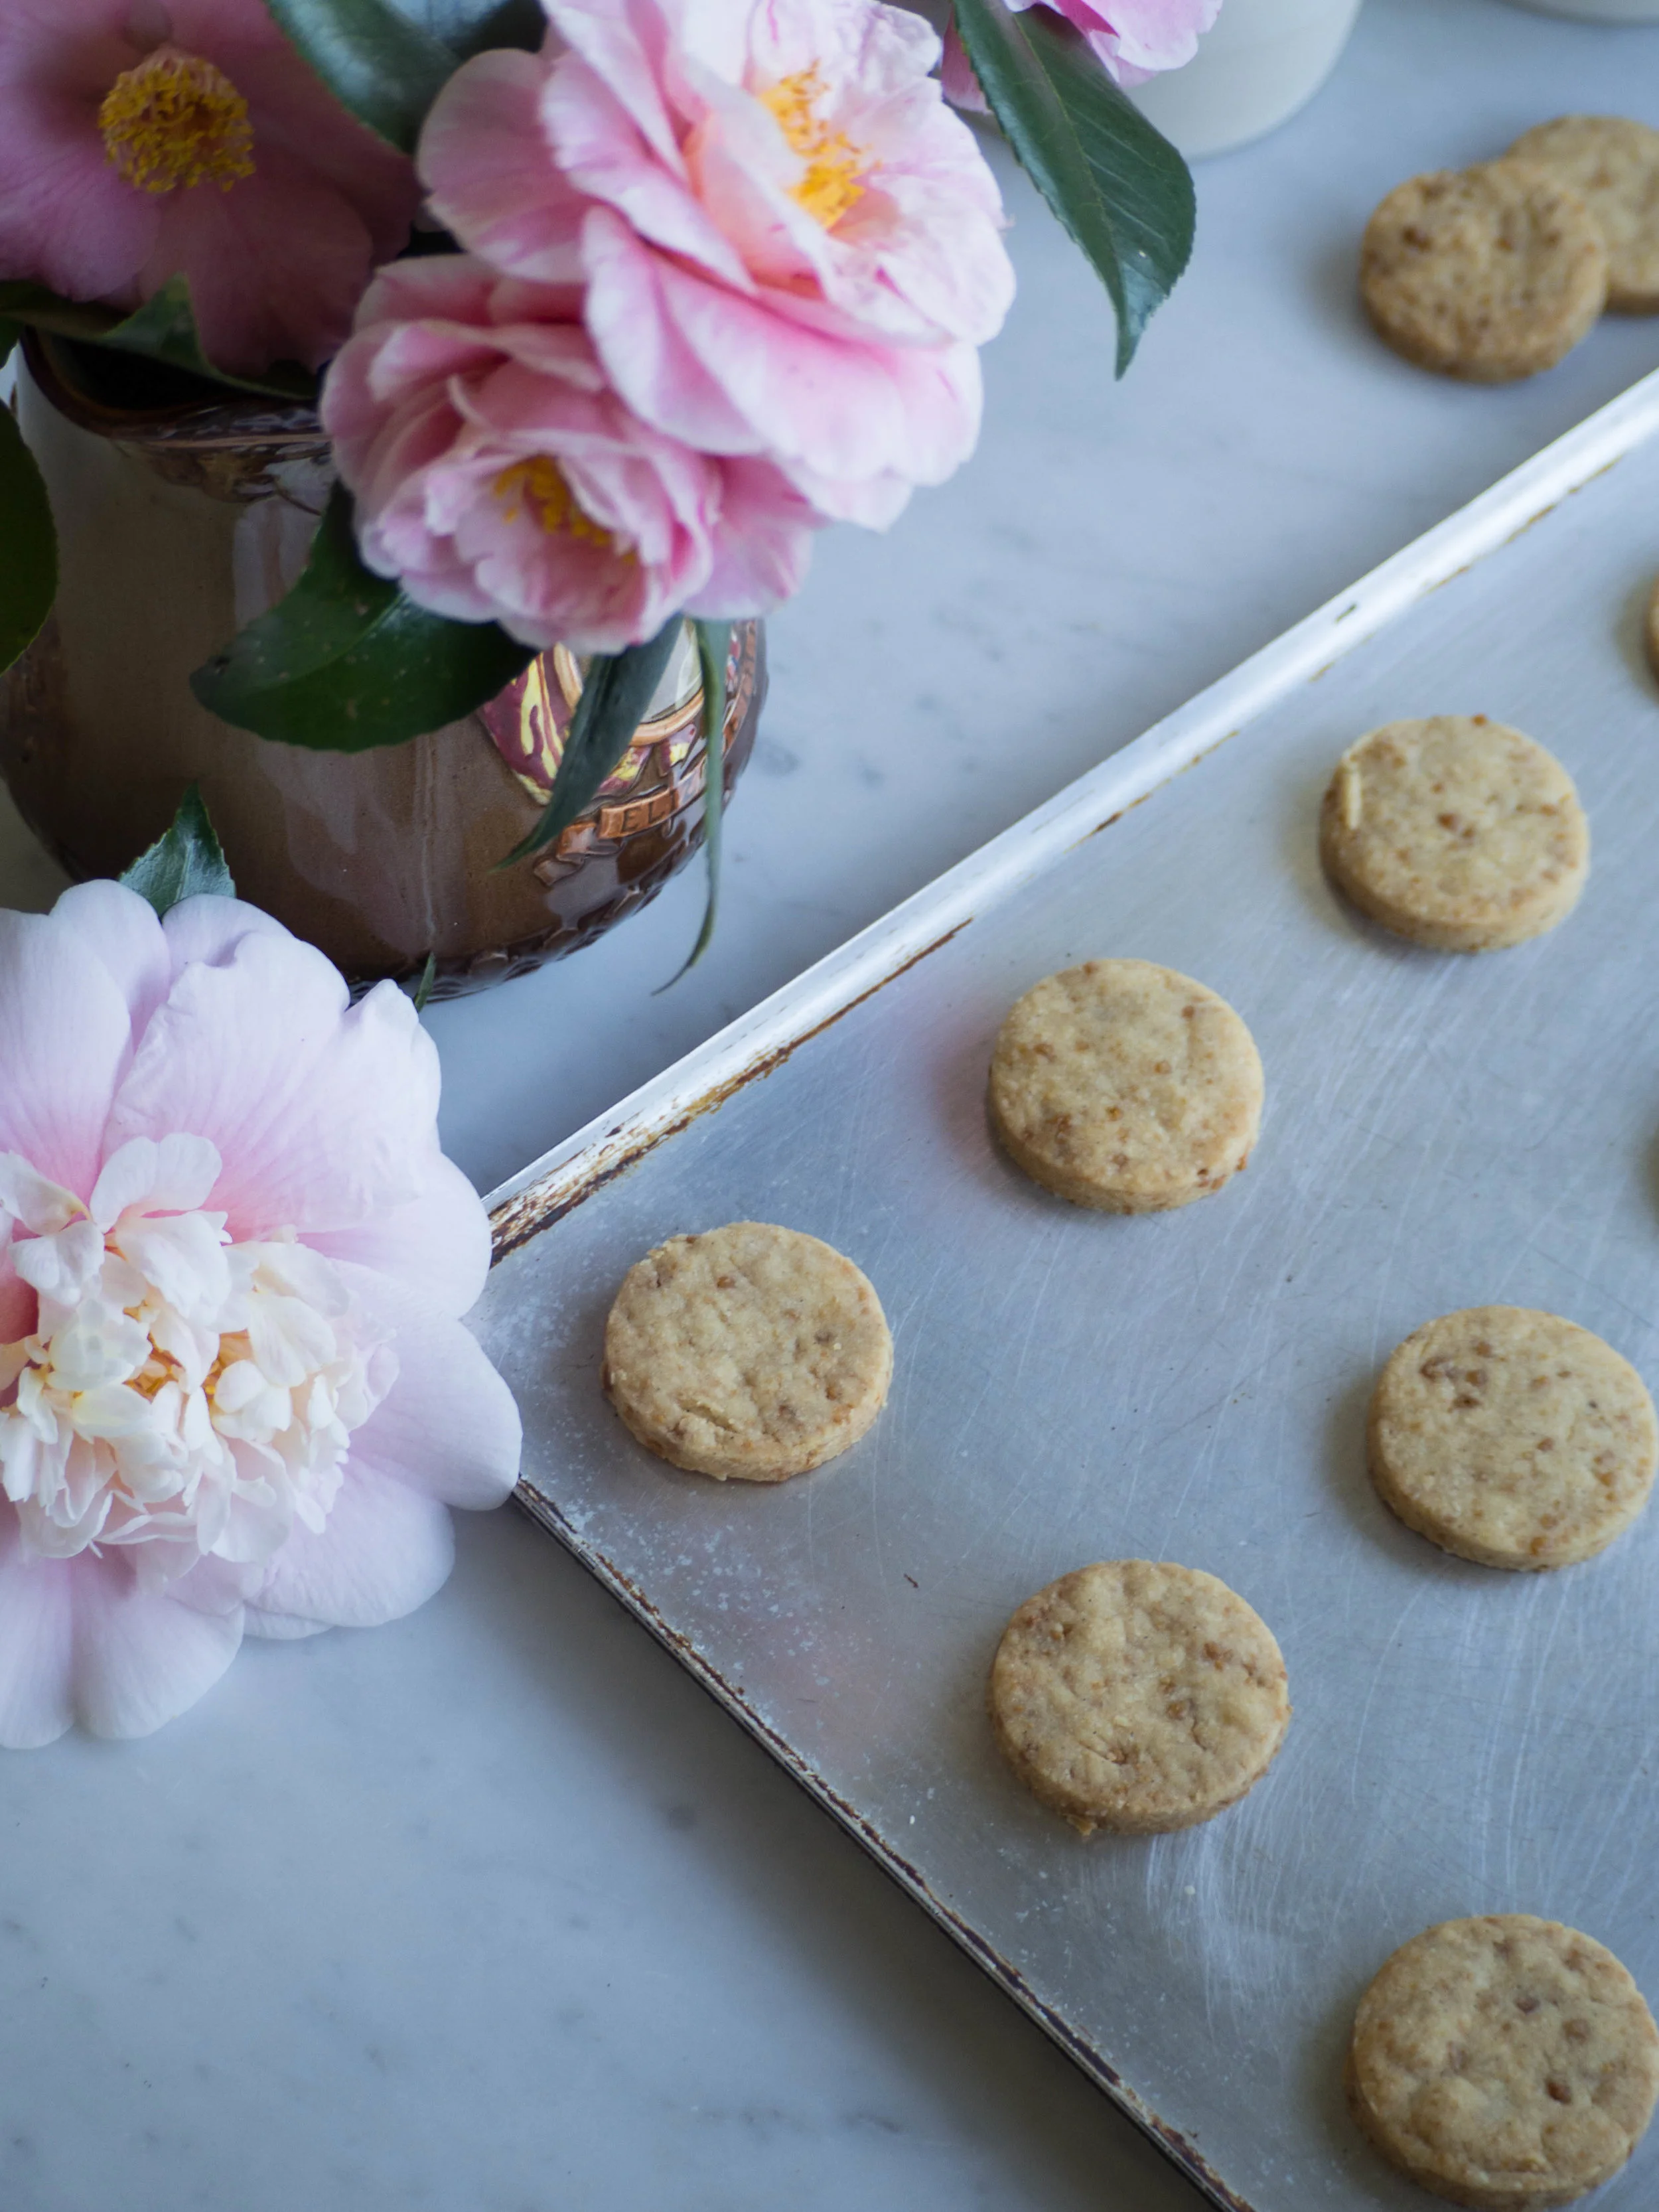
When my package from Singing Magpie Produce arrived it made my week. I was having a particularly bad week having been bed ridden after complications from a procedure in hospital I had the week after the Gathering. The quinces are a deep burgundy colour and have a slightly sticky texture, not all shrivelled up and bone dry like dried fruits from the supermarket shelf. I kept them in my room for a few days as an emergency snack until I was feeling better and was allowed to move about again. I then began thinking about how I could bake with them. The below recipe for quince scones is what I came up with. I figured if dried dates and sultanas can go in scones, then why not these?

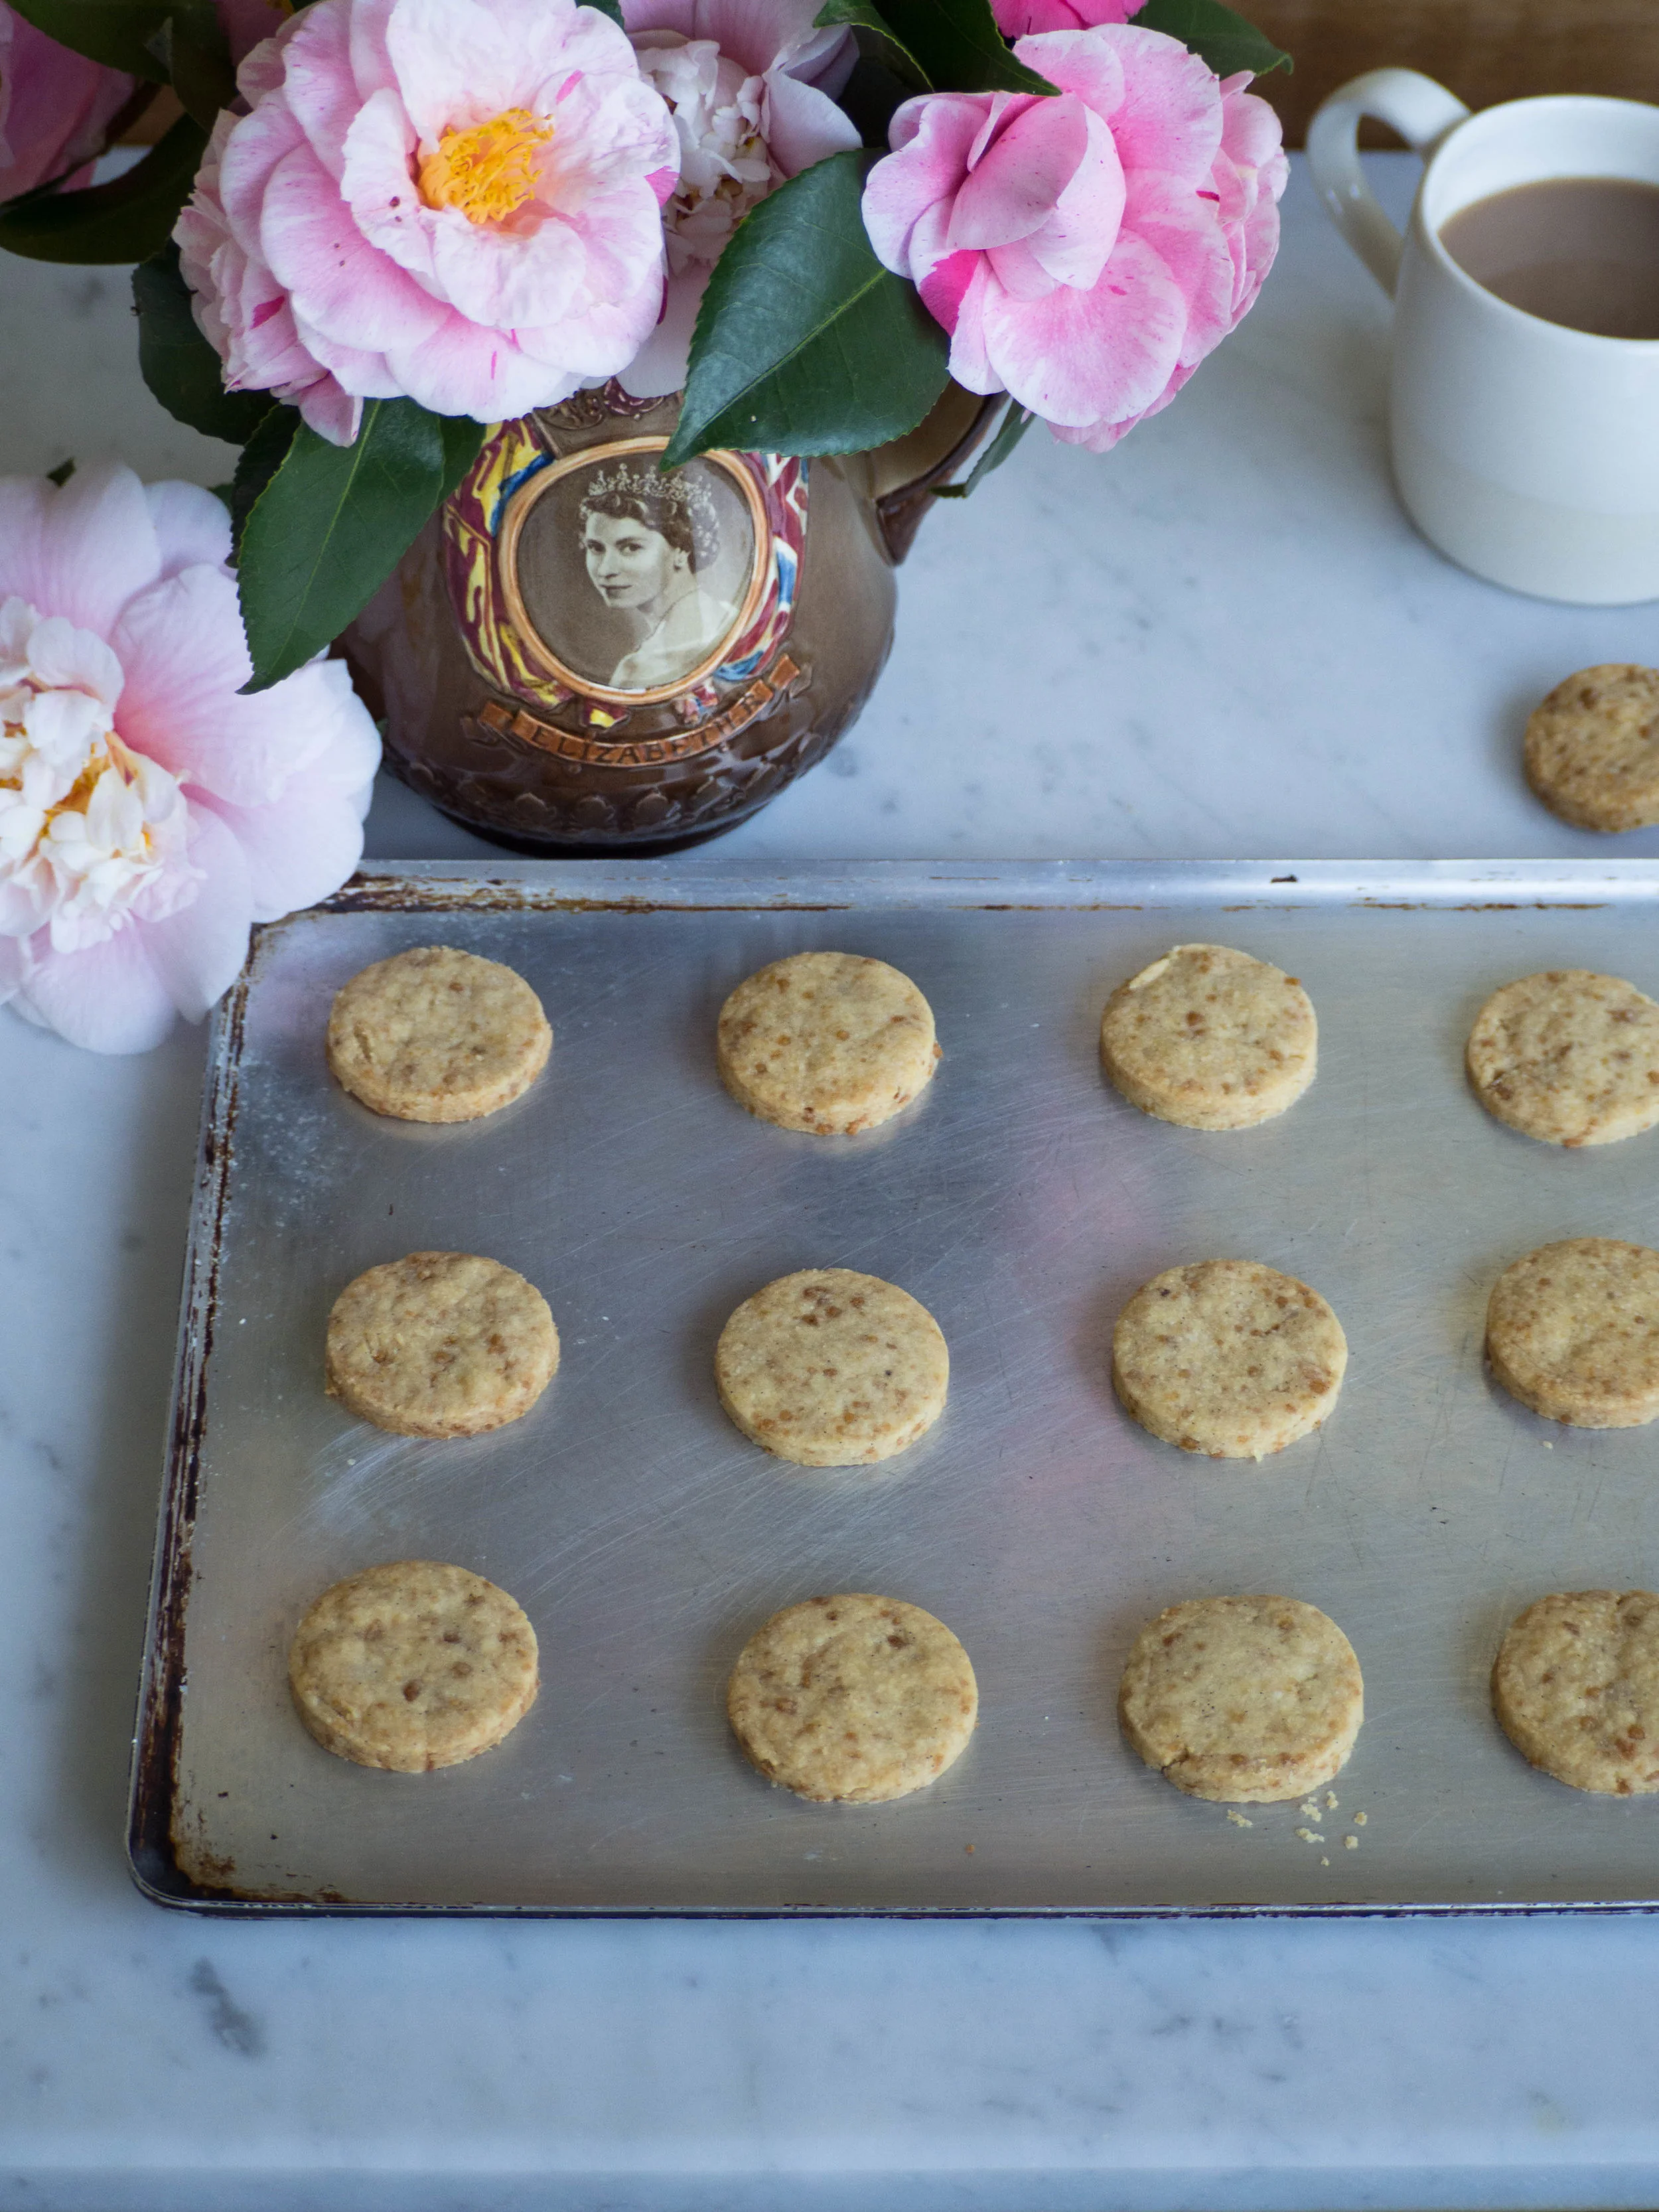
Quince Scones

Quince Scones
Ingredients:
450g self-raising flour
2 tsp baking powder
3 tbsp icing sugar
1/2 tsp cinnamon
200ml cream
125ml sparkling water
2 tbsp lemon juice
80g dried quince, chopped into small pieces
1 egg, lightly beaten
unsalted butter, to serve
Method:
Preheat oven to 200 degrees Celsius. Line a large baking tray with baking paper, and dust a little flour over the top.
Place the flour, icing sugar and cinnamon in a large bowl, and sift over the baking powder. Using a whisk mix the dry ingredients together.
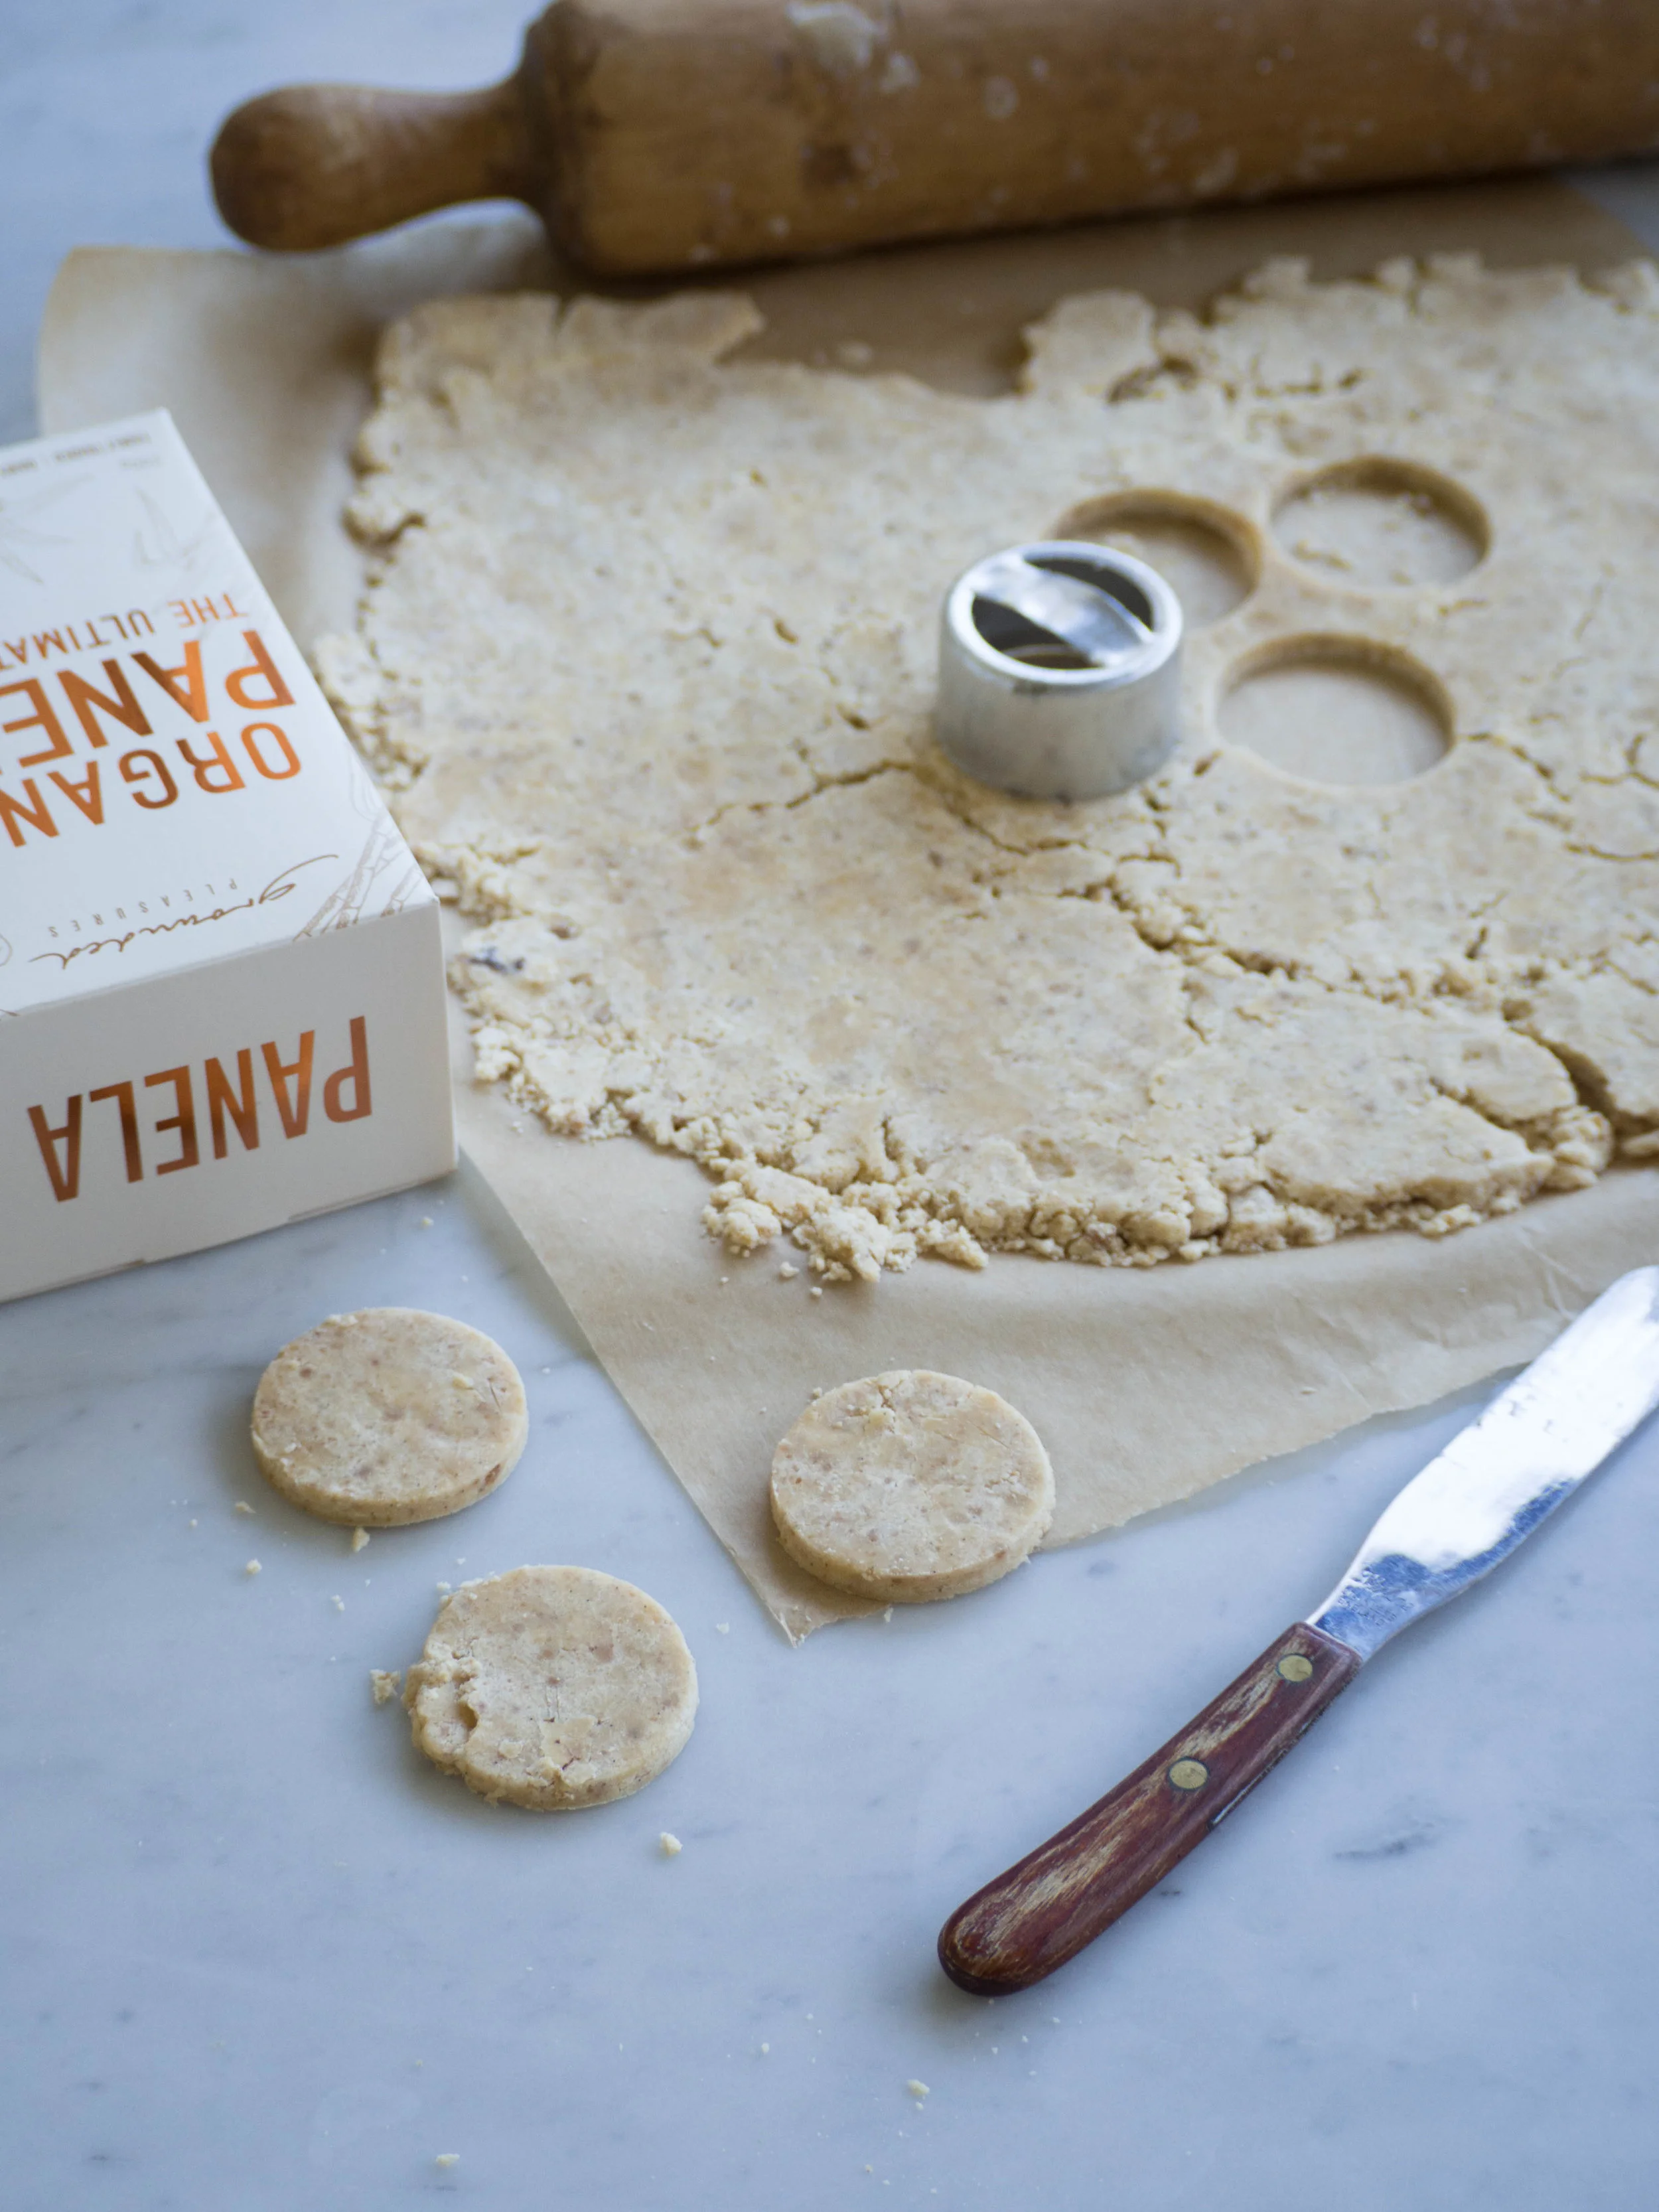
In a jug, quickly and briefly whisk the cream, water and lemon juice together, then add to the dry ingredients. Add the chopped dried quince and mix together with a flat bladed knife, then turn out on to a lightly floured bench. Lightly knead the dough to bring it together, then press to dough out until it is 2-3cm thick.
Using a 4.5/5cm cutter cut out rounds from the dough, dusting the cutter with flour if the dough sticks too much. Place the rounds on the prepared tray, leaving no gaps in between each round. Bring the dough back together and continue cutting until it is all used up.
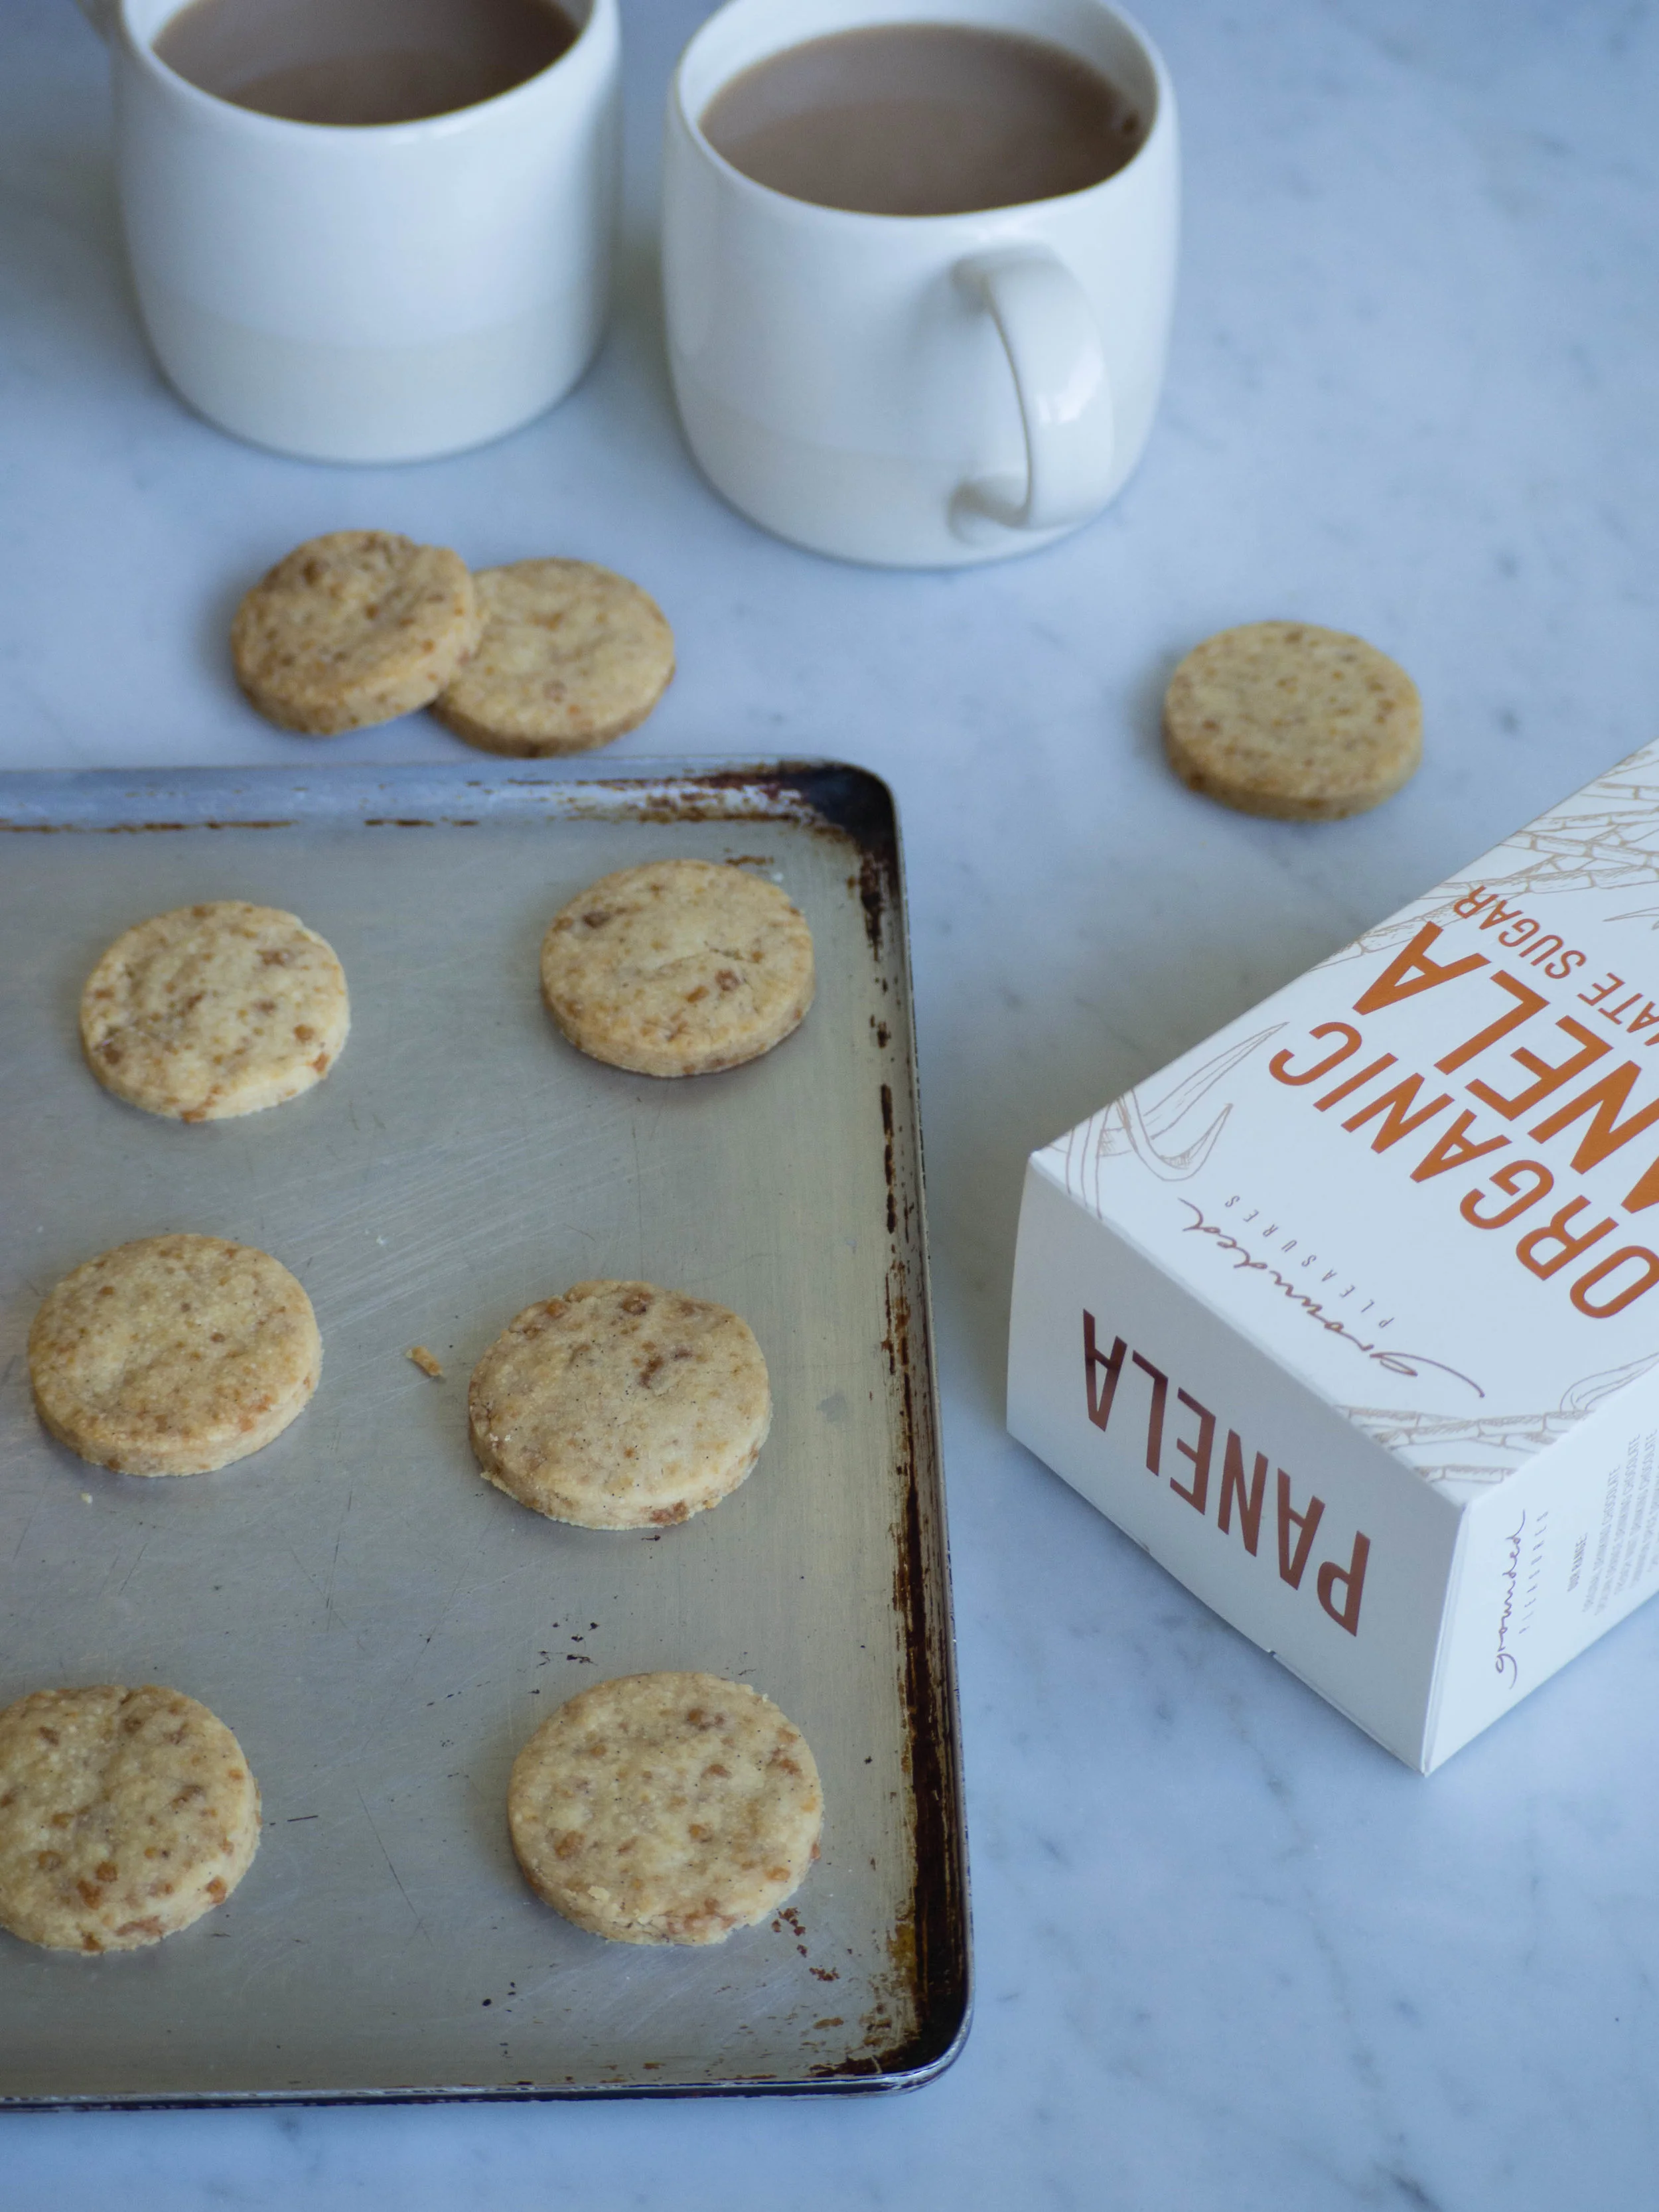
Brush the tops of the cut scones with the beaten egg ensuring only the tops are covered and it doesn’t drip down the sides. Bake for 15-20 minutes, until golden and puffed. Turn the tray around in the oven about halfway through so they cook and colour more evenly.
Serve warm with the butter.
Makes 18-20.

Reference: ‘Bill’s Basics’ by Bill Granger (HarperCollins Publishers, 2010), p.50.