This has recipe has been a festive favourite of mine for a few years now. I originally found it on Phoodie, and have loved it ever since. In my family, shortbread has always been the biscuit of choice for Christmas, so I never really had a go to Gingerbread recipe. I do recall making some from a DK Kid’s Cookbook, but I was never much into the taste of ginger so I generally preferred shortbread. The process of resting the dough in the fridge also put me off I think, as when it comes to biscuits, I have always been after quick and instantly gratifying recipes. None of this resting the dough, and waiting around.
Now I’m older, I understand the importance of refrigerating biscuit dough and allowing it to rest. I’m sure I’m slightly more patient now too! It also makes more sense to give your biscuit dough a chance to firm up a bit, if you like me, are making these during a warm Southern Hemisphere Christmas.
I sometimes ice these with a royal icing, like this one, or one from a packet mix. One time I made batches and batches of these over Christmas for a cafe I worked at, and iced and decorated them all. If I can give you any advice, if you are making lots of these, don’t worry about the icing. They taste great on their own, and it often ends up being rather a stressful exercise, during what can already be a busy and stressful time of year. I haven’t iced mine in years, and I don’t miss it at all!
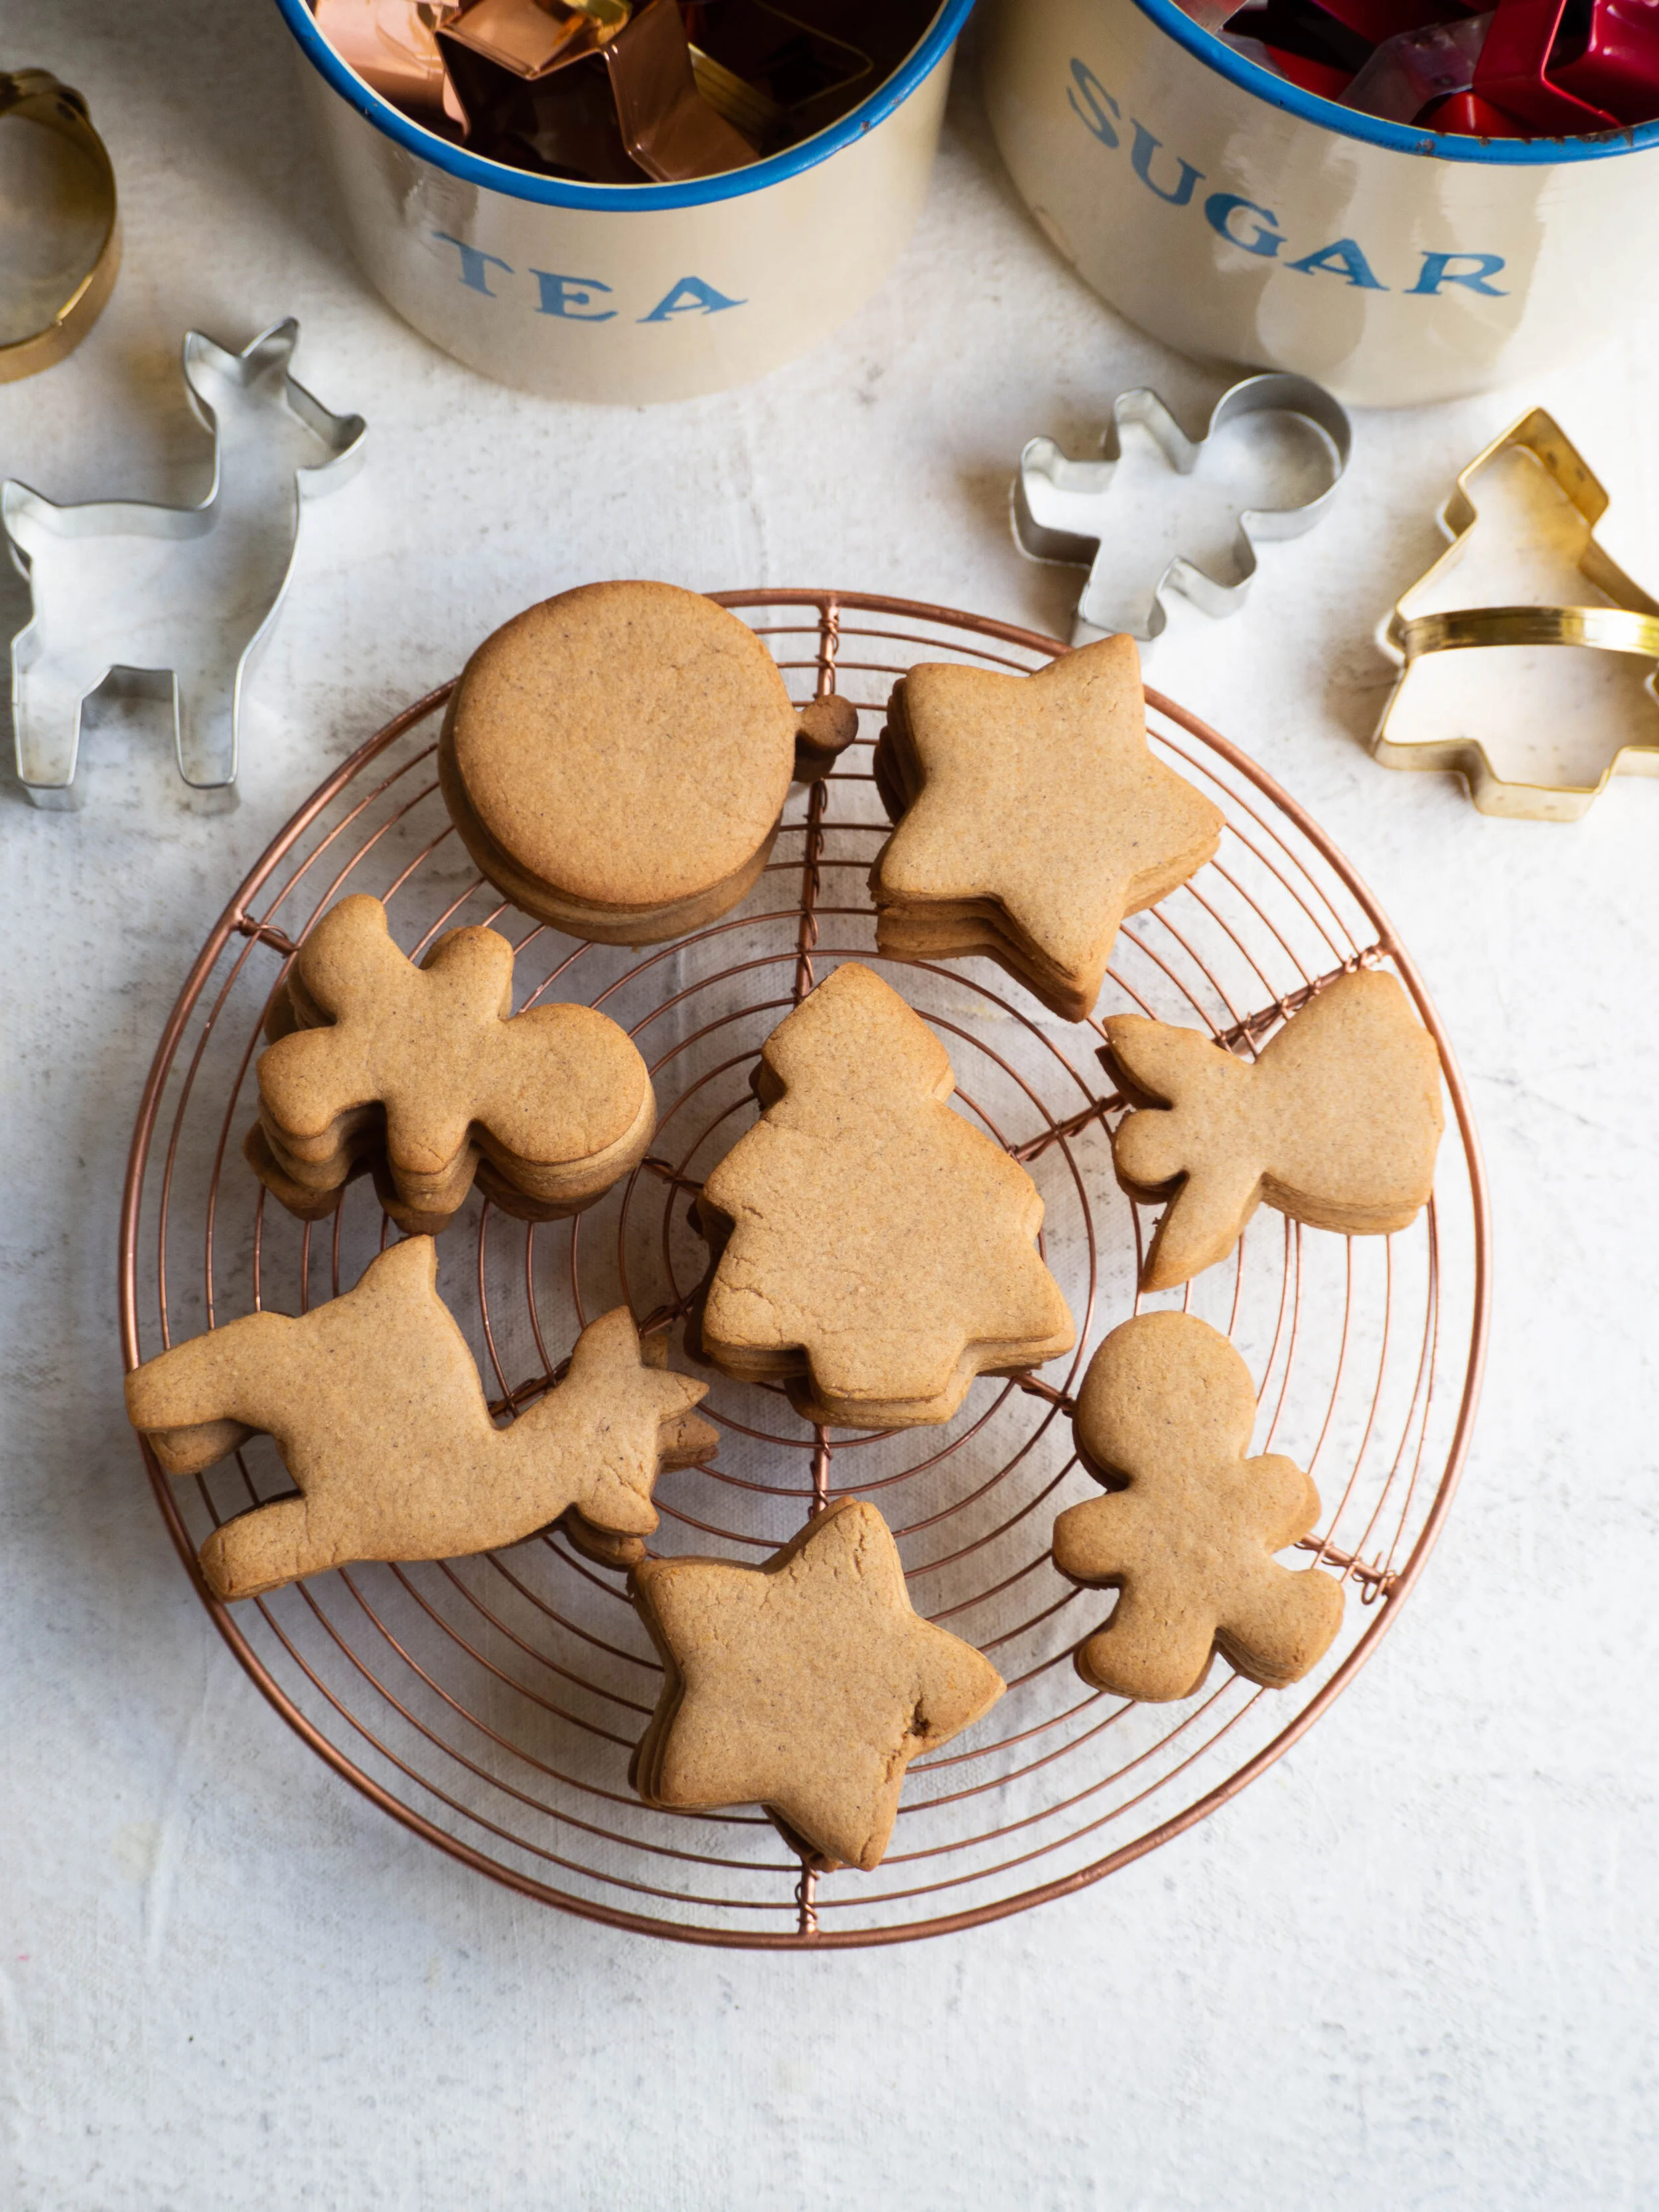
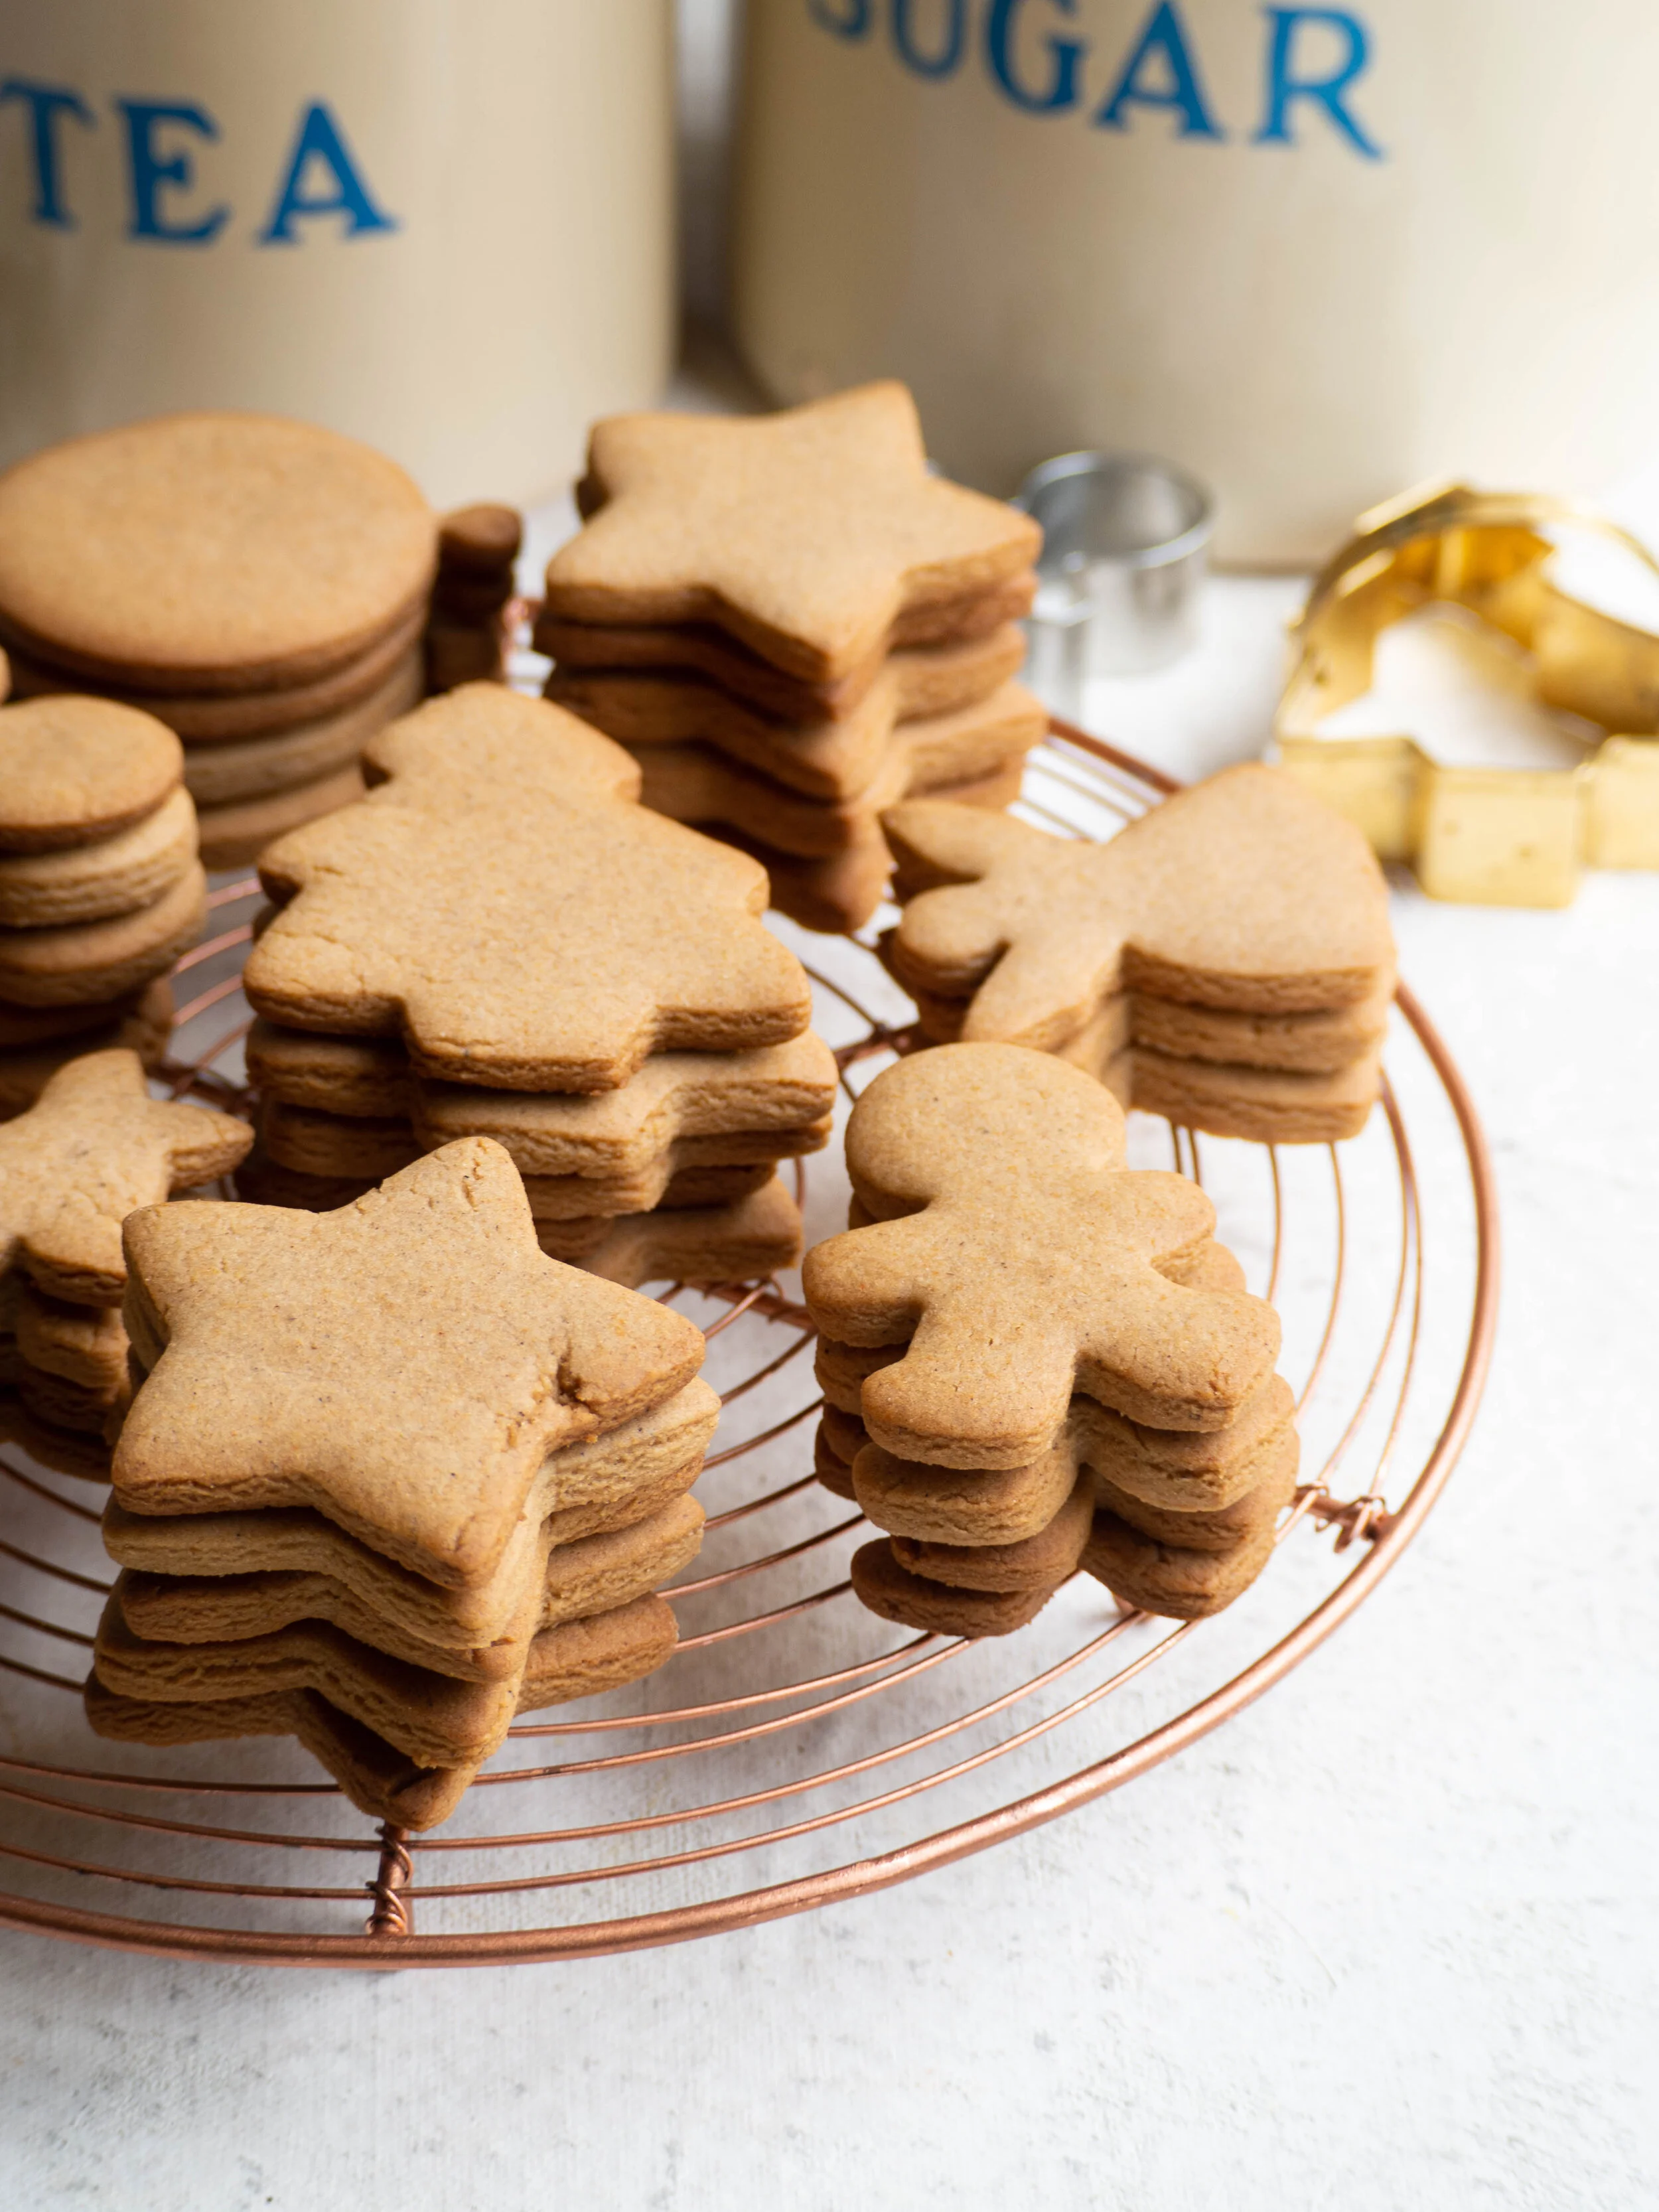
I find I can make a few batches of these during December, as they are enjoyed by all and make great gifts. They are also really useful for decorating other festive desserts like this pavlova I made a few years ago.
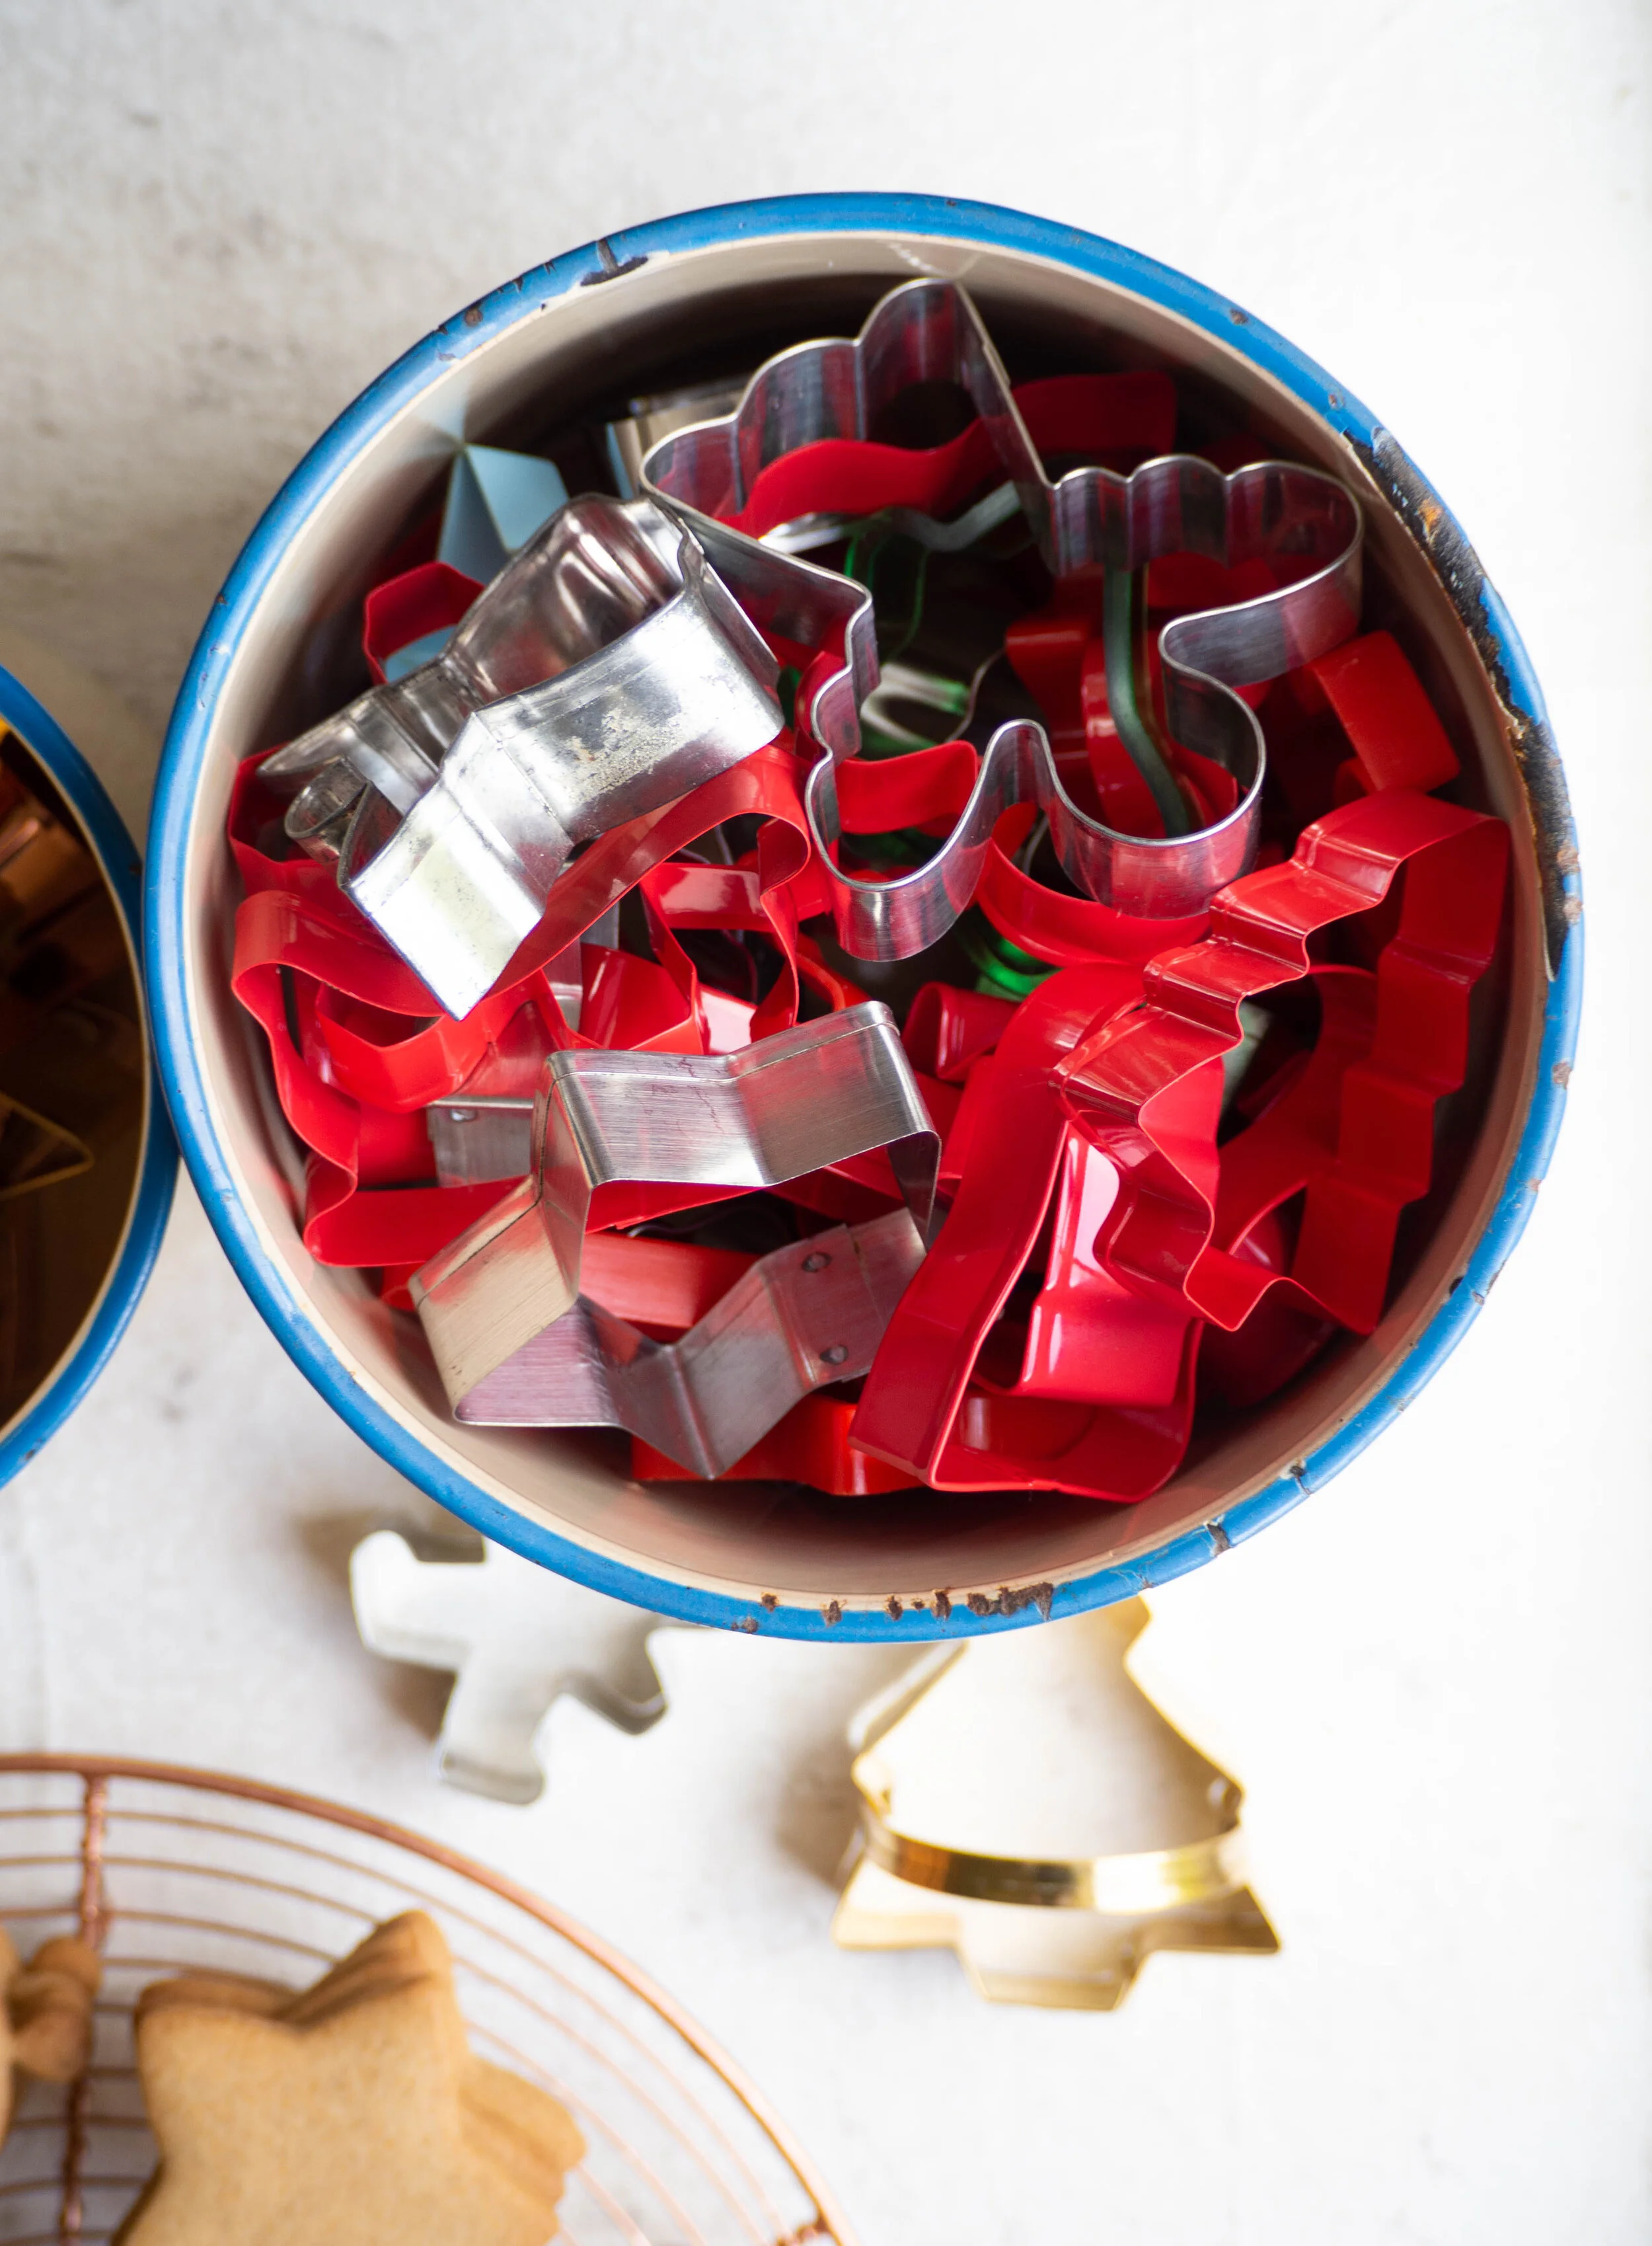
My Christmas Biscuit Cutter Collection
Christmas Gingerbread Cookies
Ingredients:
125g unsalted butter, softened
120g light brown sugar
170ml golden syrup
1 egg yolk
390g plain flour
1 tsp ground ginger
1 tsp all spice
1 tsp ground cloves
1 tsp ground cardamom
1 tsp ground cinnamon
1 tsp bicarbonate of soda
Method:
Preheat oven to 160 degrees Celsius. Line three large baking trays with baking paper.
In medium bowl whisk together the flour and spices. Sift in the bicarb soda, whisk to combine then set aside.
Using a stand mixer with the paddle attachment, beat the butter and sugar until it is pale and creamy. Add the golden syrup and egg yolk and beat until combined.
Add the flour and spice mixture and combine on very low speed for a few seconds. Remove the bowl from the stand mixer and finish the remaining mixing using a large wooden spoon or spatula.
Turn onto a lightly floured surface and briefly knead until smooth. Press dough into a disc. Cover with plastic wrap and place in the fridge for 30 minutes to rest. If making double quantities separate the dough into two discs.
Once the dough has rested, you can freeze the dough to use at a later date. Defrost in the fridge overnight before using. If making double, I usually pop one lot of dough in the freezer now, and continue baking the other.
Dust your work surface with more flour, then roll the dough out to around 2 mm thickness and cut biscuits out using festive biscuit cutters. Place each biscuit on to the prepared trays. Make sure you leave space in between each biscuit as they will expand as they bake. Re-roll excess dough and cut out more biscuits until it is all used up.
Bake for around 10-12 mins, rotating the trays in the oven to ensure everything cooks evenly. When the biscuits are done the edges will begin to turn golden. Allow to cool on wire racks or on the their trays.
Makes about 70 small biscuits or 36 medium (yield will depend in the size and shape of your biscuit cutters).