I shared this recipe over on Instagram a week or so ago, and quite a few people came back and told me they made them, which was wonderful. So I thought I should post the recipe here on the blog too.
This recipe is one I remember my Grandma making often, and since it is such a simple recipe I can see why. I don’t know how she came to find the recipe, but in my family these are known as Grandma’s Oatmeal Biscuits.
I found a handwritten copy of my Grandma’s of this recipe, and she has added cinnamon to it. No doubt when I copied out some of her recipes for myself around the age of 11 or 12, I decided I didn’t like cinnamon (despite having eaten many of these biscuits) as I left it out of my copy of the recipe, and sans cinnamon is how I have made them ever since.

My Grandma’s Oatmeal Cookie Recipe
Beyond being very simple to make, another bonus to this recipe is that it uses self-raising flour! In right now, during the COVID-19 pandemic where all sorts of supermarket essentials are sold out, this is a massive win. Plain flour (and bread flour) all seem to be bought up by those who either had more foresight than the rest of us, or are genuinely stockpiling it. I often wonder about those who have stockpiled food, especially things found in the baking isle. Will they ever really use these items?
Having the idea to bake your own bread and the like is one thing, but if you aren’t a confident bread baker, having it actually turn out well is another thing entirely. Not to mention to amount of time and effort that goes into baking such things. I would hazard a guess that after one attempt those who aren’t keen bakers (and who don’t actually really have said ‘time’ on their hands), wouldn’t attempt it again. There is also the fact that bakeries are still open (as I write this anyway), and bread can still be bought from supermarkets etc, so baking your own bread isn’t really essential.
Hopefully being forced to stay home will encourage some to get into cooking and baking and it will be something they find they enjoy. I just hope the stockpiles of things that some have bought don’t end up going to waste.
How are you doing with everything that is going on right now?
I am finding the constant push for us all to be productive and make the most of this ‘opportunity’ is just adding to the stress of the whole thing. This isn’t an opportunity, it’s a crisis. While some may find unintended uses for all the time we are spending at home, I don’t think we need to get to the end of this time (whenever that may be), and be able to show what we’ve achieved in it. I think the only real achievement will just be getting through it.
Some days I feel ok, like I can tackle whatever I need to do. Others I feel at a loss as to what I should be doing. I am definitely someone who likes spending time at home, but even I am feeling a bit closed in not having the same opportunities to leave the house as I did.
I am finding, as I usually do, that baking is what gets me through the bad days and helps me enjoy the good ones more. Obviously taking into account, not being frivolous with ingredients, I am baking every couple of days or so and these Oatmeal Cookies will be made a few times over I think by the time this whole thing has come to an end.
I am also finding FaceTiming with friends immensely helpful, and just generally trying to be kind and understanding to myself about how I am feeling. I know there will be days were things seem really hard, but I also know that those days will pass. And that there will probably be a slice of cake or a cookie to enjoy regardless.
Other Things I Have Found Helpful


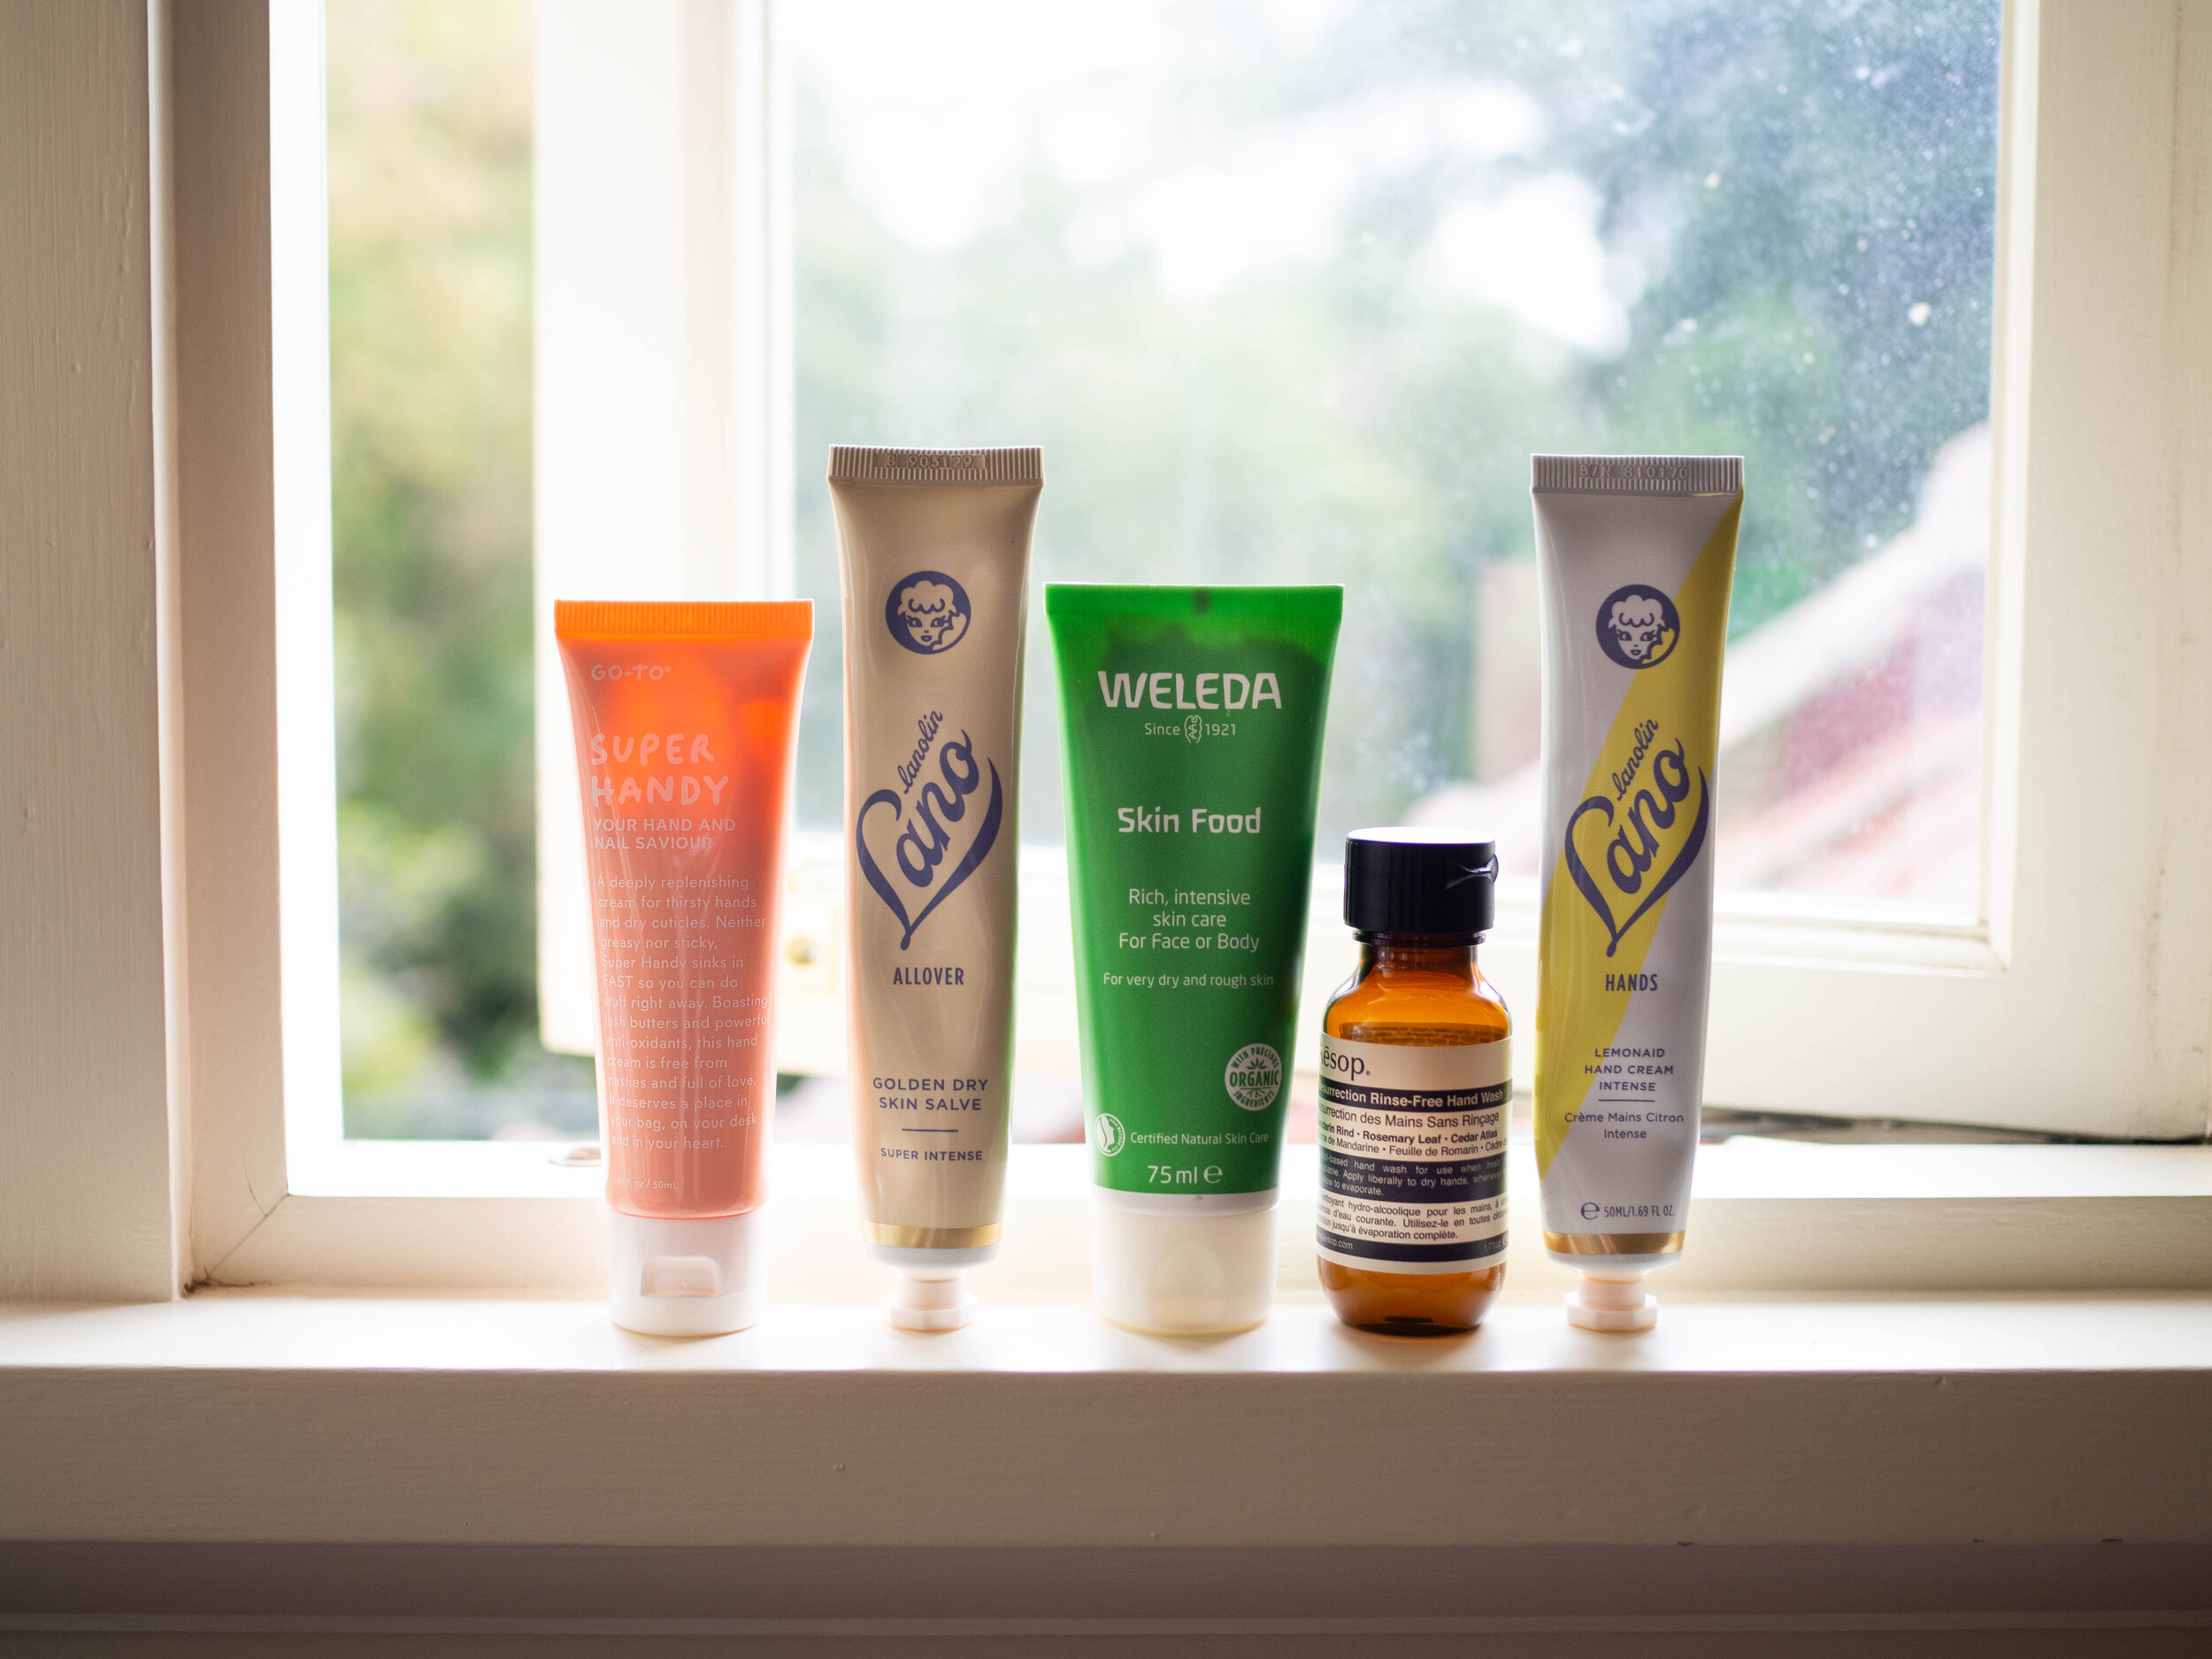
Having Access to A Variety of Hand Creams and Moisturisers + Hand Sanitiser

Oatmeal Biscuits/Cookies
Ingredients:
125g softened unsalted butter, or margarine
180g brown sugar
1 egg
120g self raising flour
130g rolled oats (not instant oats)
Method:
Preheat oven to 160 degrees Celsius, and line three large baking trays with baking paper.
In a large bowl cream the butter/margarine and brown sugar with a wooden spoon until combined.
Add the egg and mix well.
Fold in the self raising flour and the oats.
Using a teaspoon, drop rough balls of the mixture on the the trays, keeping in mind the biscuits will spread when as they bake.
Bake for 16-18 minutes or until golden brown.
Allow to cook on the trays, and store in an airtight container once cooled.
Makes approx. 36 biscuits.